xpSystem
xpSystem is the control hub for your entire X-Particles set up, helping you to manage objects and organize your scene as a whole.
Selecting xpSystem from the INSYDIUM menu will immediately drop a hierarchy of folders, which all have their own individual function, directly into your object manager.
xpSystem puts an xpEmitter into the opening scene as a default setting.
This setting can be disabled in the INSYDIUM Preferences folder in Cinema 4D.
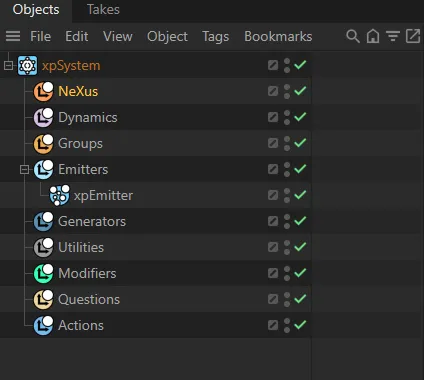
Objects Manager, on introduction of xpSystem.
Objects menu.
Clicking and highlighting any of these folders will introduce their individual settings in the Attributes Manager.
There is the opportunity to create a sub-folder, in order to keep things tidy as you are working.
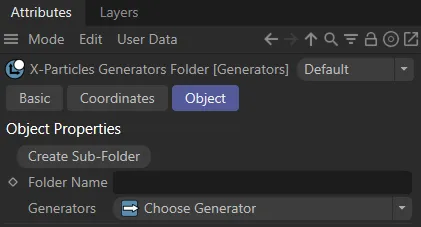
The Create Sub-Folder button in the Attributes Manager for generators.
Object tab
Section titled “Object tab”Auto-Disable XP Objects
Section titled “Auto-Disable XP Objects”When this is enabled, if you then disable the System object in the Object Manager (turning the green tick to a red cross) all the X-Particles objects, which are in the object hierarchy under this System object, will be disabled automatically.
They will all be enabled if you enable the System object again.
This lets you enable or disable an entire setup with one click, rather than having to disable every object in that System object manually.
The System object will remember the state (enabled or disabled) of the X-Particles objects under it when the System object is disabled.
It will then restore that state when it is re-enabled rather than simply enabling all the objects even if they were previously disabled.
Icon Color
Section titled “Icon Color”You can set the color for your icon here, which is recommended when you have multiple systems operating, so that you can easily differentiate between them.
Icon in Viewport
Section titled “Icon in Viewport”Enable this to put the X-Particles logo in the origin of your system in the viewport.
Icon Size
Section titled “Icon Size”Increases or decreases the size of the icon.
Only Modifiers in Same System
Section titled “Only Modifiers in Same System”It is sometimes desirable to use multiple xpSystems in any one scene.
For example, you may want to simulate a rain effect using one system, and a lightning effect using another system.
Ticking this box will ensure that any modifiers that you use in the rain system won’t affect particles in the lightning system.
Leaving this unticked will mean that the effect of all modifiers will affect all particles, irrespective of which xpSystem they’re in.
Only Deformers in Same System
Section titled “Only Deformers in Same System”When you have multiple systems operating, as above, ticking this box will ensure that any Cinema 4D deformers will only effect particles, if they are within the same system.
Generators and Objects
Section titled “Generators and Objects”In these dropdown boxes, you have the opportunity to import any Generator, Dynamic, or Utilities objects into your system.
xpSystem will then input them directly into the relevant folder, within the hierarchy, as a child of the null.
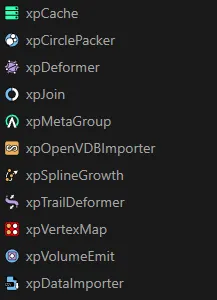
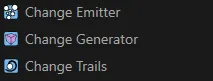
Generator Objects
Section titled “Generator Objects”Simply click on the dropdown box and select an item from the menu to import it into the system as a child of the Generator null in the Objects Manager.
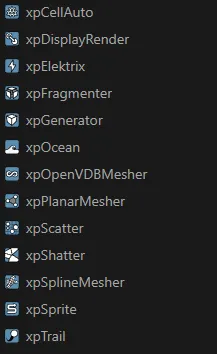
The Generator Objects menu.
Dynamics
Section titled “Dynamics”Simply click on the dropdown box and select an item from the menu to import it into the system as a child of the dynamics null in the Objects Manager.
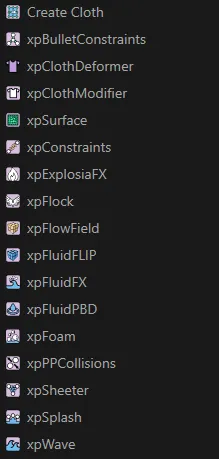
The Dynamics Objects menu.
Cloth Object
Section titled “Cloth Object”Drop your Cloth object into this link field to access the additional parameters associated with cloth settings.
If you drag a spline or object into the Cloth Object link field, then choose Create Cloth from the Dynamics drop-down menu, all the necessary objects needed for the Cloth FX system will be created and placed into the correct locations.
Utilities
Section titled “Utilities”Again, simply click on the dropdown box and select an item from the menu to import it into the system as a child of the Utilities null in the Objects Manager.
The Utilities menu.
Modifiers
Section titled “Modifiers”In these dropdown boxes, you have the opportunity to import any type of modifier into your system.
xpSystem will then input it directly into the Modifiers folder, within the hierarchy, as a child of the null.
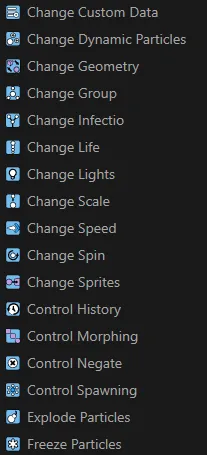
Control Modifiers
Section titled “Control Modifiers”Simply click on the dropdown box and select an item from the menu to import it into the system as a child of the Modifiers null in the Objects Manager.
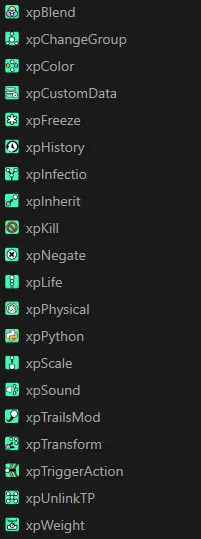
The Control Modifiers menu.
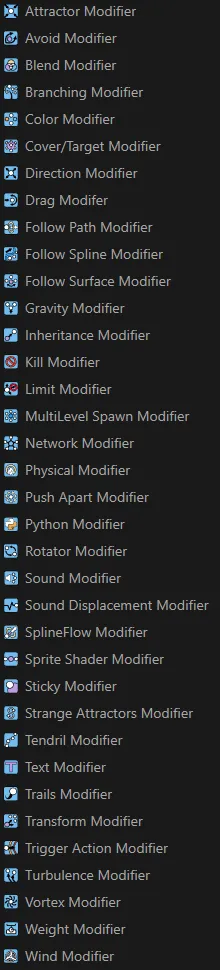
Motion Modifiers
Section titled “Motion Modifiers”As above, simply click on the dropdown box and select an item from the menu to import it into the system as a child of the Modifiers null in the Objects Manager.
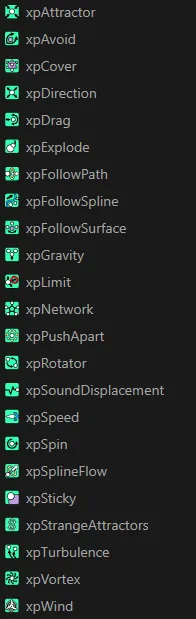
The Motion Modifiers menu.
Sprites Modifiers
Section titled “Sprites Modifiers”Simply click on the dropdown box and select an item from the menu to import it into the system as a child of the Modifiers null in the Objects Manager.
![]()
The Sprites Modifiers menu.
Generate Modifiers
Section titled “Generate Modifiers”Simply click on the dropdown box and select an item from the menu to import it into the system as a child of the Modifiers null in the Objects Manager.
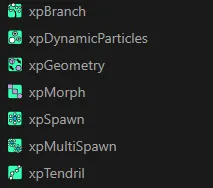
The Generate Modifiers menu.
Actions
Section titled “Actions”In these dropdown boxes, you have the opportunity to import any type of action into your system.
xpSystem will then input it directly into the Actions folder, within the hierarchy, as a child of the null.
Object Actions
Section titled “Object Actions”Simply click on the dropdown box and select an item from the menu to import it into the system as a child of the Actions null in the Objects Manager.
The Object Actions menu.
Control Modifier Actions
Section titled “Control Modifier Actions”Once again, simply click on the dropdown box and select an item from the menu to import it into the system as a child of the Actions null in the Objects Manager.
The Control Modifier Actions menu.
Direct Actions
Section titled “Direct Actions”Simply click on the dropdown box and select an item from the menu to import it into the system as a child of the Actions null in the Objects Manager.
The Direct Actions menu.
Dynamics Actions
Section titled “Dynamics Actions”Click on the dropdown box and select an item from the menu to import it into the system as a child of the Actions null in the Objects Manager.
![]()
The Dynamics Actions menu.
Other Actions
Section titled “Other Actions”Simply click on the dropdown box and select an item from the menu to import it into the system as a child of the Actions null in the Objects Manager.
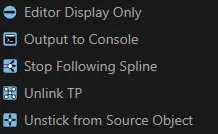
The Other Actions menu.
Global Transform tab
Section titled “Global Transform tab”In this tab, you have the option to make your emitter work globally, instead of locally.
Emitters
Section titled “Emitters”Drop an emitter into this link field to activate it ‘globally’.
In this tab, you can turn on the System object transforms.
By default there are no emitters in the Emitters list so that, if the system object is moved or rotated, its child objects will also be moved and/or rotated but the particle stream, once generated, will not be affected.
If there are one or more emitters in the Emitters list, moving or rotating the System object will also move or rotate the entire particle stream produced by that emitter.
Since the position of the particles themselves is changed, this will move objects generated from them such as trails, sprites, etc.
If it is, then the points of the trail will also be transformed independently of the particles. If not then the trail itself is not altered but simply follows the particle movement. You will get very different results depending on whether the trail is a child of the same System object as the emitter or not. This only applies to trail objects and not to other objects using the emitter, such as sprites, the generator, etc. These will behave the same, whether they are child objects of the System object or not.
Parameters
Section titled “Parameters”The tab is very simple, shown below.
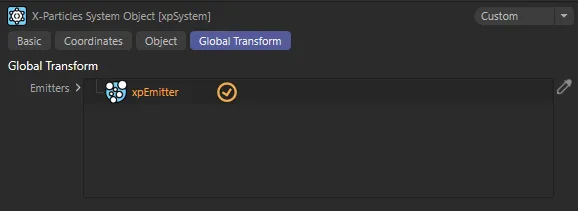
Global Transform tab.
Emitters
Section titled “Emitters”Drag all the emitters you want to be transformed into this list.
You can prevent specific emitters from being transformed by clicking the tick so it is disabled.
The emitter(s) to be transformed must all be child objects of the System object. No emitters outside of the hierarchy of this System object will be transformed.
Copyright © 2026 INSYDIUM LTD. All rights reserved.