Editing
This tab enables you to select particles then use any point-editing tool, such as move or delete.
With this you can, for example, remove stray particles that you don’t want.
Editing tab menu.
Editable
Section titled “Editable”Enable this to make particles editable.
This setting is extremely useful; if you enable it, you can use the emitter as the object to clone onto in the Mograph Cloner.
In the Cloner, set Mode to Object, then drag the emitter into the Object field.
Then, also in the Cloner, change Distribution to Vertex.
The Cloner will now clone objects onto the particles.
You can also use the emitter directly as a source object in the Volume Builder object.
Drag the emitter into the Objects list of the Volume Builder.
Then, select the emitter in the Objects list and enable Use Mesh Points in the Volume Builder.
This will create a volume directly from the particles.
Edit Mode
Section titled “Edit Mode”Set as Points, by default.
The alternative setting is Path.
Points
Section titled “Points”Particles are edited as points for the current frame.
Animation to demonstrate using the Cinema 4D’s Selection tool in Points mode to retrospectively select and hide particles generated by the xpEmitter.
Edits the particles’ path to the current frame, as spline points.
In this animation, with Edit Mode set to Path, the Cinema 4D Brush tool is being used to manipulate the paths that the particles take.
Blend Mode
Section titled “Blend Mode”It is possible to edit particles on more than one frame.
This drop-down determines how the emitter will blend between edited data on different frames.
Set as Clipped, by default.
The alternative is Mixed.
Clipped
Section titled “Clipped”The emitter will blend between edited frames.
The emitter will mix the blend ranges of multiple frames.
The number of frames before a frame containing edited data, when the transition to the edited state begins.
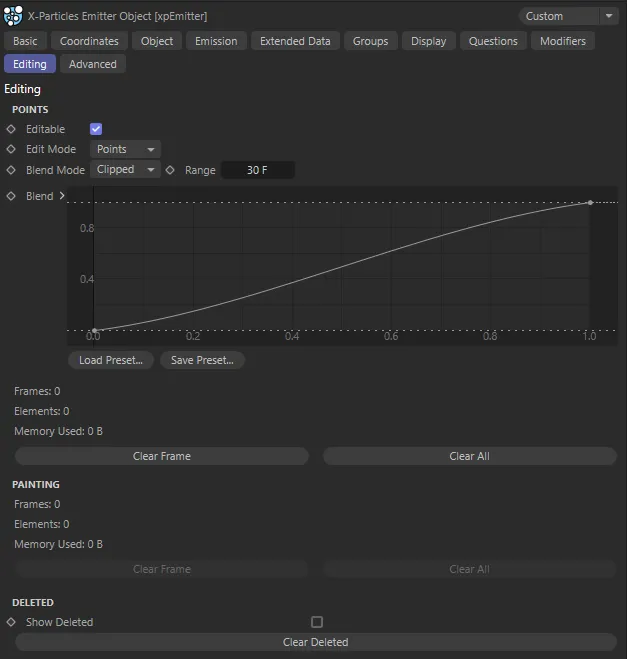
This spline determines how the particles will move to their edited state.
It can be used to give smooth transitions or more abrupt ones.
Clear Frame
Section titled “Clear Frame”If you move to an edited frame then click this button, the edited data on this frame only will be removed.
A keyframe marker will then appear in the Powerslider when you edit particles on that frame.
Clear All
Section titled “Clear All”Removes editing data on all frames.
Painting
Section titled “Painting”This section is used to display information for particles which have been painted using the Particle Paint tool.
Frames
Section titled “Frames”The number of frames containing painted particles.
Elements
Section titled “Elements”The number of particles painted on the current frame.
This will be updated as you move through the timeline.
Memory Used
Section titled “Memory Used”The amount of memory used for painted particles on the current frame.
Clear Frame
Section titled “Clear Frame”Deletes painted particles from this frame (you will need to rewind the scene and play forward to see the result).
Clear All
Section titled “Clear All”Deletes all painted particles from this emitter (you will need to rewind the scene and play forward to see the result).
Deleted
Section titled “Deleted”Show Deleted
Section titled “Show Deleted”If particles were deleted, enabling this will make them visible and highlight which were marked as deleted.
This can be combined with the Particle Paint tool to undelete particles you have removed.
Clear Deleted
Section titled “Clear Deleted”If particles have been deleted by editing, clicking this button will clear the deletion.
When you play the animation again, the deleted particles are restored.
Copyright © 2026 INSYDIUM LTD. All rights reserved.