xpFollowPath
xpFollowPath causes the particle stream to follow a path which is controlled by a sequence of path objects.
General tab
Section titled “General tab”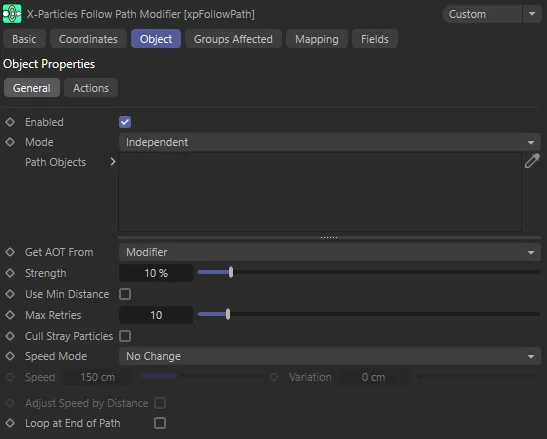
xpFollowPath General tab menu.
Enabled
Section titled “Enabled”Checking this box activates xpFollowPath.
Set at Independent, by default.
You can change this to Action-Controlled.
Independent Mode
Section titled “Independent Mode”In this mode, particles will be affected if they come into the field of effect of the modifier.
Action-Controlled Mode
Section titled “Action-Controlled Mode”When in the Action-Controlled Mode setting, the modifier will only act on a particle when told to do so by an action.
Path Objects
Section titled “Path Objects”These objects set out the path the particle stream will follow.
The stream will move to each object in the list in the order they are found there.
Each path object must have the following requirements: it must be a closed spline; it must be coplanar (all the points of the spline lie on the same plane); its axis must be centered within it; the profile must point along the Z-axis.
The modifier can also use a MoGraph cloner as the path object.
Simply make a spline the child of a cloner then drop the cloner into the Path Objects list.
In this animation, spline objects, in the Path Objects list, are creating a path for the particle stream.
This second scene shows a Cloner, in the Path Objects list, generating cloned splines for the path.
Get AOT (Acuteness Of Turn) From
Section titled “Get AOT (Acuteness Of Turn) From”Set as Modifier, by default, for each path object, when the particles turn to head towards it the acuteness of the turn (AOT) is governed by the Strength setting.
In many cases you can use the same AOT setting for all the path objects, but it may be that for some objects you want a less or more acute turn.
In that case, you can change the setting to Tag and assign an xpPathData tag to the object and set the AOT in the tag.
This way, all the path objects can have different AOT settings, if required.
Modifier
Section titled “Modifier”The default setting; the acuteness of turn will be obtained from the modifier Strength setting for all path objects, even if they have an xpPathData tag.
If the object has an xpPathData tag, the acuteness of turn will be obtained from the tag.
If an object has no tag, the AOT setting in the modifier will be used.
In this scene, Get AOT is set to Tag. All the spline objects have an xpPathData tag assigned, with a strength setting of 80%, apart from the second spline (Flower 2), which has a Strength of only 8%, making the AOT weaker for that portion of the path.
Strength
Section titled “Strength”This value controls how sharply the particle will turn to head for the next object.
If it is too low, the particle may not reach the object in time, in which case it will circle back to try again.
This setting is used if Get AOT From is set to Modifier, or if it is set to Tag and a path object does not have an xpPathData tag.
Strength is set at 8% in this animation.
In this second scene, the Strength is raised to 50%.
Use Min Distance
Section titled “Use Min Distance”When the modifier directs a particle to the first spline in the list of path objects, it has to calculate a position to head for.
To do this, it simply selects a random position within the space enclosed by the spline.
This often results in particles moving from one side of the path object to the other, crossing other particles, which is especially noticeable if the particles are producing trails.
Checking this box will reduce the crossover by forcing the modifier to find the shortest distance from the particle to a point in the spline area.
The accuracy with which it does so can be improved by increasing the Max Retries value.
This is disabled, by default, to maintain compatibility with existing scenes.
It works best if the particle stream is at right angles to the plane of the spline object.
If the stream is parallel to the spline plane you may see all the particles heading for the same point in the spline area.
If this happens, you can turn this off and accept the possibility of trails crossing each other.
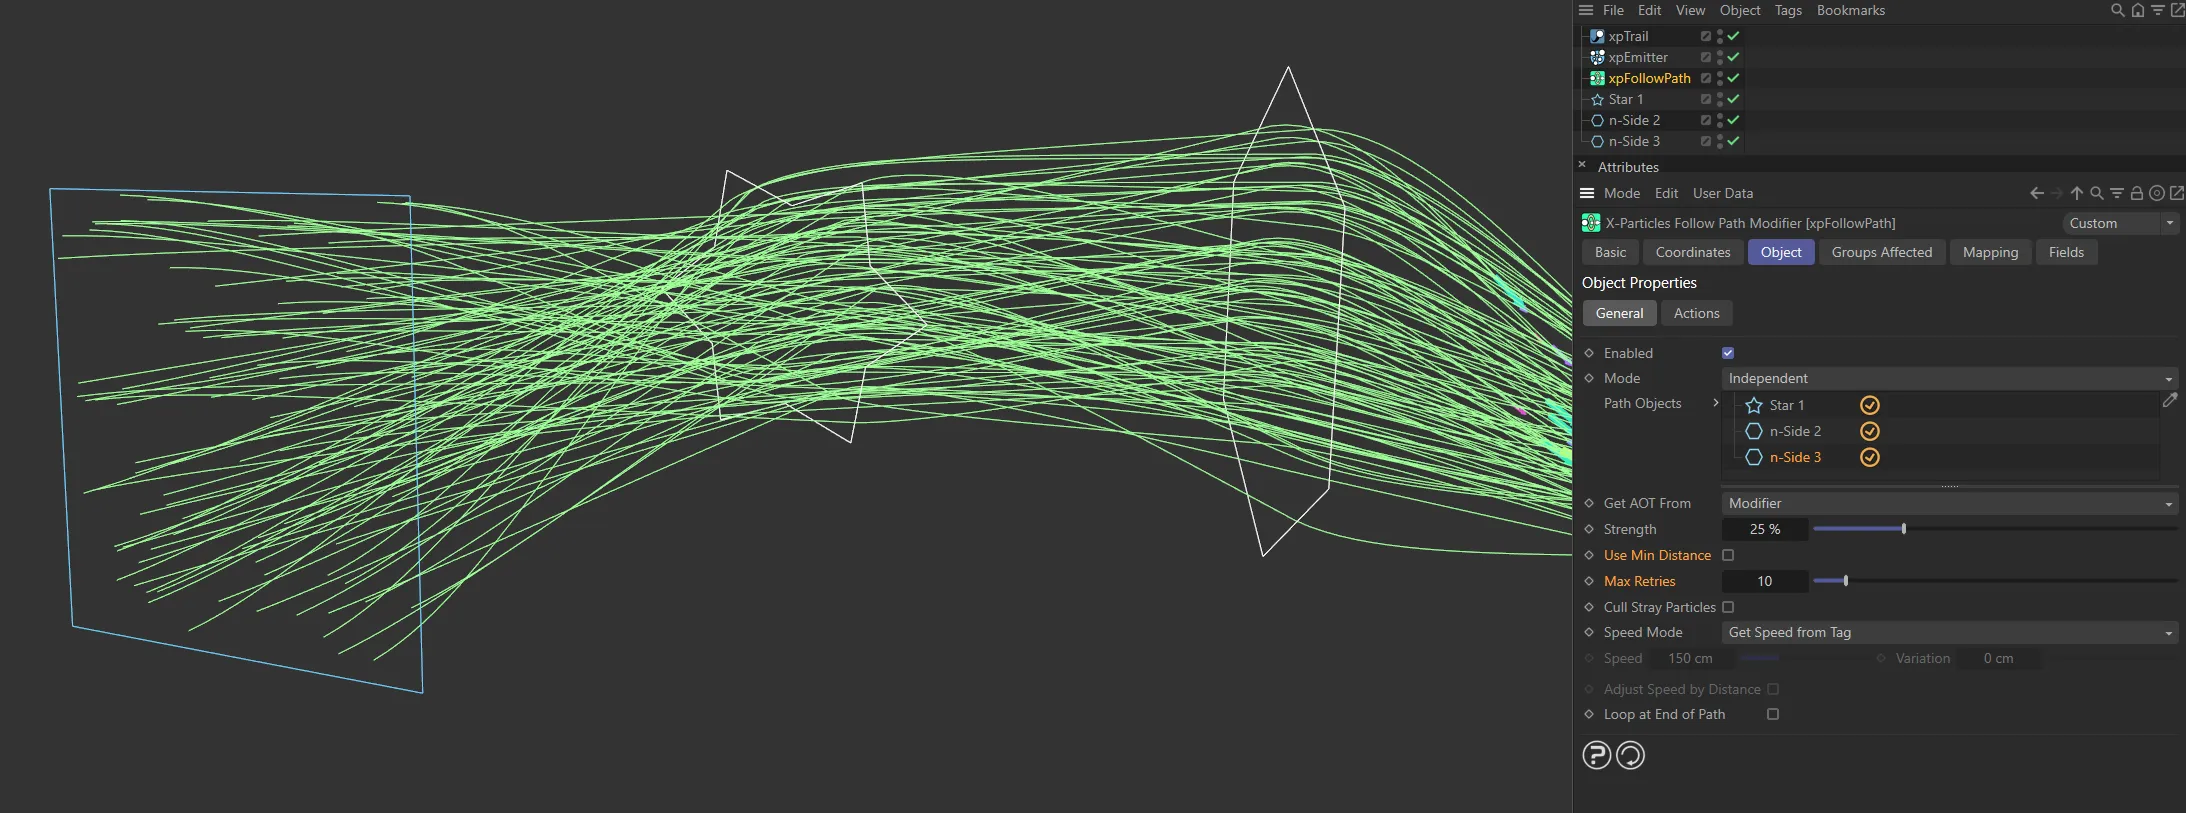
Use Min Distance is disabled here, with splines crossing. Max Retries is set at the low value of 10.
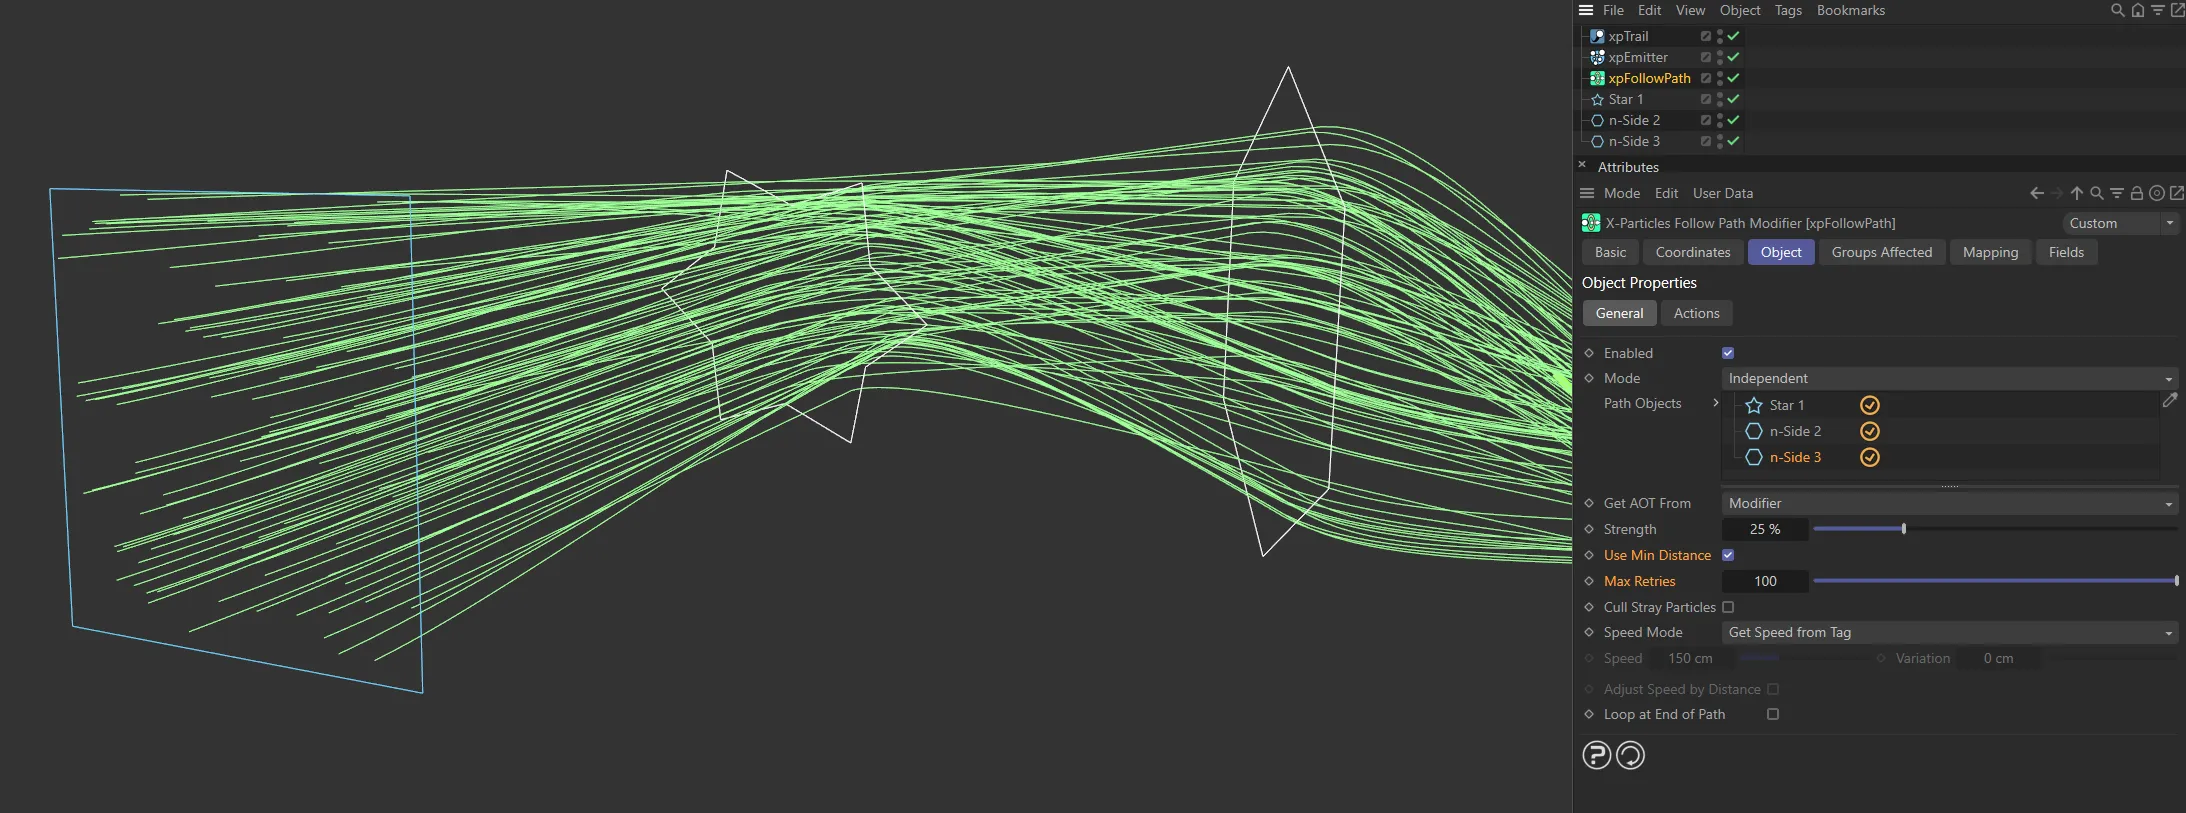
This second image shows Use Min Distance enabled, with Max Retries increased to 100, giving clearer, more accurate paths.
Max Retries
Section titled “Max Retries”This is the number of times the modifier will try to find a target position in the path spline for a particle to aim for.
Some very complex splines may take many attempts to find a target position.
You can set the maximum number of attempts in this parameter; large numbers may slow down the playback.
If no target position is found after the maximum retry count is reached, the particle will no longer follow the path and will simply continue traveling along its current direction.
You can kill these stray particles with the Cull Stray Particles parameter.
If the Use Minimum Distance is enabled, the modifier will try to find the nearest point in the spline area to the current particle position.
It will do that for however many tries are given in this parameter.
Cull Stray Particles
Section titled “Cull Stray Particles”If enabled, particles which have not been assigned a target position inside a path object will be removed.
In this animation, Cull Stray Particles is enabled and there is a low Strength setting of 7%, resulting in fewer particles making it to the path end.
Speed Mode
Section titled “Speed Mode”Set as No Change, by default, this setting determines the particle speed between path objects.
The alternatives are: Set Speed, Get Speed from Tag and Increment Speed from Tag.
No Change
Section titled “No Change”The particle maintains its current speed.
Set Speed
Section titled “Set Speed”The particle speed is set from the value in the Speed setting.
Get Speed from Tag
Section titled “Get Speed from Tag”If the object has an xpPathData tag, the speed will be obtained from the tag.
If an object has no tag, the speed will be unchanged.
Increment Speed from Tag
Section titled “Increment Speed from Tag”If the object has an xpPathData tag, the speed value will be obtained from the tag and this will then be added to the current speed.
If an object has no tag, the speed value will stay at its current value.
Speed, Variation
Section titled “Speed, Variation”Only available in Set Speed mode, to set the particle speed.
Variation in the speed can be added using the Variation setting.
Adjust Speed by Distance
Section titled “Adjust Speed by Distance”Only available in Set Speed mode.
When the particle stream turns to point to the next path object, they will all move at the same speed but particles on the outside of the curve will take longer to get there than those on the inside.
Checking this box will reduce that discrepancy by adjusting the speed to take account of the distance to be traveled.
If you choose Get Speed From Tag the same setting is also available in the xpPathData tag.
Loop at End of Path
Section titled “Loop at End of Path”If enabled, when the particles have passed through the last path object, they will return to the first object and move along the path again.
If it is unchecked, they will simply follow the direction they had on exiting the path.
Loop at End of Path enabled, in this scene, directs the particles to return to the first object once they get to the end of the path.
Actions tab
Section titled “Actions tab”Actions dragged into these lists will be executed when a particle enters the first path object or reaches the end of the path.

xpFollowPath Actions tab menu.
Actions on Start of Path, Actions on End of Path
Section titled “Actions on Start of Path, Actions on End of Path”The lists of actions to be carried out at the start and end of travel along the path.
Add Action
Section titled “Add Action”Clicking either button will add an action to the scene and drop it into the relevant actions list.
In this final scene, there are particle changes made by the two Editor Display actions, dropped into the two lists, first directed by Actions on Start of Path and then Actions on End of Path.
Groups Affected tab
Section titled “Groups Affected tab”Groups
Section titled “Groups”To specify the group, drag and drop the desired Group object into this field.
This setting is useful if you want to ensure that the spawned particles are, or are not, affected by xpFollowPath.
Mapping tab
Section titled “Mapping tab”The modifier’s settings can be mapped to particle data.
Use the dedicated manual page, below, for instructions on how this works.
Fields tab
Section titled “Fields tab”You can use the Fields options to control where xpFollowPath operates.
Copyright © 2026 INSYDIUM LTD. All rights reserved.