Data Mapping
The parameters of all X-Particles modifiers can be mapped to particle data, enabling dynamic changes during simulation.
The effects of the mapping are adjusted using the Mapping curve.
The settings can be found within the Mapping tab of each object.
In this animation, the effects of an xpScale modifier are being mapped to the particle’s age using the remapping curve. The result is the particles are growing and shrinking in size over time.
Clicking this button will add a Map layer (numbered - starting with Map 1).
You can have as many layer types as you wish in this list.
Maps can be folded or unfolded, using the drop-down arrow, to create space in the Attributes Manager.
Clicking this button will lead to a warning, before you decide to proceed (or not).
Remove warning box.
Map layer settings
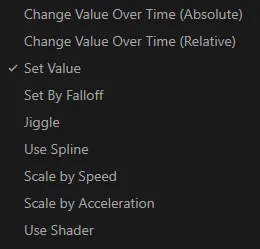
Section titled “Map layer settings”Each layer has the same attributes (except Shader, which has an additional parameter option).
Duplicate
Section titled “Duplicate”Clicking this button allows you to duplicate the current layer.
Remove
Section titled “Remove”Clicking this button removes the current layer (without a warning).
Enabled
Section titled “Enabled”Check this box to enable the mapping layer.
Parameter
Section titled “Parameter”Every mappable parameter from a modifier’s Object tab can be accessed from this list.
The contents will depend upon which modifier you’re mapping.
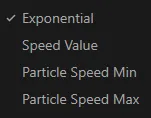
Parameter menu from xpSpeed.
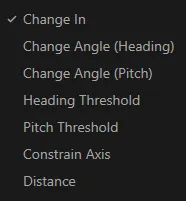
Parameter menu from xpNetwork.
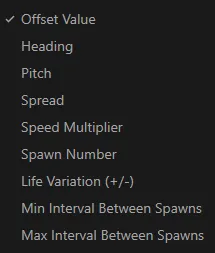
Parameter menu from xpSpawn.
Map to
Section titled “Map to”This is the particle data you are mapping the modifier parameter to.
There are thirty possible particle data types available, that can be mapped to a selected modifier parameter.
These are: Age, Color Brightness, Distance to Nearest Particle, Distance Traveled, Fire, Fuel, Lifespan, Mass, Particle Index, Position, Radius, Scale, Scene Time, Smoke, Speed, Speed (World), Temperature, User Value, Vertex Weight, Fluid Density, Fluid Surface, Granular, Shader, Texture, Vertex Map Tag, Custom Data, Segment Length (Follow Spline Mod.), Distance to Target (Cover Mod.), Distance to Target (Inherit Mod.) and Color Modifier Brightness (Color Mod.).
Map To drop-down menu.
Range Min, Range Max
Section titled “Range Min, Range Max”Use these min and max settings to define a range within the chosen particle data type.
For example, if using particle Age, a Range Min of 4 and a Range Max of 5 would mean that the remapping curve will affect particles when they are between 4 and 5 seconds old.
Mapping
Section titled “Mapping”This curve defines how the chosen modifier parameter is mapped to the particle data.
The horizontal X axis represents the chosen particle data, with 0.0 being the Range Min and 1.0 the Range Max.
The Y axis represents a multiple of the chosen parameter value, so at 1.0 (multiplied by 1) it will be the full value and at 0.0 (multiplied by 0) it will have no value.
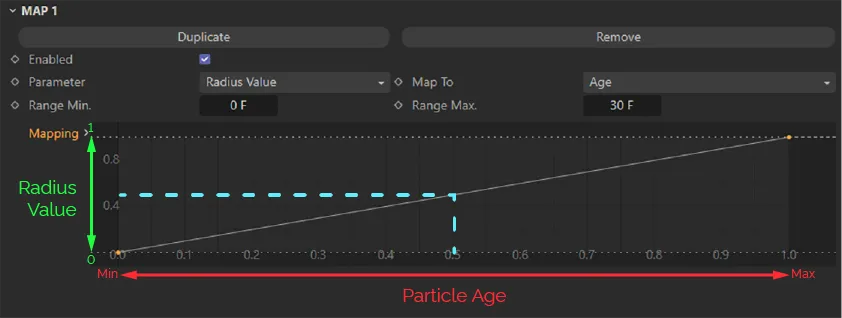
The Range Mapping curve, in this image, is mapping the Radius Value to the particle age. The X axis represents the particle age from 0 (zero) to 1 second (as defined by the Range Min and Range Max). The Y axis represents the Radius Value of 20cm. This graph can be used to assess how big a particle will be at any given age without even playing the scene. As you can see, when a particle is at the halfway point of the age range (1 second), it will have 0.5 x the 20cm Radius Value, which is 10cm.
Once the parameter, data and ranges have been set, it is possible to create multiple different effects by simply editing the remap curve.
In this animation, the Mapping graph is mapping the radius value (Y) against particle age (X), so with this downward curve, particles shrink over time.
In this final animation, the Mapping curve setting is directing the particles to bounce between smaller and larger radii.
Copyright © 2026 INSYDIUM LTD. All rights reserved.