xpSoundDisplacement
xpSoundDisplacement displaces the particle direction along an axis by using a sound file.
Object Properties
Section titled “Object Properties”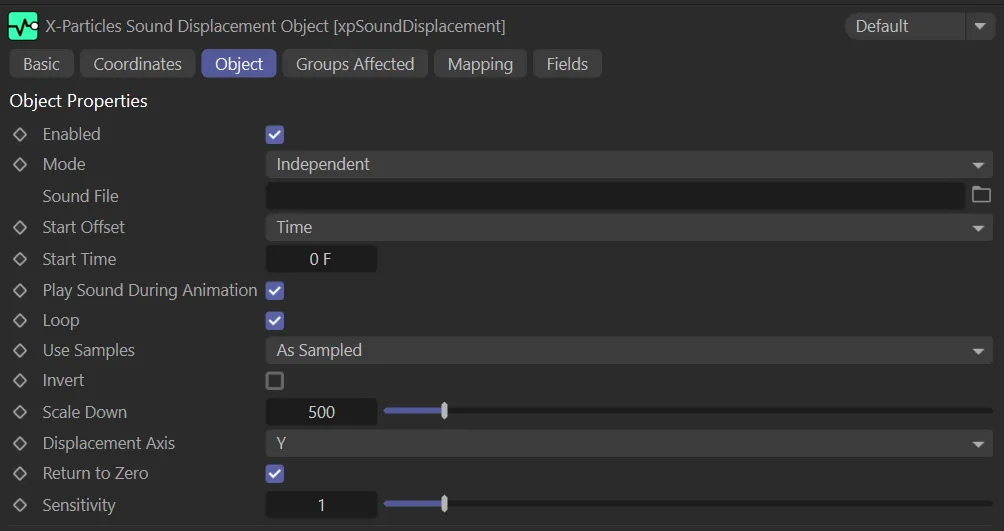
xpSoundDisplacement Object tab menu.
Enabled
Section titled “Enabled”Checking this box activates xpSoundDisplacement.
Set at Independent, by default.
You can change this to Action-Controlled.
Independent Mode
Section titled “Independent Mode”In this mode, particles will be affected if they come into the field of effect of the modifier.
Action-Controlled Mode
Section titled “Action-Controlled Mode”When in the Action-Controlled Mode setting, the modifier will only act on a particle when told to do so by an action.
Sound File
Section titled “Sound File”This is the sound file which will drive the emitter.
It must be a .WAV file; no other formats are supported.
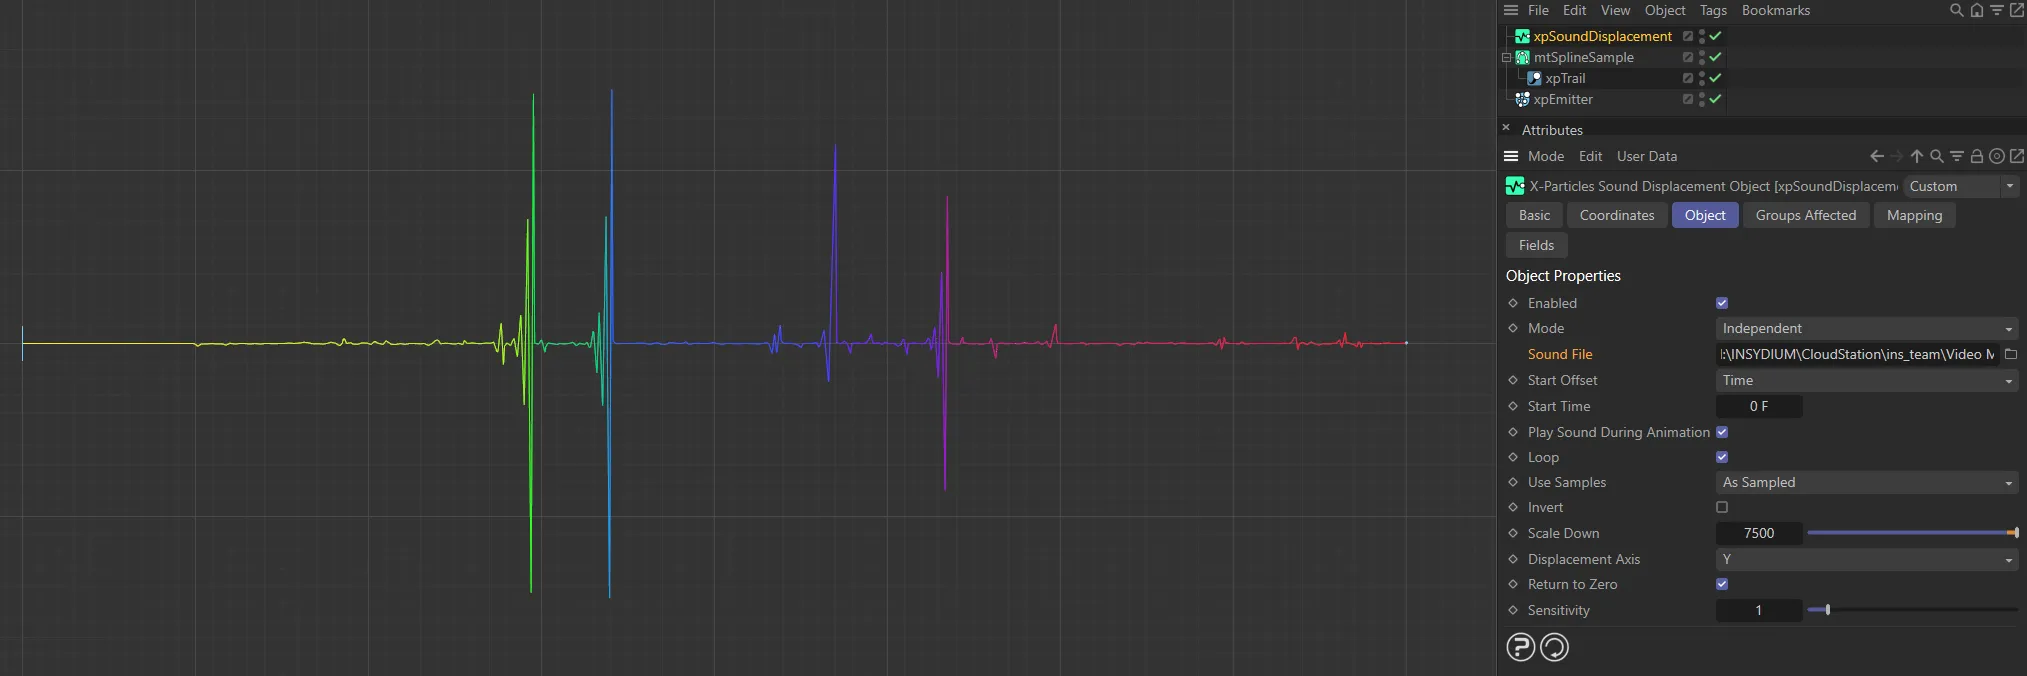
Here, a .WAV file has been dropped into the Sound File field.
Start Offset
Section titled “Start Offset”By default, the sound file will be used by the modifier from the start of the file, but this can be changed.
There are two options: Time and Random.
For each particle, the sound file will be sampled starting at the same time, which is the start of the sound file, offset by the value in the Start Time setting.
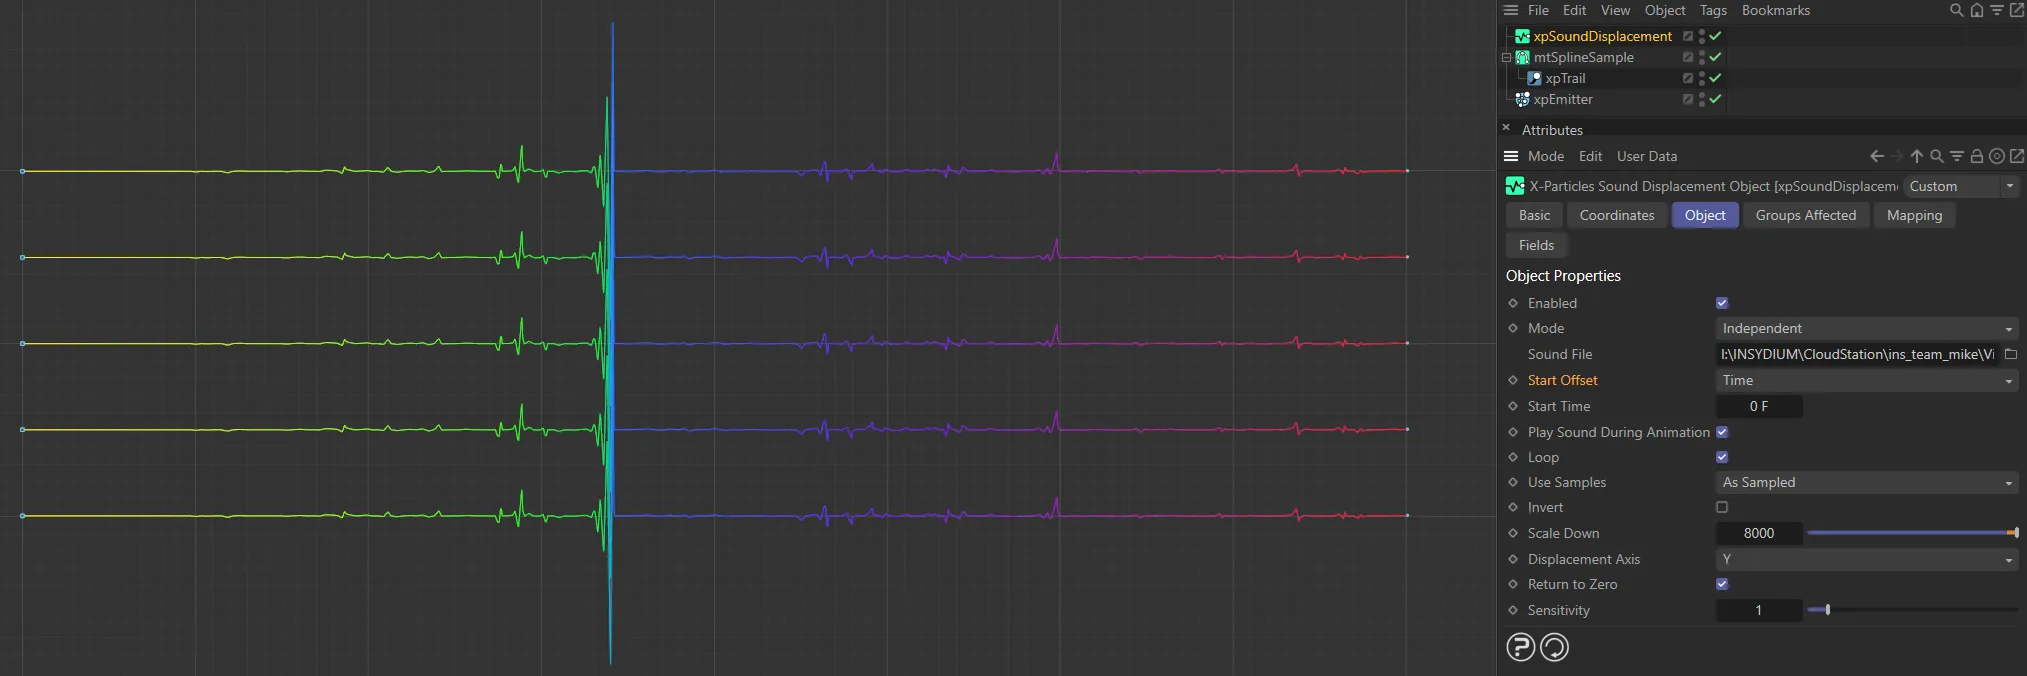
Start Offset set to Time.
Random
Section titled “Random”Each particle will start sampling at a random point in the sound file.
If Random is chosen, all particles follow the same waveform, but starting at different times, so they are not synchronized.
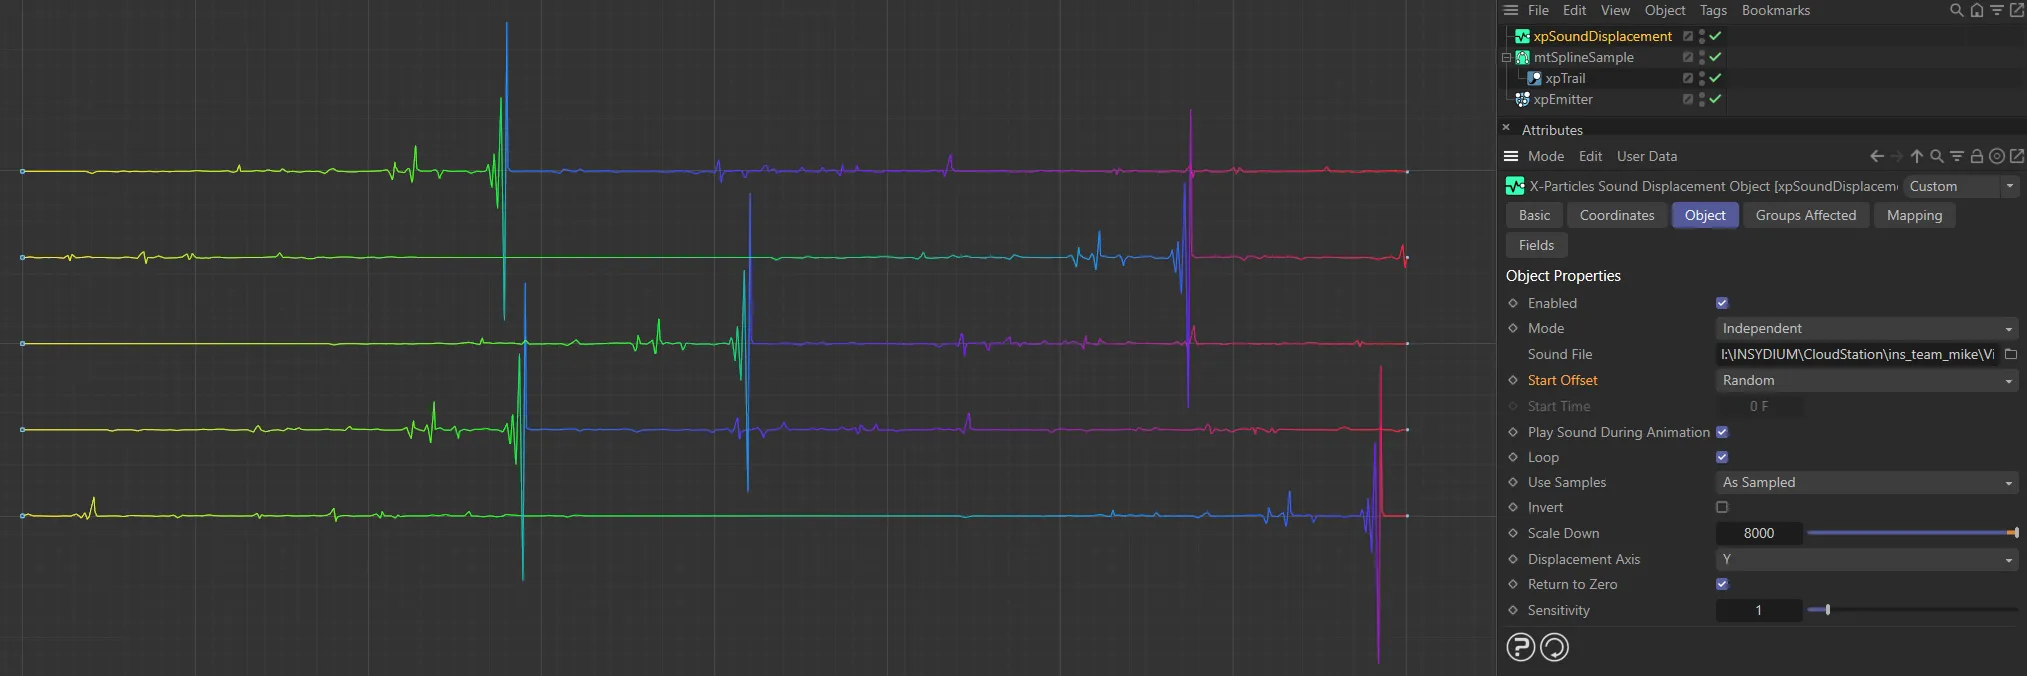
By comparison, Start Offset is set to Random here, with particles sampling at a random point in the sound file.
Start Time
Section titled “Start Time”Set at 0 (zero) frames, by default, this starts the sampling immediately.
You can alter this to suit your scene.
Play Sound During Animation
Section titled “Play Sound During Animation”If enabled, the sound file will be played when animating the scene.
When enabled, this will cause the particles to loop back to the start of the sound file, when they reach the end.
If the sound is being played, enabling this parameter will also cause the sound to be looped.
Use Samples
Section titled “Use Samples”Set to As Sampled, by default, the sound file is sampled so that the results returned are in the range -32768 to 32768.
Alternative settings are: Absolute Values, Clamp to Positive and Clamp to Negative.
As Sampled
Section titled “As Sampled”The sample value is used so that a positive value gives a displacement along the positive axis and a negative value along the negative axis.
Absolute Values
Section titled “Absolute Values”All values are converted to positive ones, so displacement is always along the positive axis.
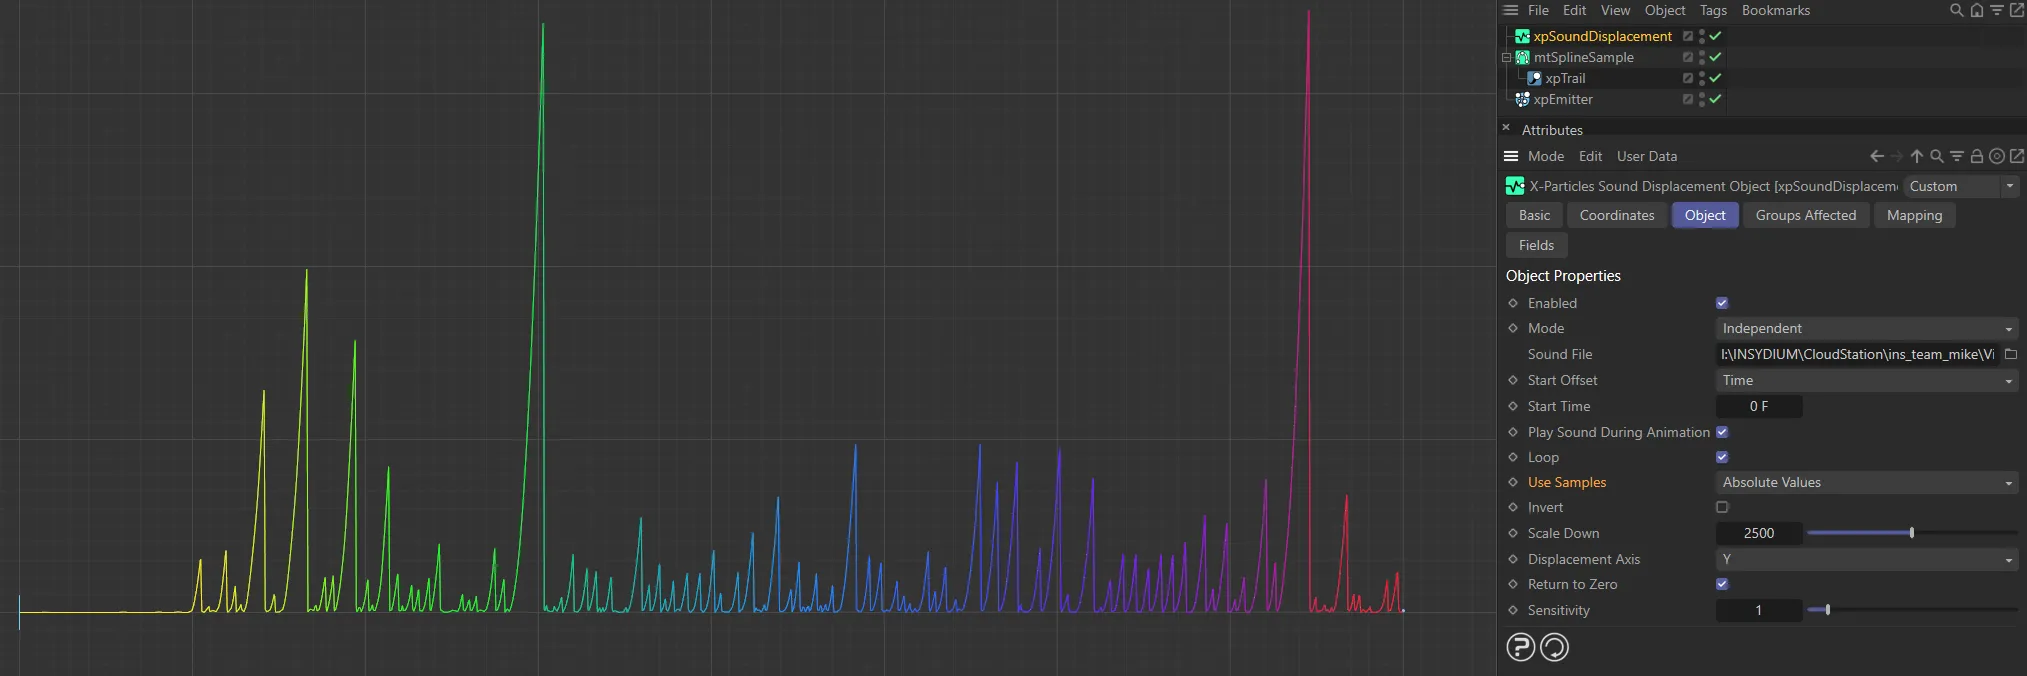
Use Samples set to Absolute Values, displacing along the positive axis.
Clamp to Positive
Section titled “Clamp to Positive”All negative values are set to zero.
Positive values are unchanged.
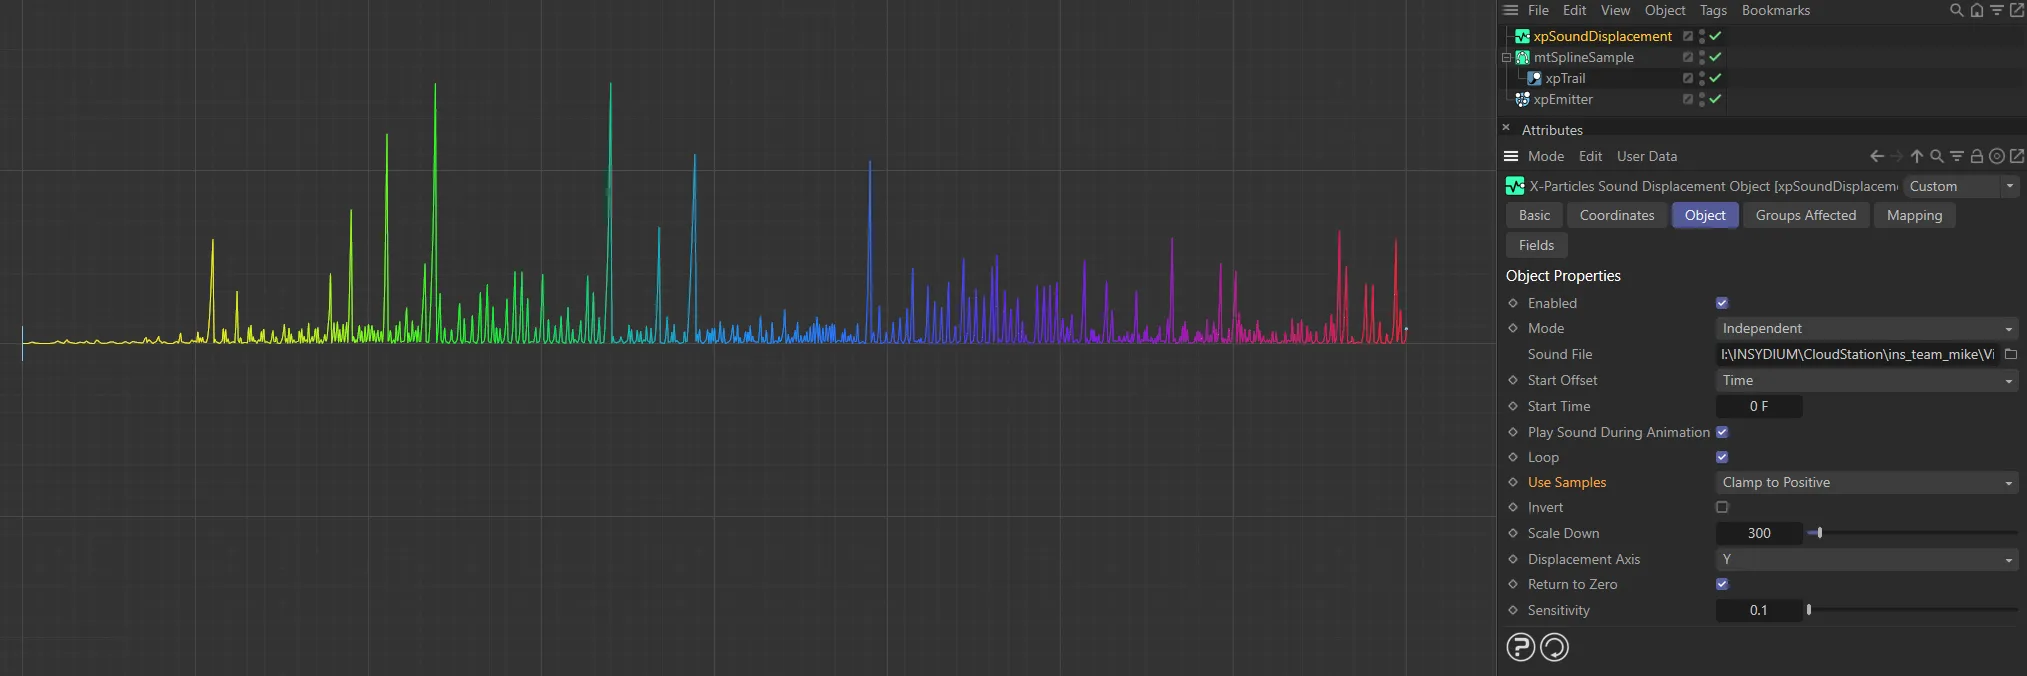
Use Samples set to Clamp to Positive.
Clamp to Negative
Section titled “Clamp to Negative”All positive values are set to zero.
Negative values are unchanged.
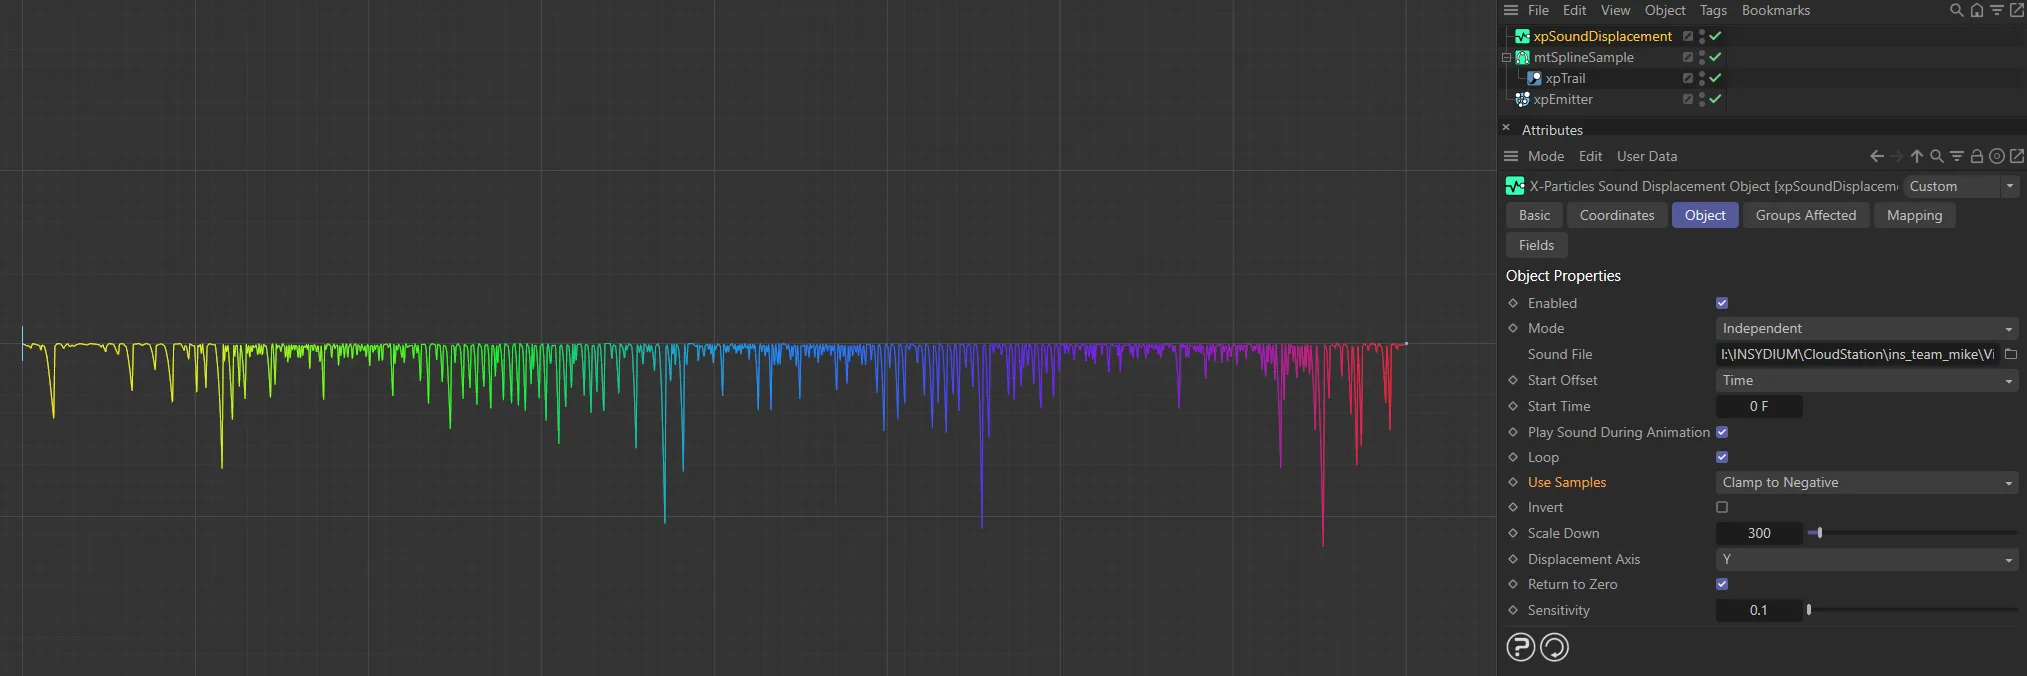
This image illustrates the difference when Use Samples is set to Clamp to Negative.
Invert
Section titled “Invert”If enabled, this parameter simply inverts the direction of the displacement.
Scale Down
Section titled “Scale Down”As indicated above, the possible result from sampling the sound file has a wide range -32768 to 32768.
This is potentially far too large to use to displace the particle, so the value needs to be scaled down first.
This value is the scaling factor; increasing it will reduce the amount of displacement.
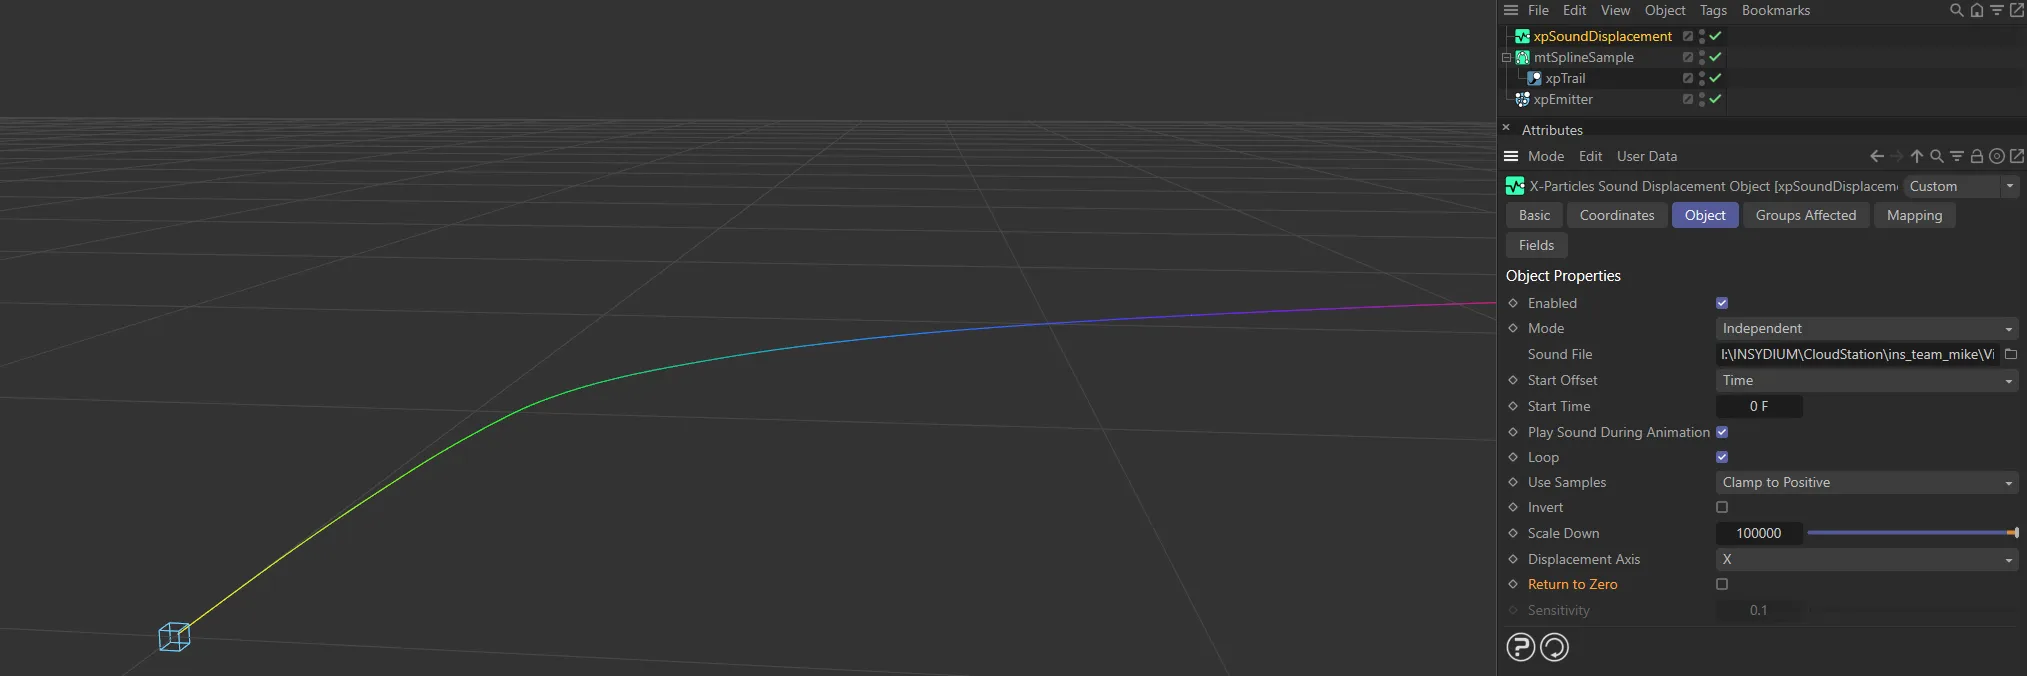
Displacement Axis
Section titled “Displacement Axis”This drop-down controls which axis the displacement occurs along.
In practice, Y and X usually give the best results.
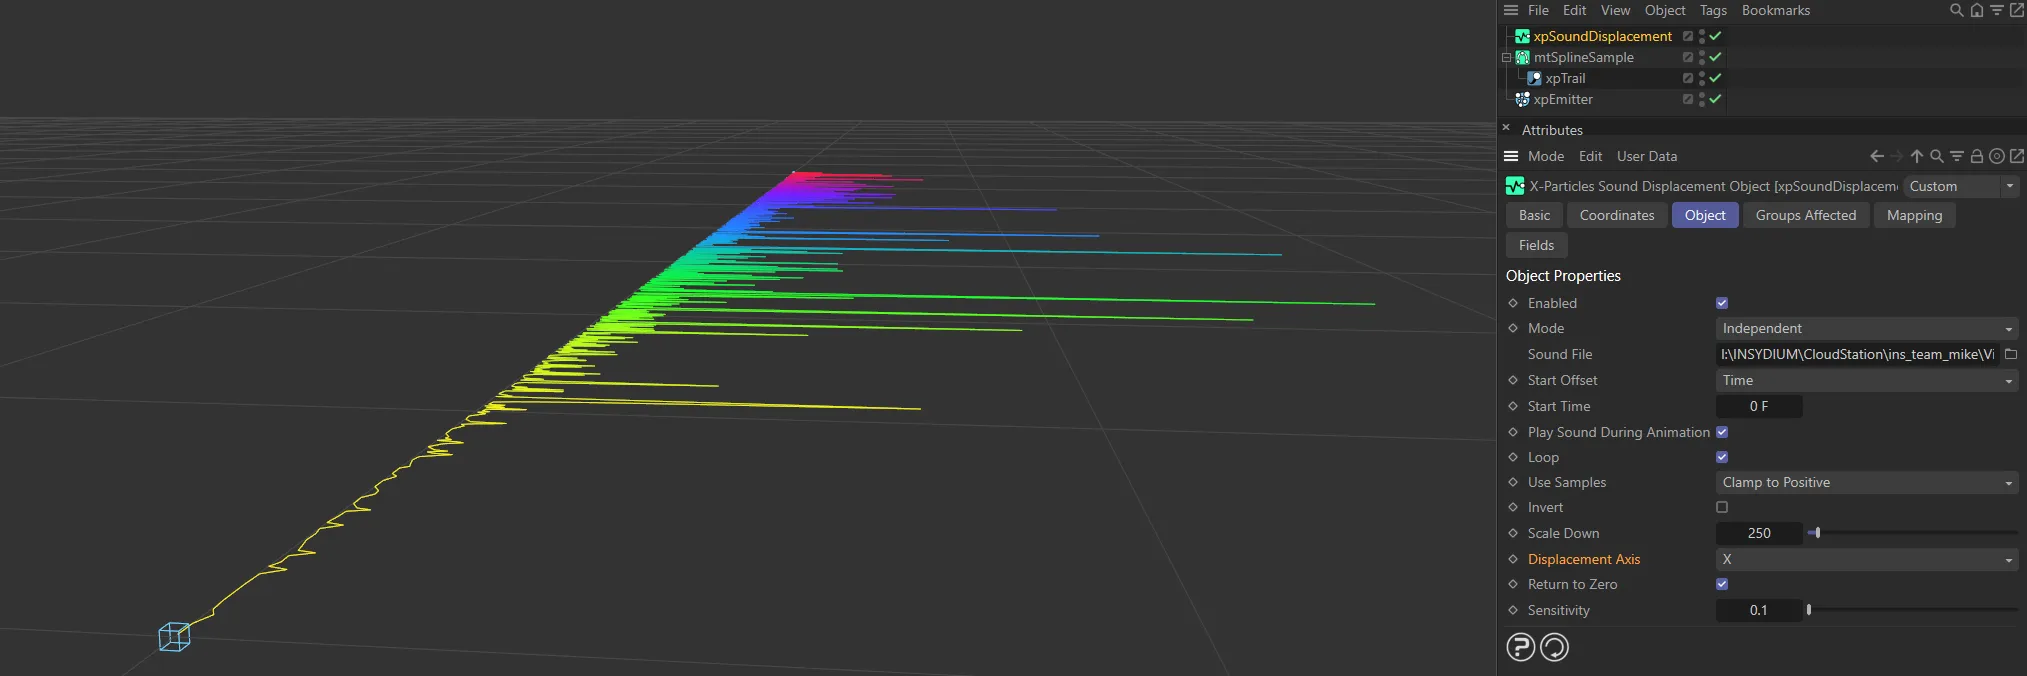
Displacement Axis is set to X here, displacing along the X axis.
Return to Zero
Section titled “Return to Zero”If the sound file, when sampled, returns a value of zero (or a very small value) the particle position on the affected axis will be returned to its original starting position, if this box is checked.
This isn’t always necessary, but in almost all cases you will want to leave this enabled and adjust the Sensitivity value for the desired result.
With Return to Zero disabled, the particle does not return back to zero, when there are neutral or low frequencies.
Sensitivity
Section titled “Sensitivity”If Return to Zero is enabled, this setting controls how small the absolute value of the sampled sound value must be before the particle position returns to zero.
The lower this value, the smaller the sound sample must be before returning to zero.
The lower you set this value, the less likely the displacement will return to zero.
Altering this value may have significant effects on the result, so some trial and error may be necessary to find the best effect, in conjunction with the Scale Down setting.
Groups Affected tab
Section titled “Groups Affected tab”Groups
Section titled “Groups”To specify the group, drag and drop the desired Group object into this field.
This setting is useful if you want to ensure that the spawned particles are, or are not, affected by xpSoundDisplacement.
Mapping tab
Section titled “Mapping tab”The modifier’s settings can be mapped to particle data.
Use the dedicated manual page, below, for instructions on how this works.
Fields tab
Section titled “Fields tab”You can use the Fields options to control where xpSoundDisplacement operates.
Copyright © 2026 INSYDIUM LTD. All rights reserved.