xpAvoid
xpAvoid changes particle direction to avoid other objects in the scene.
It can also be used to kill or freeze particles.
Object Properties
Section titled “Object Properties”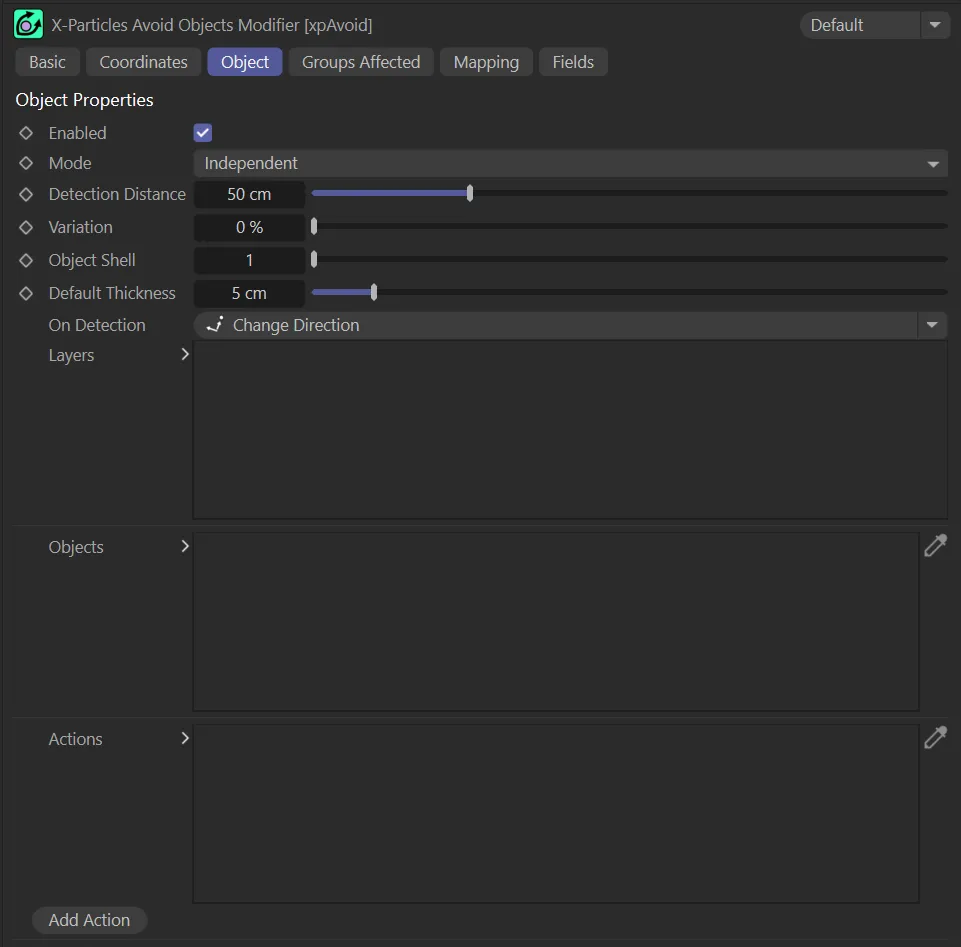
xpAvoid Object tab menu.
Enabled
Section titled “Enabled”Checking this box activates xpAvoid.
Set at Independent, by default.
You can change this to Action-Controlled.
Independent Mode
Section titled “Independent Mode”In this mode, particles will be affected if they come into the field of effect of the modifier.
Action-Controlled Mode
Section titled “Action-Controlled Mode”When in the Action-Controlled Mode setting, the modifier will only act on a particle when told to do so by an action.
Detection Distance
Section titled “Detection Distance”This is the distance, in scene units, at which the particle will detect that there is an object to be avoided.
The shorter this distance, the closer the particle will get to the object before starting to turn to avoid the object.
If you set this too low (e.g. less than the distance the particle will travel in one frame), the particle may fail to avoid the object altogether.
Animation to demonstrate a Detection Distance of 35cm.
In this animation, with the Detection Distance raised to 100cm, the particles are hugging together more tightly in the available space.
Variation
Section titled “Variation”Applies some random variation to the Detection Distance, so that the particles don’t all start to avoid the object at the same time.
With the same settings as the above animation, a Variation of 50% is applied here, giving a more natural flow.
Object Shell
Section titled “Object Shell”Applies a scaling factor to each object so as to create an ‘invisible shell’ around the object.
This shell is what the particle will actually avoid.
The default is 1, which sets the shell to be the same size as the object, meaning that the particles will only just avoid the object.
Set to a higher number, the particle will avoid the object by a wider margin.
Default Thickness
Section titled “Default Thickness”This setting has two uses.
If the object is a spline, this is the thickness given to the spline.
A spline has zero thickness, so there is nothing to collide with; in that case, the spline has to be given an assumed thickness to provide a collision object.
If the object is an X-Particles Trail object, as opposed to a conventional spine, its thickness comes from the Thickness and Color tab of the xpTrail object.
That tab can do three things: The default is that the thickness is not set, in which case it is given a default value of 0.5 scene units and this Default Thickness setting is ignored; the thickness is specifically set, in which case this setting is again ignored; or the No Thickness or Color Data box is checked, in which case no thickness data at all is provided by the xpTrail object and this setting provides the thickness value.
On Detection
Section titled “On Detection”Set as Change Direction, by default.
This setting enables you to choose what the particle will do when it detects a possible collision with an object from the Objects list.
There are three other options: Freeze, Die and Trigger Actions.
Change Direction
Section titled “Change Direction”The particle will change direction to avoid the object.
This animation shows the xpShatter object in the nxAvoid modifier. With On Detection set in the Change Direction mode, particles are avoiding the shatter object with a Detection Distance value of 60cm.
Freeze
Section titled “Freeze”The particle will freeze.
It can be unfrozen again using an action or the xpNegate modifier.
In this animation, with On Detection set to Freeze, once the particles come within the Detection Distance of 55cm they will freeze.
The particle will be killed.
Unlike freezing, this cannot be reversed later.
Animation demonstrating the On Detection setting of Die, where particles will be killed when they enter the Detection Distance of the xpJoin_Cubes, which is keyframed to grow.
Trigger Actions
Section titled “Trigger Actions”The particle will trigger any actions in the Actions list.
Layers
Section titled “Layers”This is the list of options that will be carried out when a potential collision with an object from the Objects list; it can contain more than one entry.
You can also disable any entry temporarily by unchecking the box at the left of the entry.
They are always carried out in this order, if present in the list: 1 - direction changes; 2 - particle freezes; 3 - actions are triggered; 4 - particle dies.
Objects
Section titled “Objects”Drag and drop the object, to be avoided, into this list.
Actions
Section titled “Actions”This is a list of actions which will be triggered when a potential collision with an object from the Objects list is detected, but will only be triggered if the Layers list contains a Trigger Actions entry.
Add Action
Section titled “Add Action”Click this button to create a new button and add it to the Actions list.
When you click this button, if there is not already a Trigger Actions layer in the list, one will be created.
Groups Affected tab
Section titled “Groups Affected tab”Groups
Section titled “Groups”To specify the group, drag and drop the desired Group object into this field.
This setting is useful if you want to ensure that the spawned particles are, or are not, affected by xpAvoid.
Mapping tab
Section titled “Mapping tab”The modifier’s settings can be mapped to particle data.
Use the dedicated manual page, below, for instructions on how this works.
Fields tab
Section titled “Fields tab”You can use the Fields options to control where xpAvoid operates.
Copyright © 2026 INSYDIUM LTD. All rights reserved.