tfDistribute
This filter distributes texture objects (rocks and tree-like shapes) on the terrain.
As opposed to cloning objects on the terrain geometry, this operator distributes little procedural textures on the terrain’s height map.
Properties tab
Section titled “Properties tab”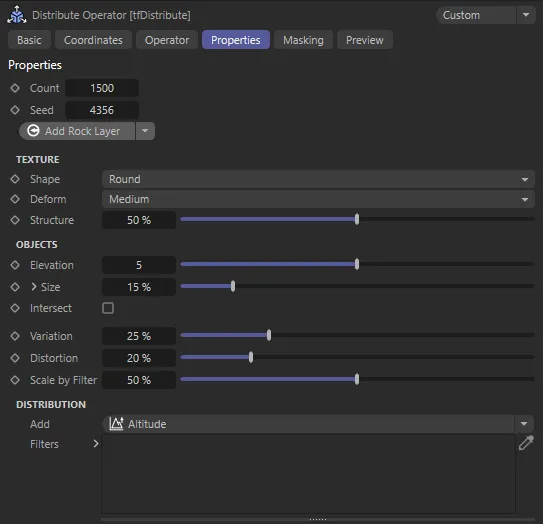
tfDistribute, Properties tab menu settings.
Defines how many objects are distributed.
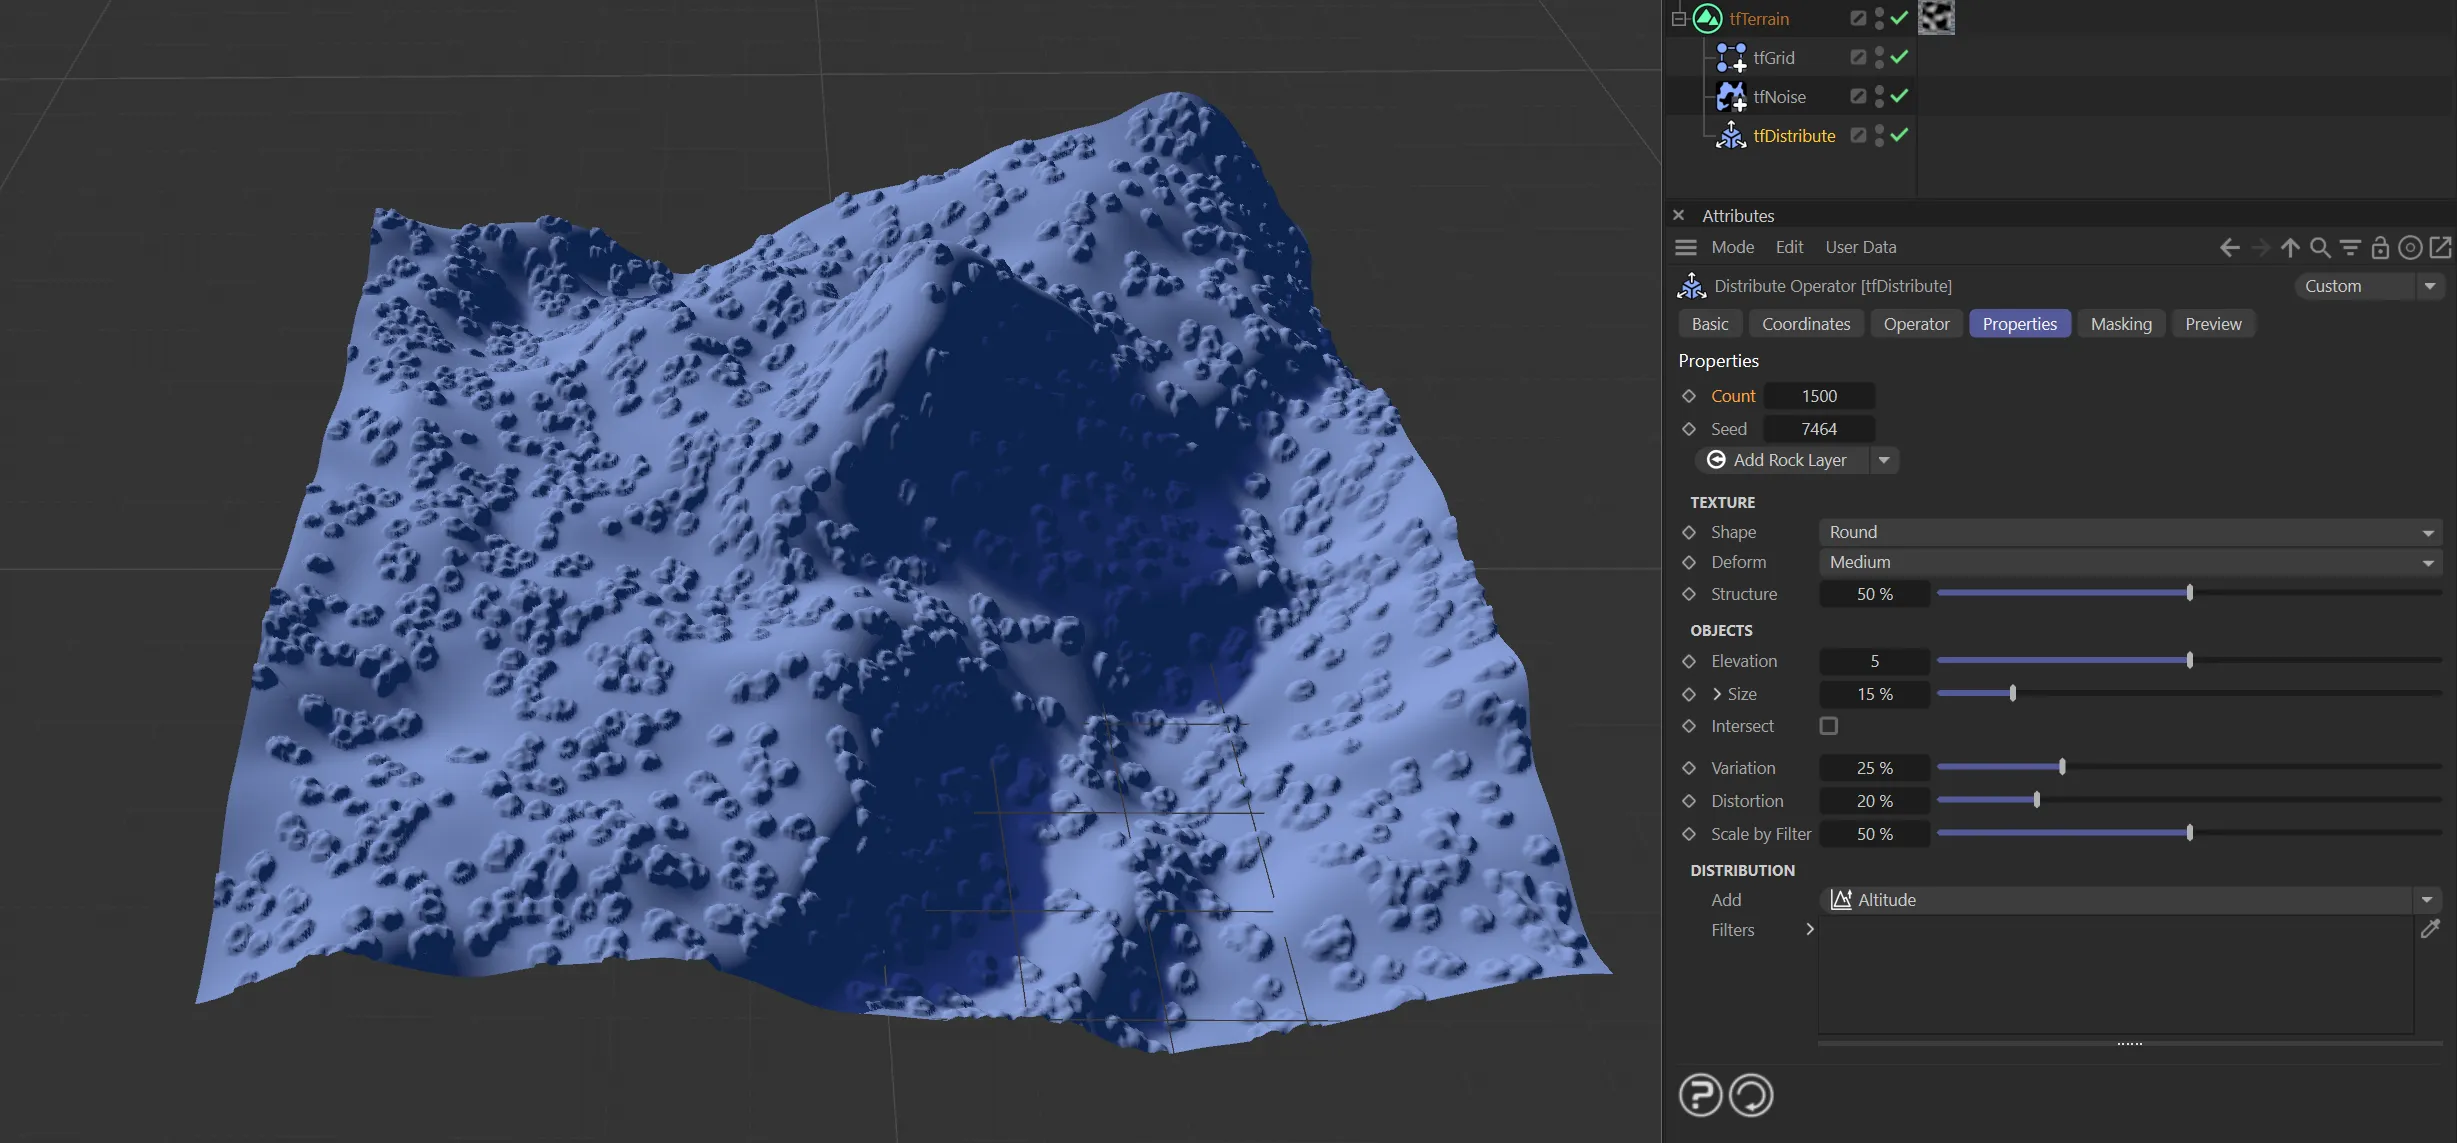
Count set at 1500, distributing 1500 rocks onto the terrain.
The seed value for all random calculations.
Can be changed for a completely different result.
Add Rock Layer/Add Tree Layer
Section titled “Add Rock Layer/Add Tree Layer”By default, when tfDistribute opens, the Add Rock Layer is activated.
Clicking the arrow on the right of the button allows you to change this to Add Tree Layer, which will result in changes on your landscape in the viewport.
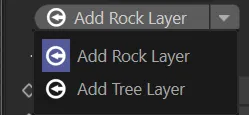
Drop-down selection menu options.
Texture
Section titled “Texture”These attributes control the surface of the distributed objects.
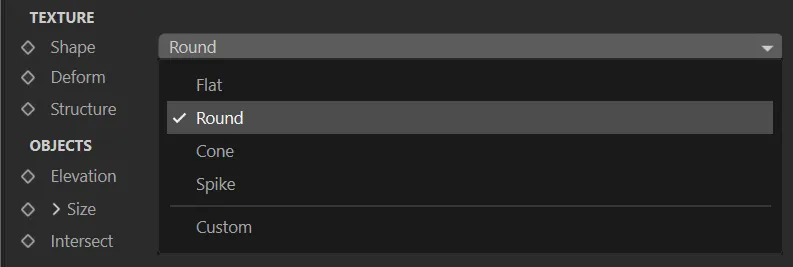
Shape drop-down menu options.
Set as Round, by default, you can choose preset shapes here.
The alternative options are: Flat, Cone, Spike and Custom.
The setting, Custom, allows you to select a bitmap instead of using the procedural preset shapes.
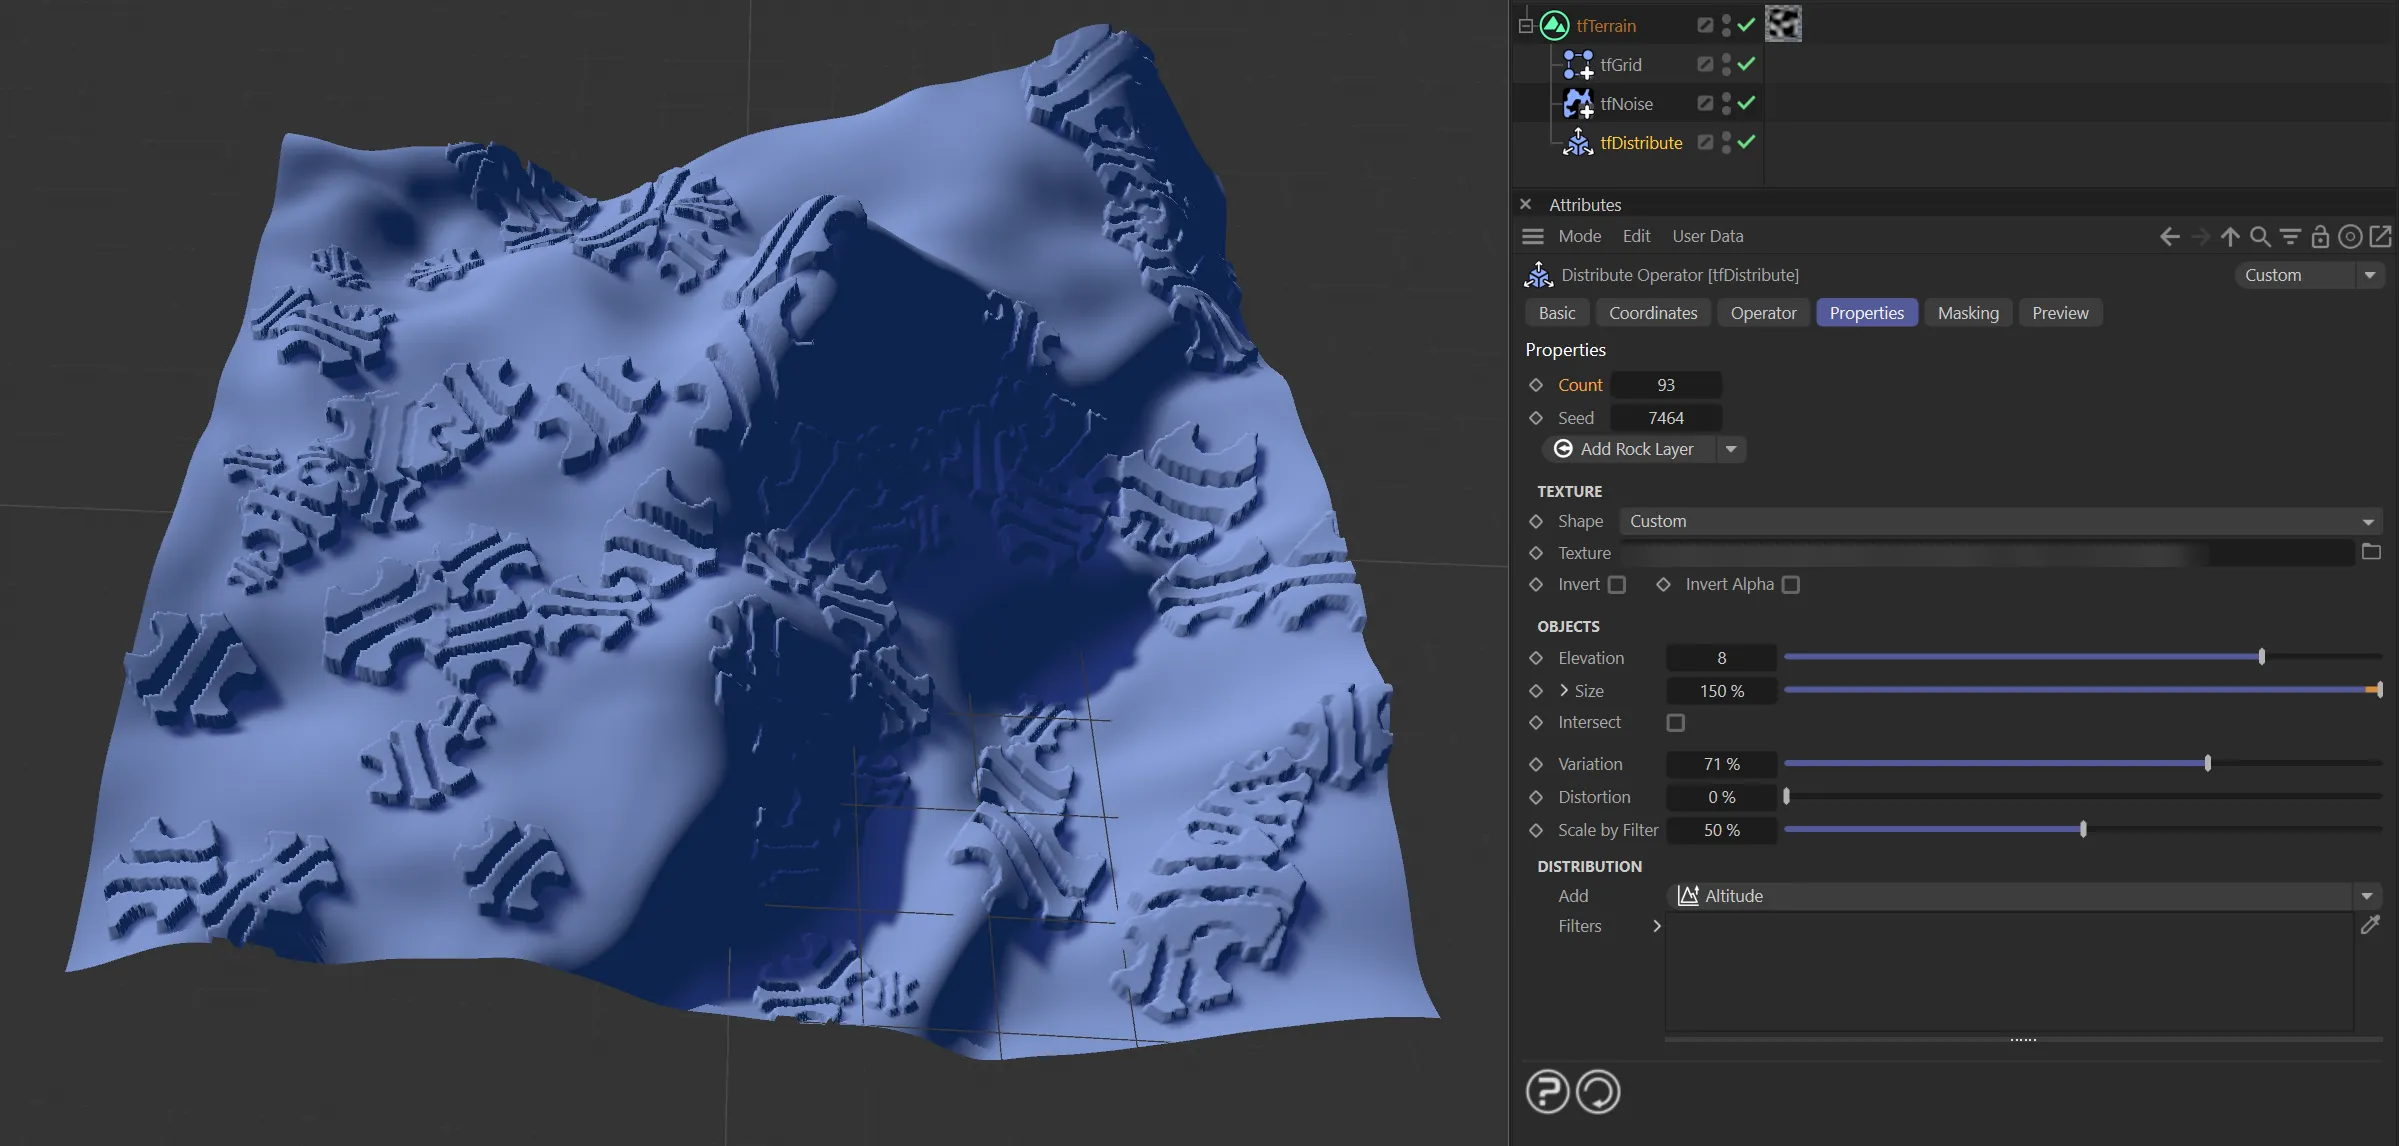
In this image, with Shape set as Custom, the INSYDIUM icon is distributed onto the terrain.
Deform
Section titled “Deform”Add some basic irregularity to the object surface.
The options are: None, Slight, Medium (the default) and Strong.
Structure
Section titled “Structure”Add fine turbulence detail to the object.
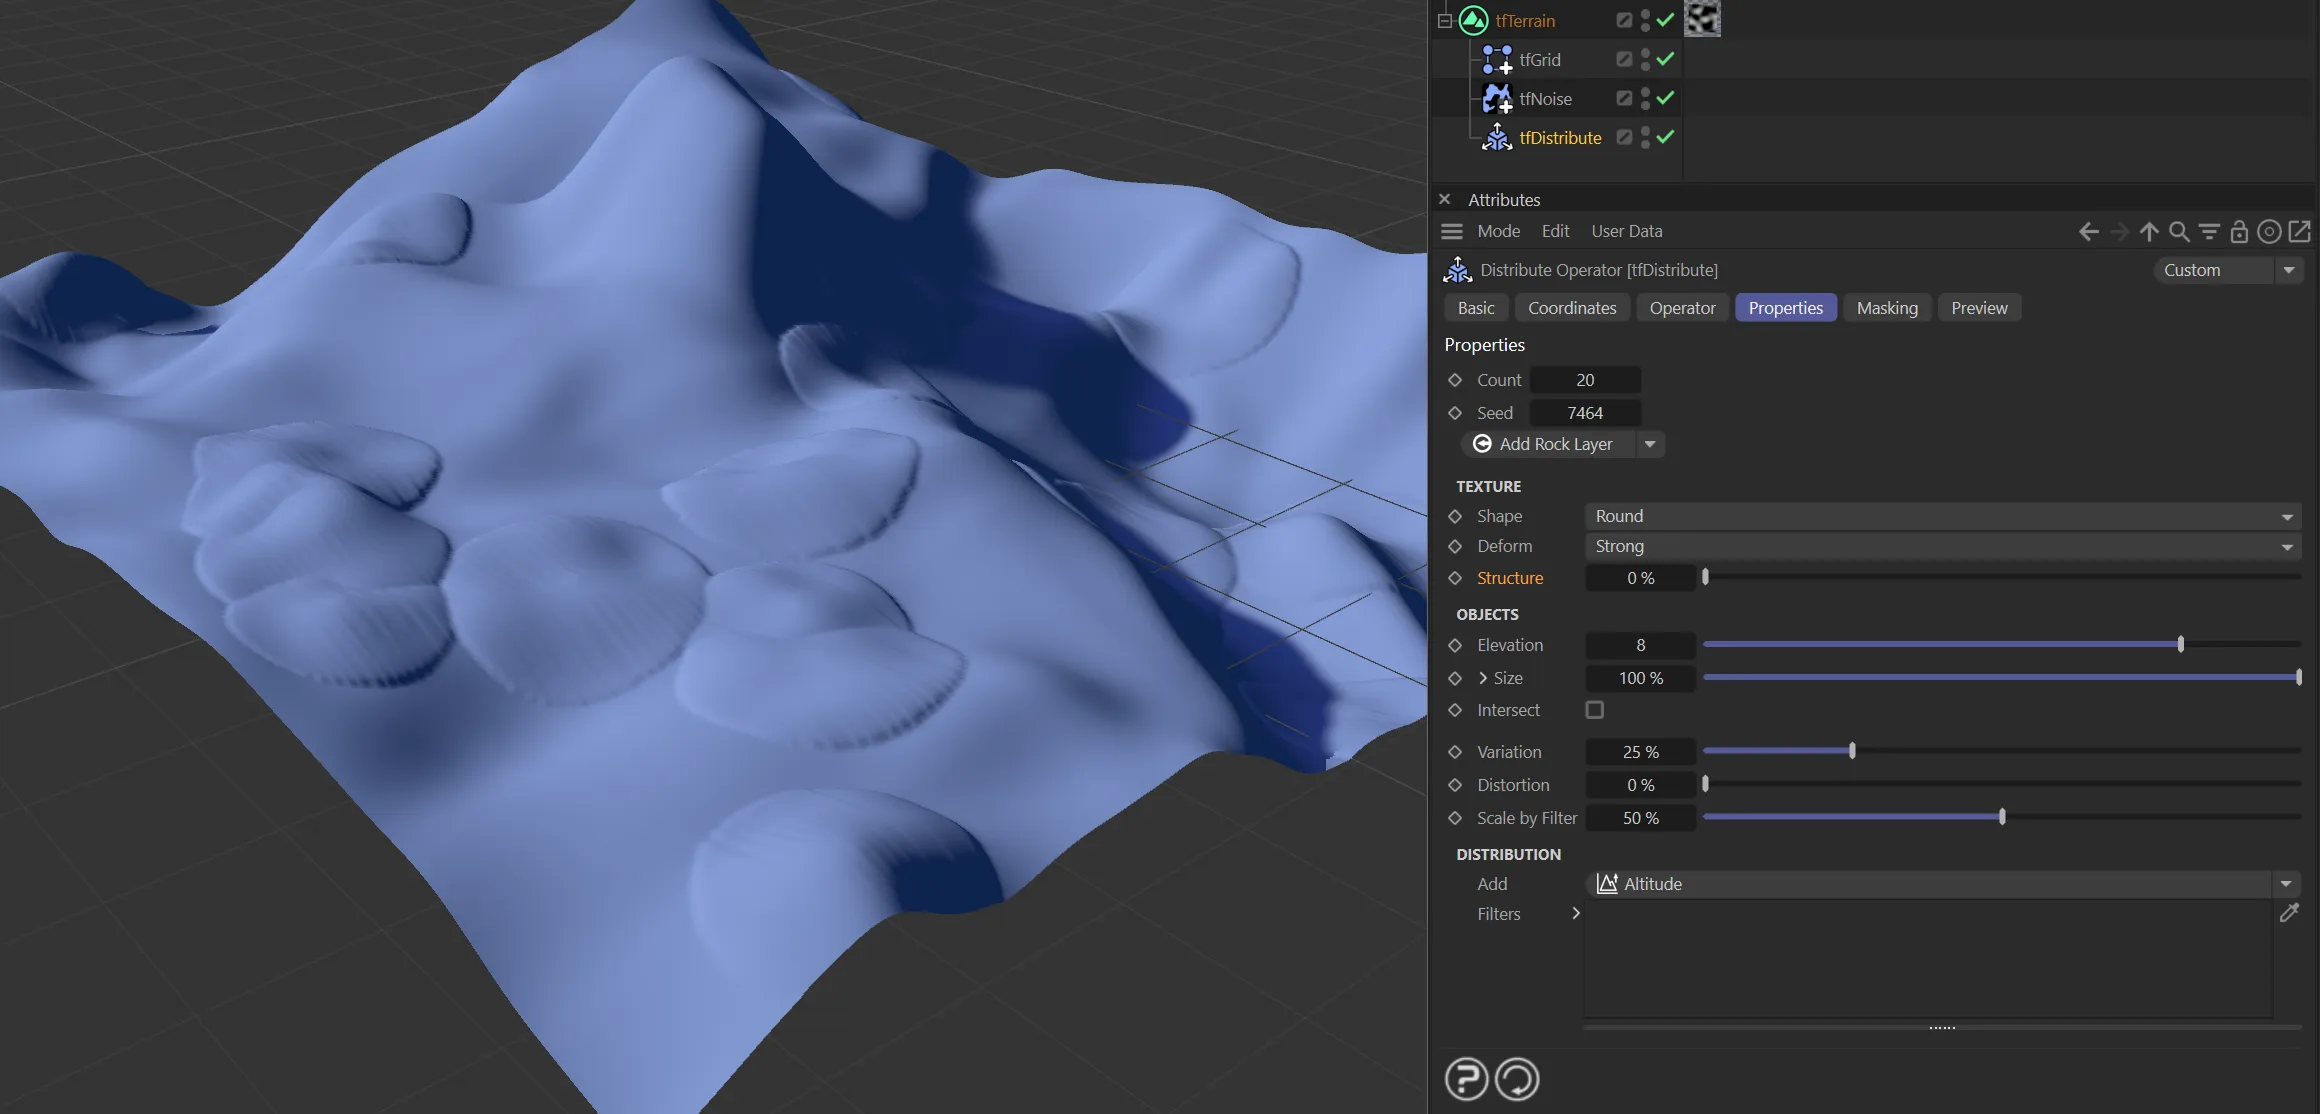
Structure set to 0 (zero) %.
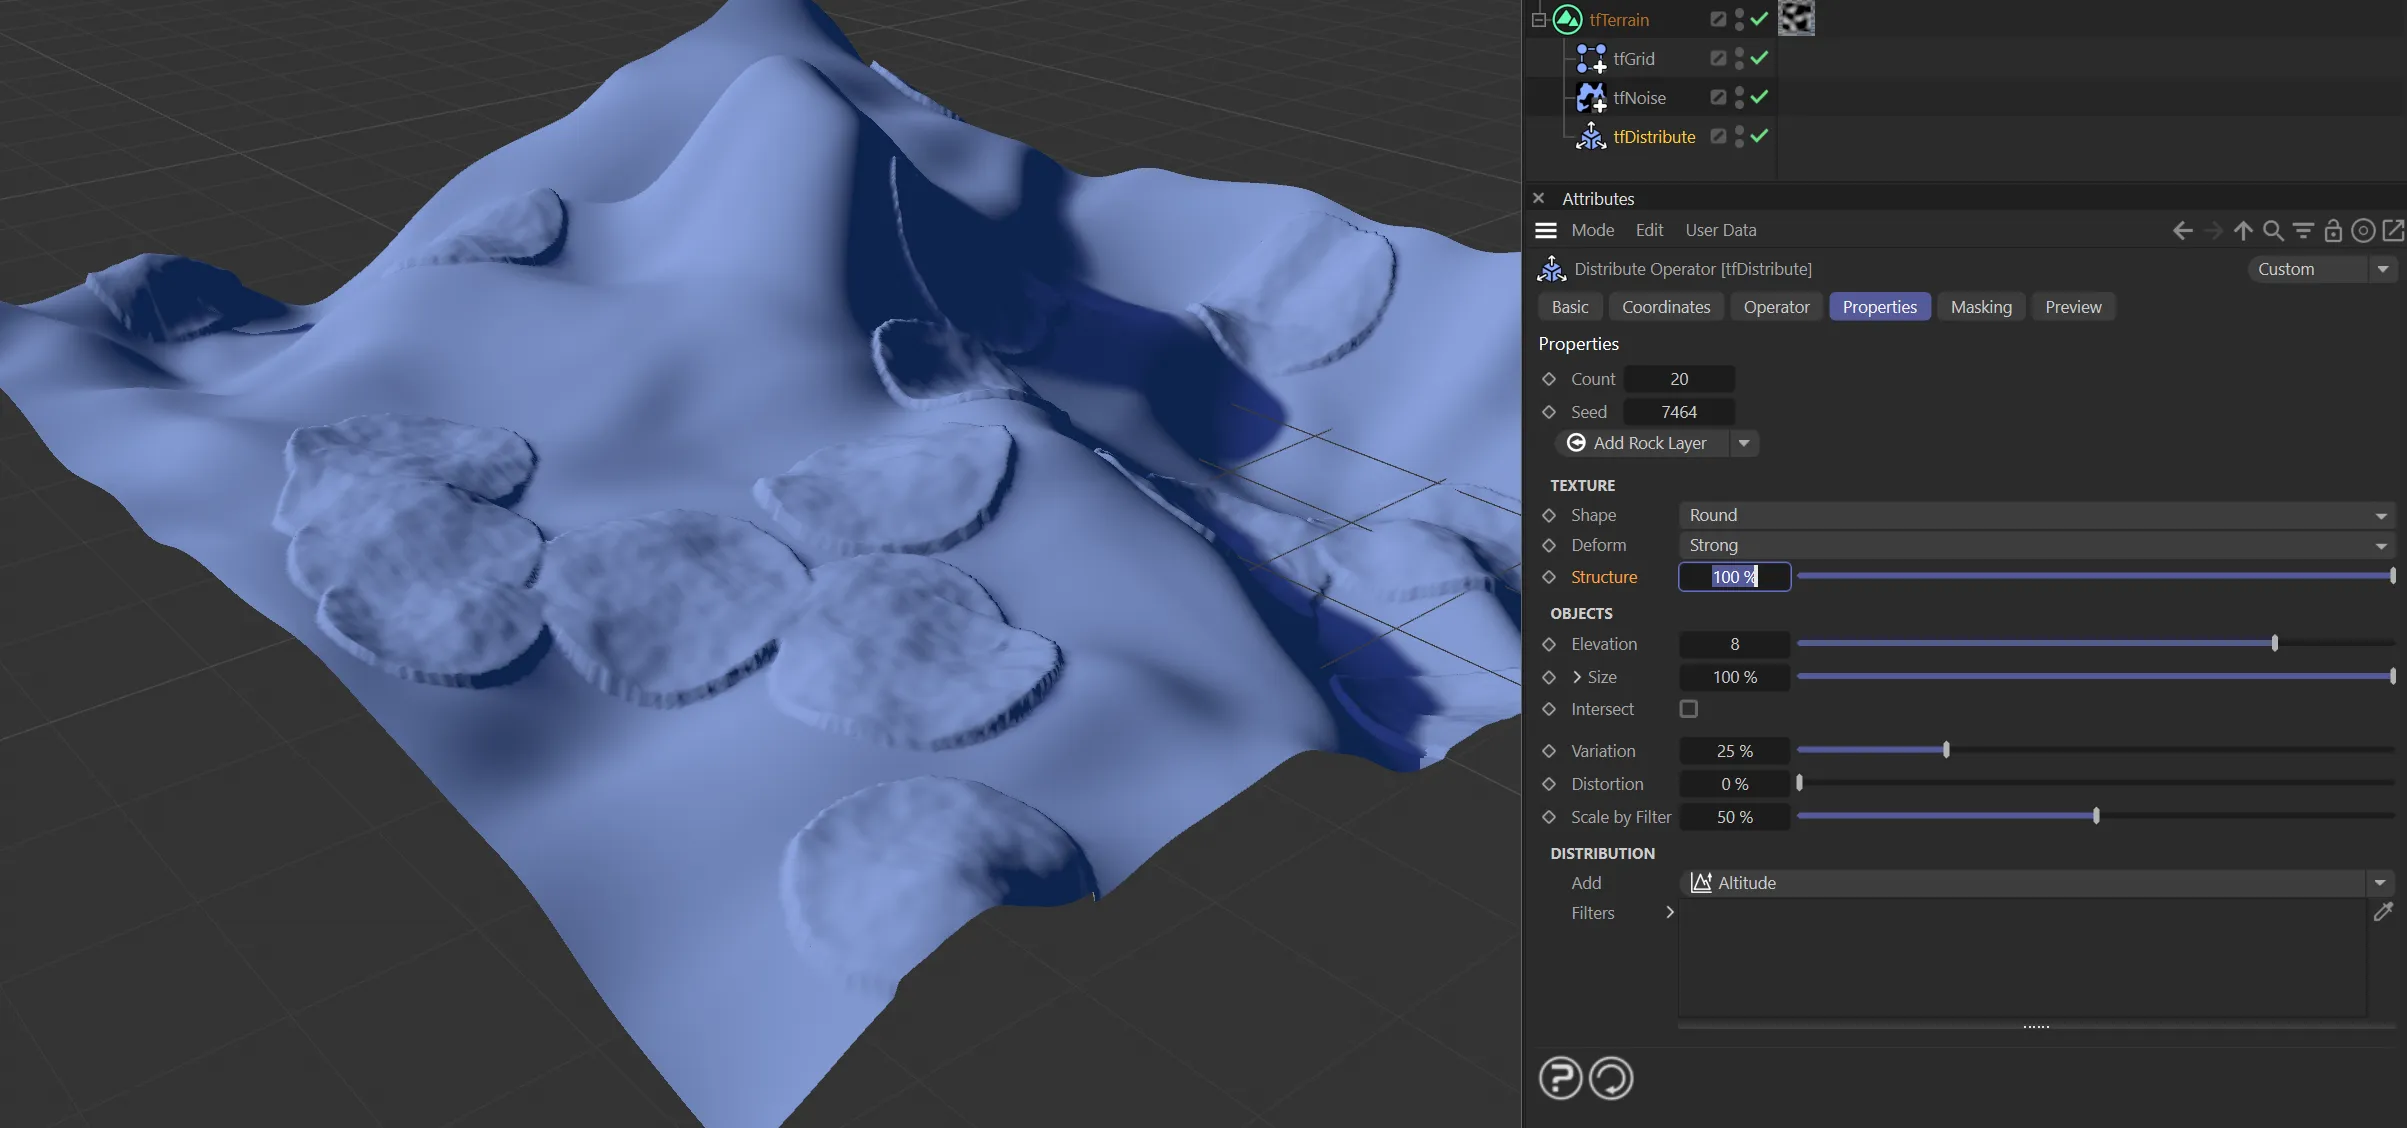
In this second image, Structure is raised to 100%.
Texture
Section titled “Texture”Only available when Shape is set to Custom.
Select a bitmap to use as height map for the scattered objects.
Supported are 8-Bit images in RGB and greyscale mode, with optional alpha channel.
Invert
Section titled “Invert”Inverts the custom texture height map.
Invert Alpha
Section titled “Invert Alpha”Enable to invert the custom texture’s alpha channel.
Objects
Section titled “Objects”These attributes control the size and shape of the distributed objects.
Elevation
Section titled “Elevation”Controls the maximum height of the distributed objects.
Controls the maximum size of the objects.
Scale U, Scale V
Section titled “Scale U, Scale V”Clicking on the drop-down arrow, will reveal these two parameters, allowing you to control the U and V size separately.
Intersect
Section titled “Intersect”Enabling this will intersect the objects with the terrain; when disabled, it will simply add the objects on top of the terrain.
Intersecting can be useful to create the impression of rocks sticking out of sloped terrain, rather than just sitting on the surface.
Enabling this can help realism for larger rock formations, while keeping it disabled is useful e.g. for trees.
Variation
Section titled “Variation”Increase this value to get more variation in the objects’ size and elevation.
Distortion
Section titled “Distortion”Increase this value to get objects that are stretched along their axes.
This animation demonstrates the effect of the Distortion slider.
Scale by Filter
Section titled “Scale by Filter”Increase this value to shrink objects that are distributed in the less densely populated areas.
Distribution
Section titled “Distribution”Attributes for object distribution are located in this group.
Distribution filters are added and managed here.
The filter options are: Altitude, Slope, Ambient Occlusion, Noise, Shader and Fields.
Filters
Section titled “Filters”This list contains the filters that you have added.
There can be more than one filter in this list and you can even add more than one of the same layer type.
For each object to be placed, the filters are evaluated from the top down.
Clicking and highlighting the filter will present Filter Blending and Filter Properties options, described below.
Different filters will allow different parameter options.
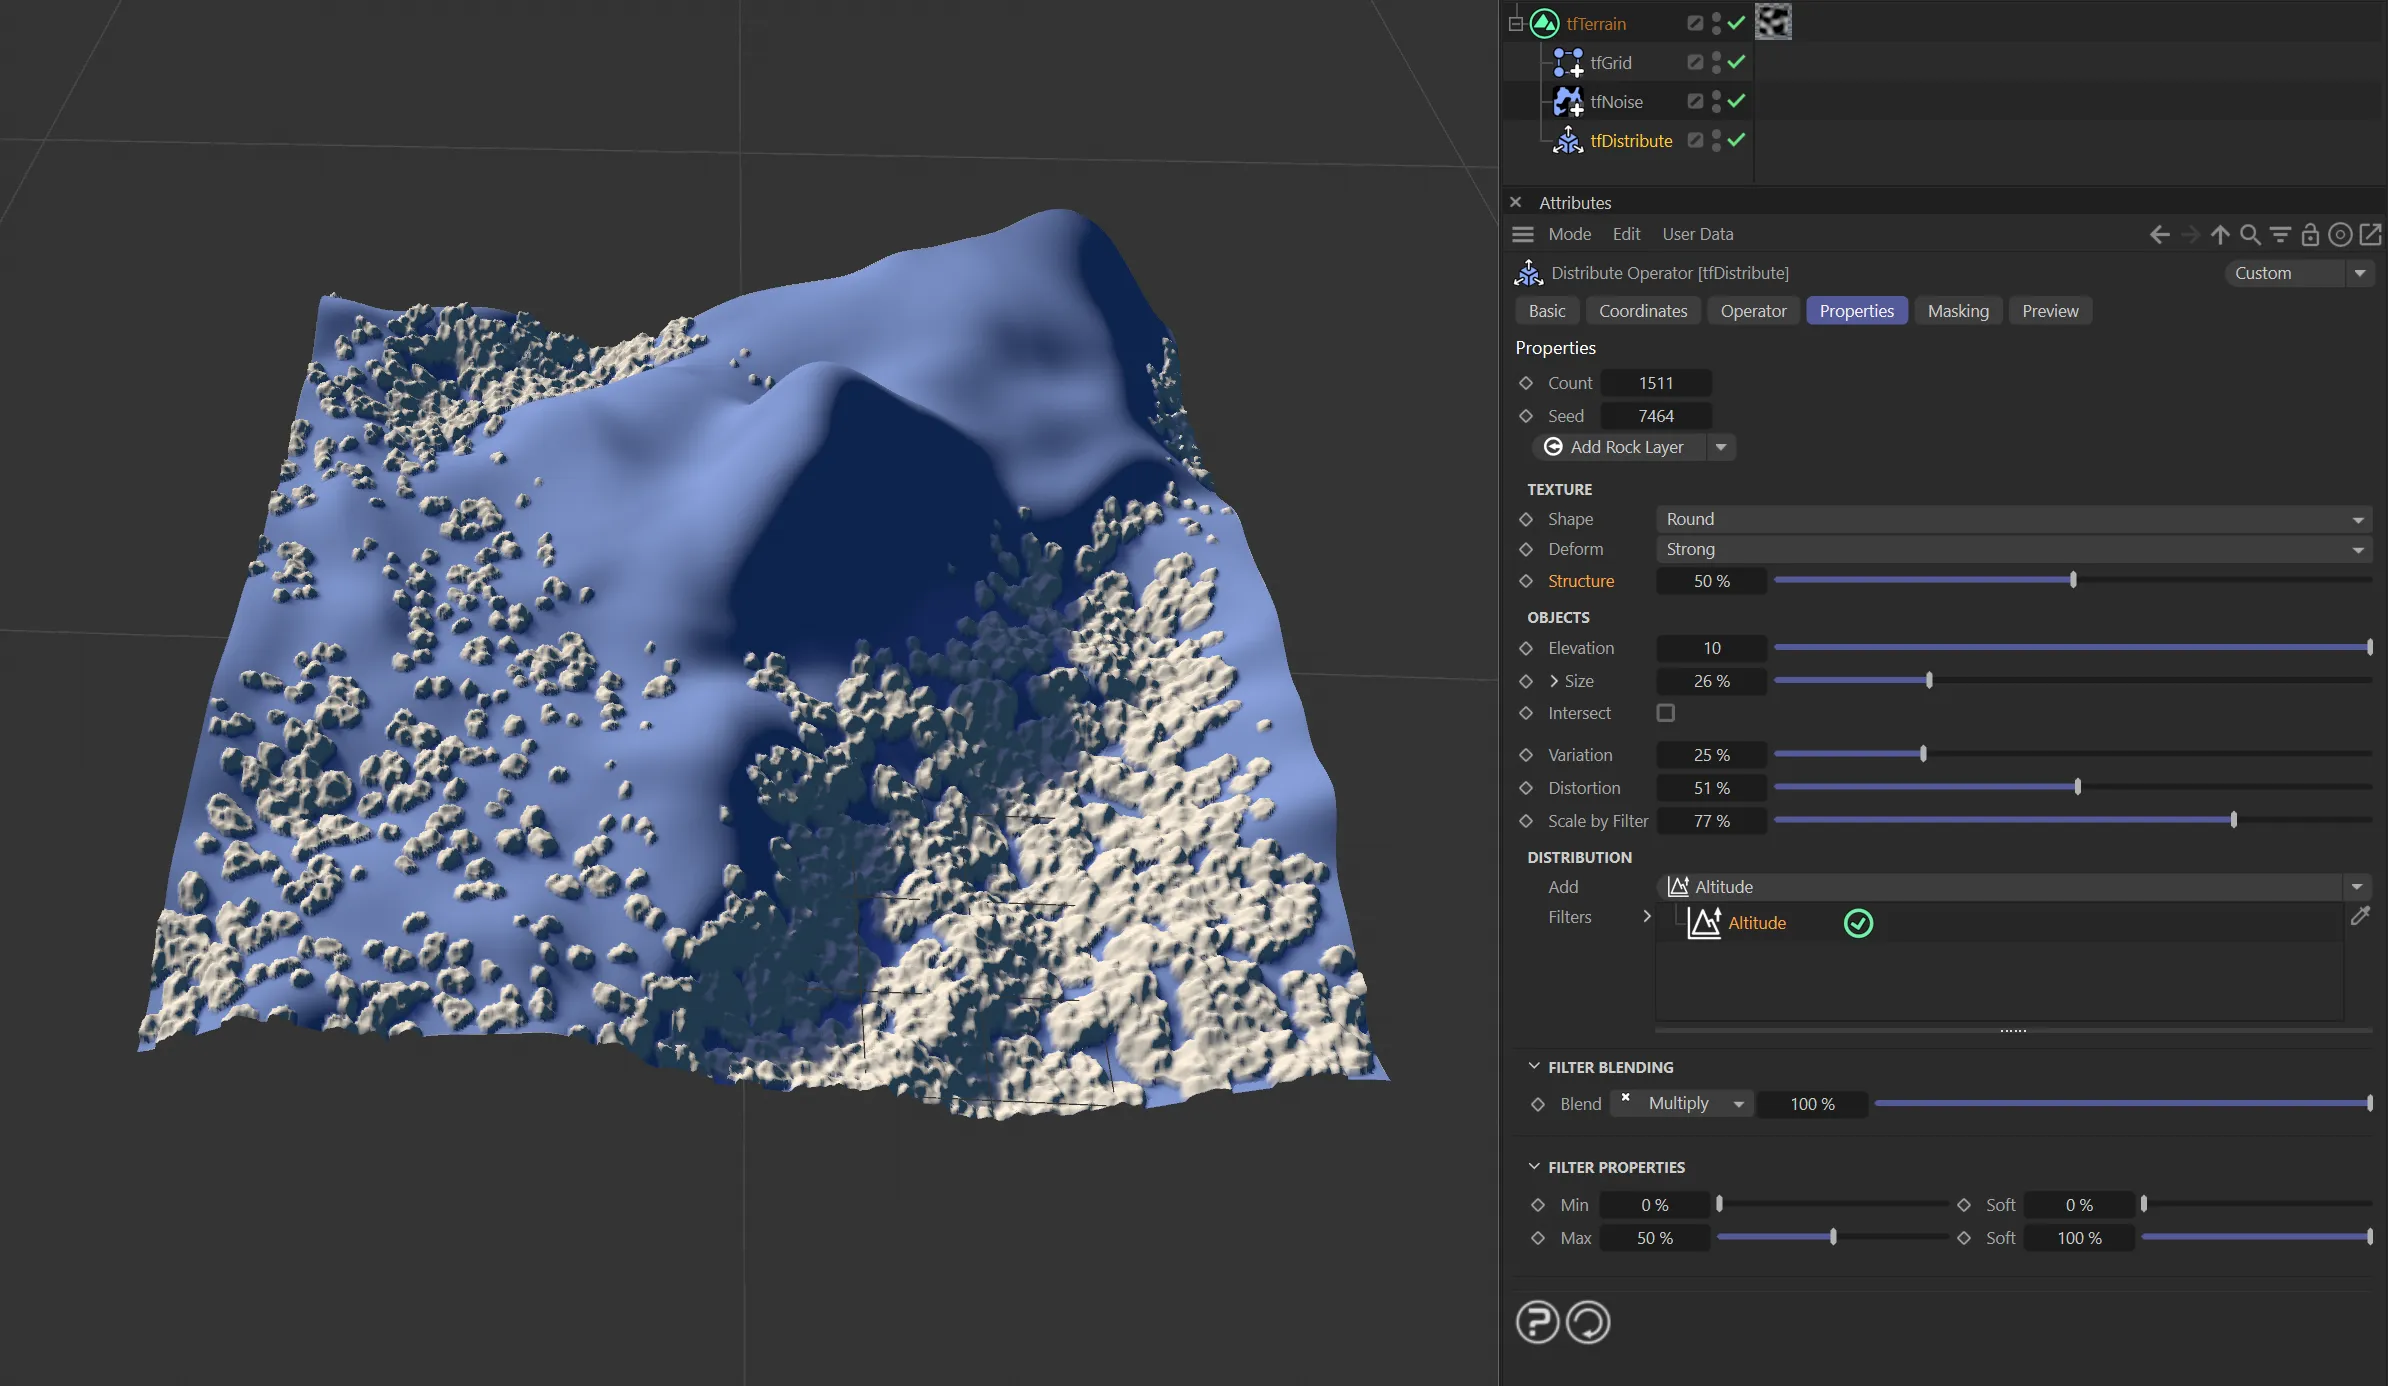
In this image, the Altitude filter is enabled on the rock layer.
Filter Blending
Section titled “Filter Blending”All filters can be blended with each other, choosing either Multiply (each successive filter takes away from the previous filters) or Add (filter adds to the previous ones).
In addition, a strength slider allows you to further fine tune the effect.
Filter Properties
Section titled “Filter Properties”Each filter has the same Min, Max and Soft parameters (some filters have additional parameters).
They can also be inverted by having a Min value greater than the Max value, when the objects are not distributed between Min and Max, but everywhere except between Min and Max.
Min, Max
Section titled “Min, Max”Sets (clamps) the regions between where the objects are distributed.
This parameter allows you to control a ‘soft’ falloff to the clamping that you have set with the Min and Max values.
Radius
Section titled “Radius”Only available with the Ambient Occlusion filter, this simply set the radius for the ambient occlusion effect.
Smaller values will isolate smaller features of the terrain, while larger values apply more to large valleys and mountains.
Only available when the Noise filter is selected, this controls the scale of the noise field.
Shader
Section titled “Shader”With the Shader filter, you can select the shader type here, with the usual drop-down menu.

The INSYDIUM icon is used as a Shader in this scene, distributing rocks based on the Shader filter settings.
3D Sampling
Section titled “3D Sampling”Specific to the Fields filter, the effect is the same as in the operator masking.
While in earlier TerraformFX versions, fields have only been evaluated in 2D (as if projected from the top down onto the terrain plane), they can now be sampled in full 3D.
If a field, however large, only intersects with a mountain top, it will only take effect on that mountain top.
Fields
Section titled “Fields”You can use the Fields options to control where xpDistribute operates.
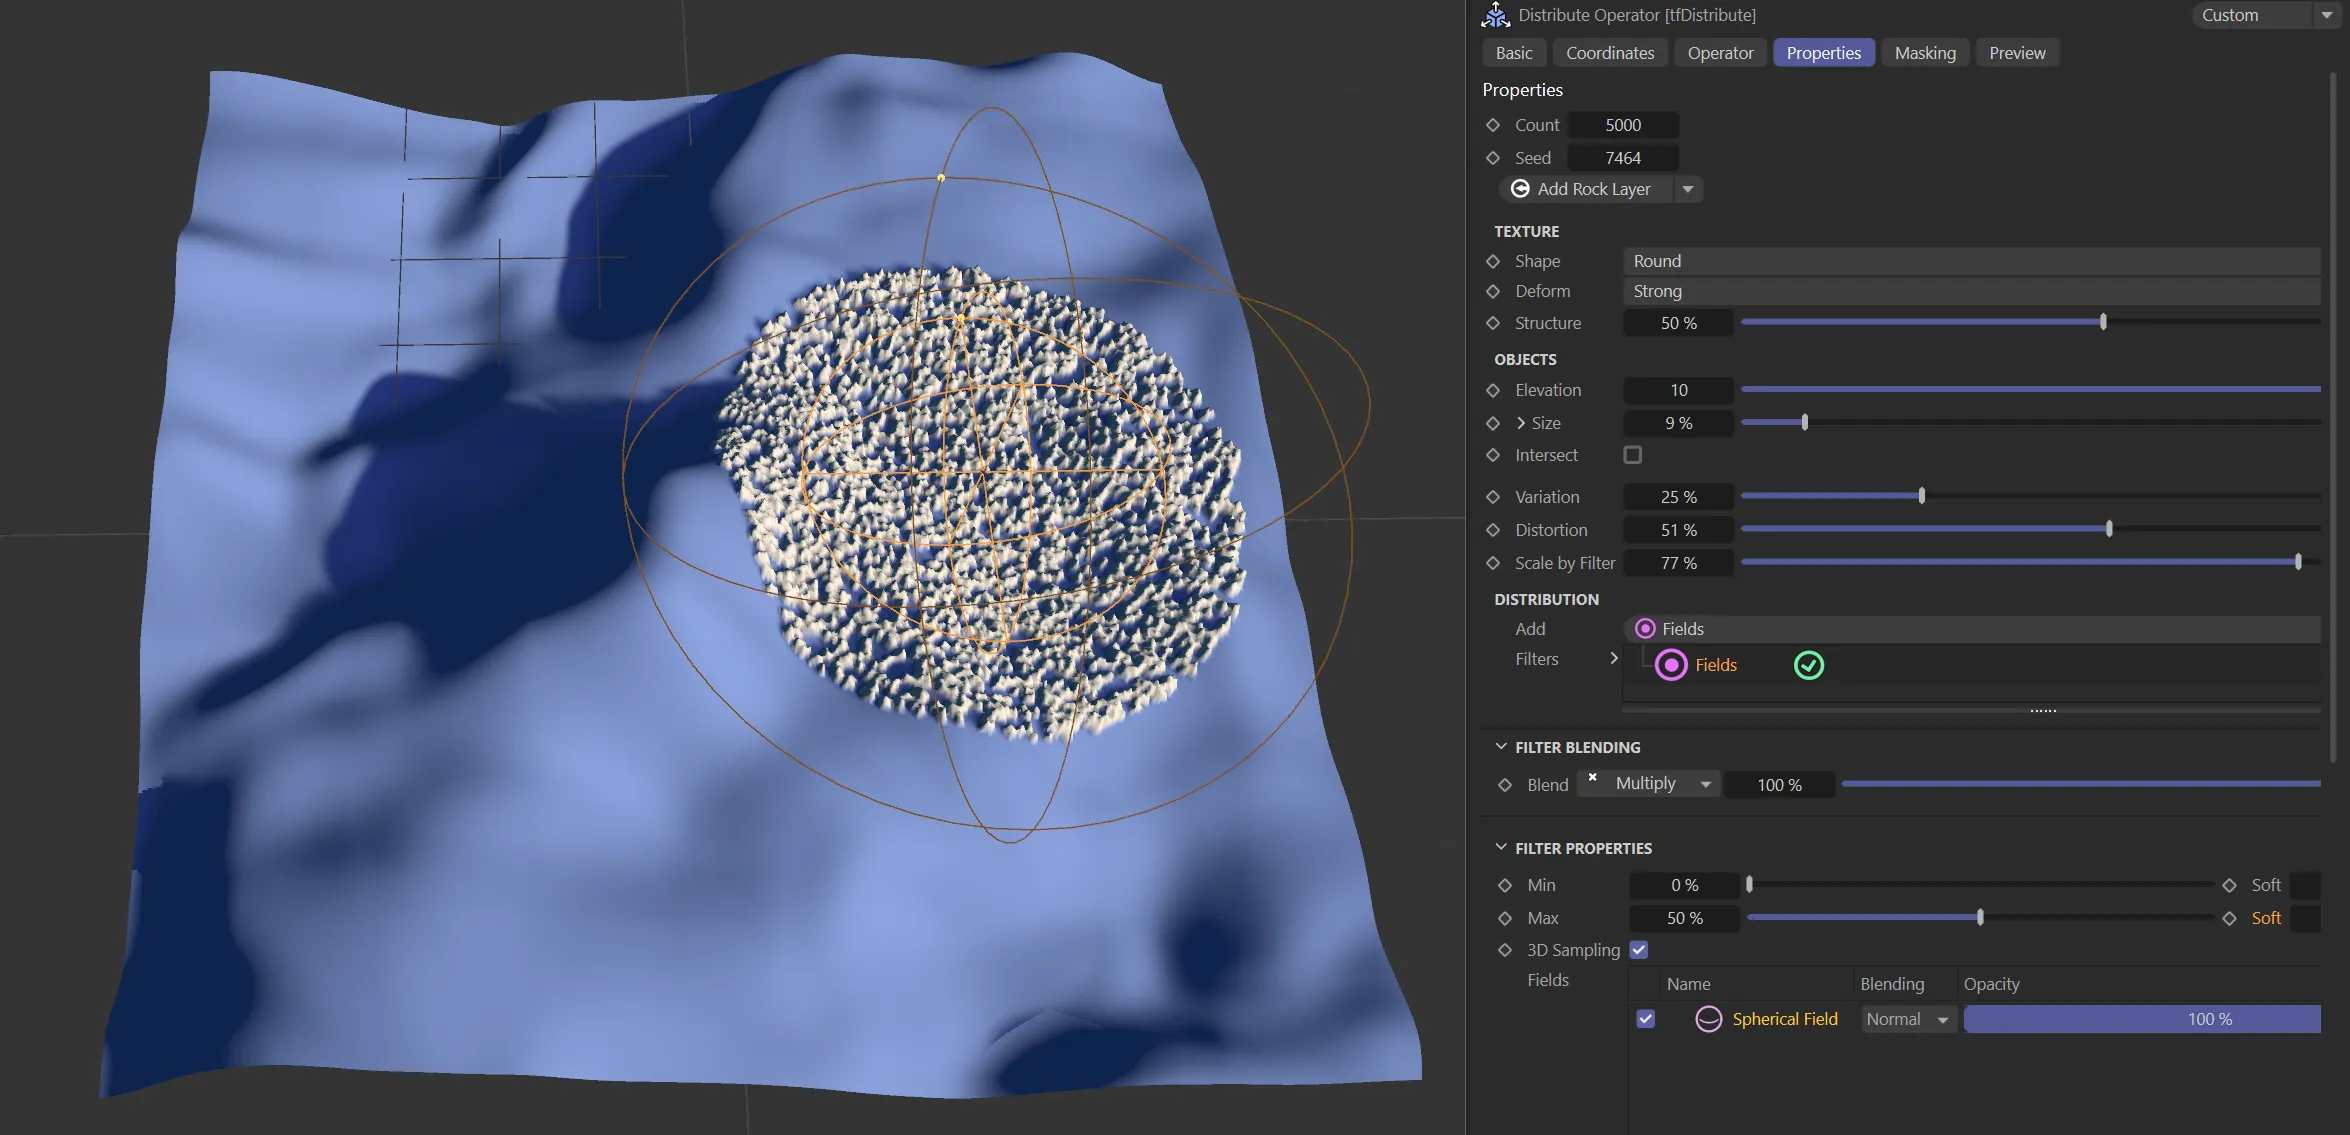
In this final image, a Spherical Field is driving the distribution of the rock layer.
Copyright © 2026 INSYDIUM LTD. All rights reserved.