GradientUV Shader Parameters
The GradientUV Shader allows more complex coloring of your terrain without having to juggle multiple gradients and masks.
It enables the choice of four colors, which can then be mixed using any two of the terrain properties, like Altitude, Slope or even erosion deposits.
Our User Guide gives a full explanation on the operation of this shader and how it works.
It may enhance your understanding further if you consult this before reading the details on this page.
The GradientUV Shader can be accessed from any object that uses the Texture drop-down menu.
This could be a material channel, an X-Particles modifier or a node within a 3rd party render engine.
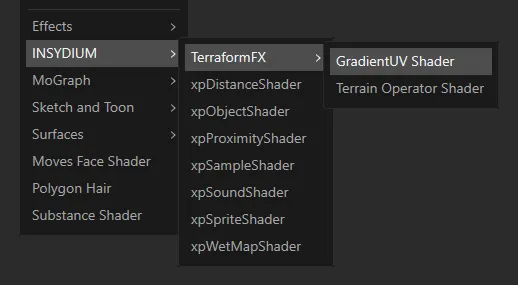
Menu access to the GradientUV Shader.
Gradient
Section titled “Gradient”The 2D gradient enables the mixing of four colors.

The default 2D gradient, with its four color states: red, green, blue and cyan.
To change the default colors, simply click in a corner, and a color picker will appear.
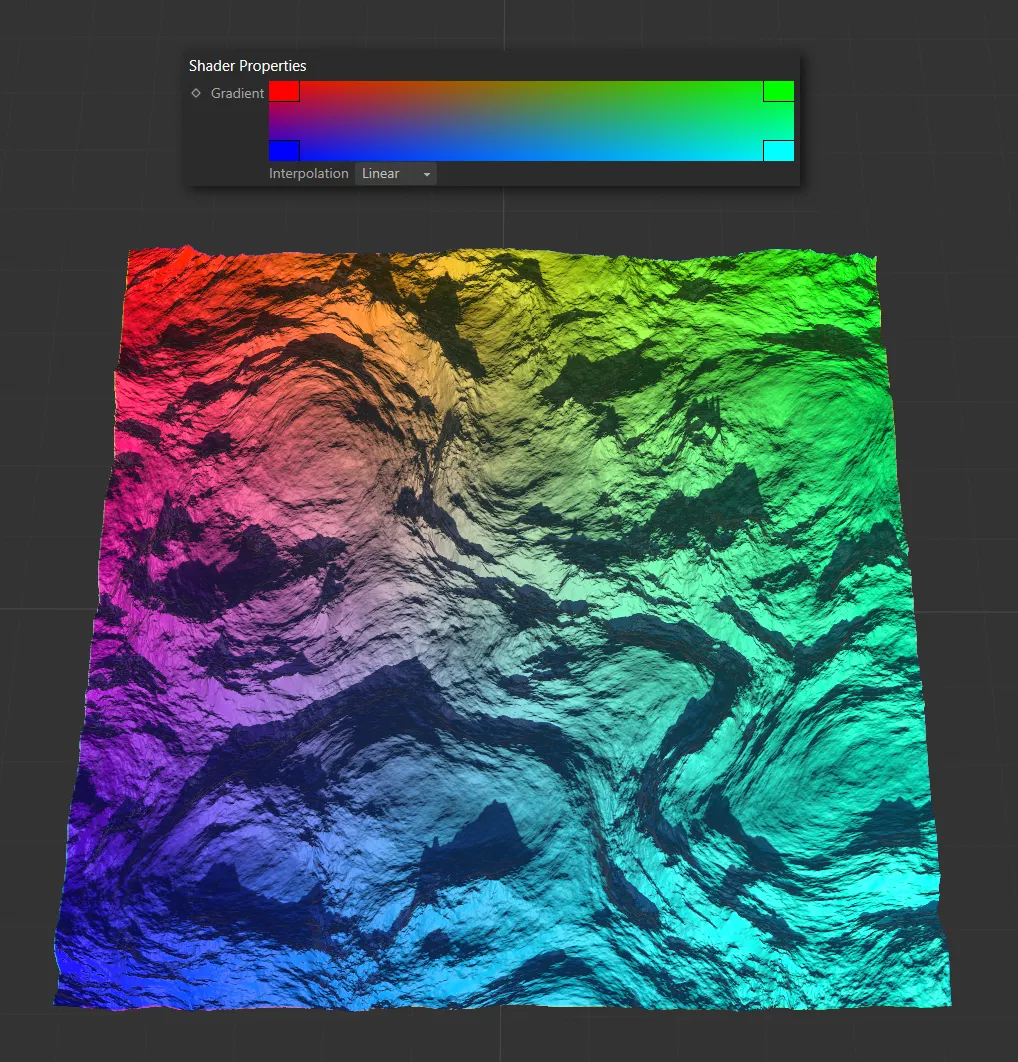
This image illustrates the U and V axes, with a terrain textured using a GradientUV Shader, in its default settings.
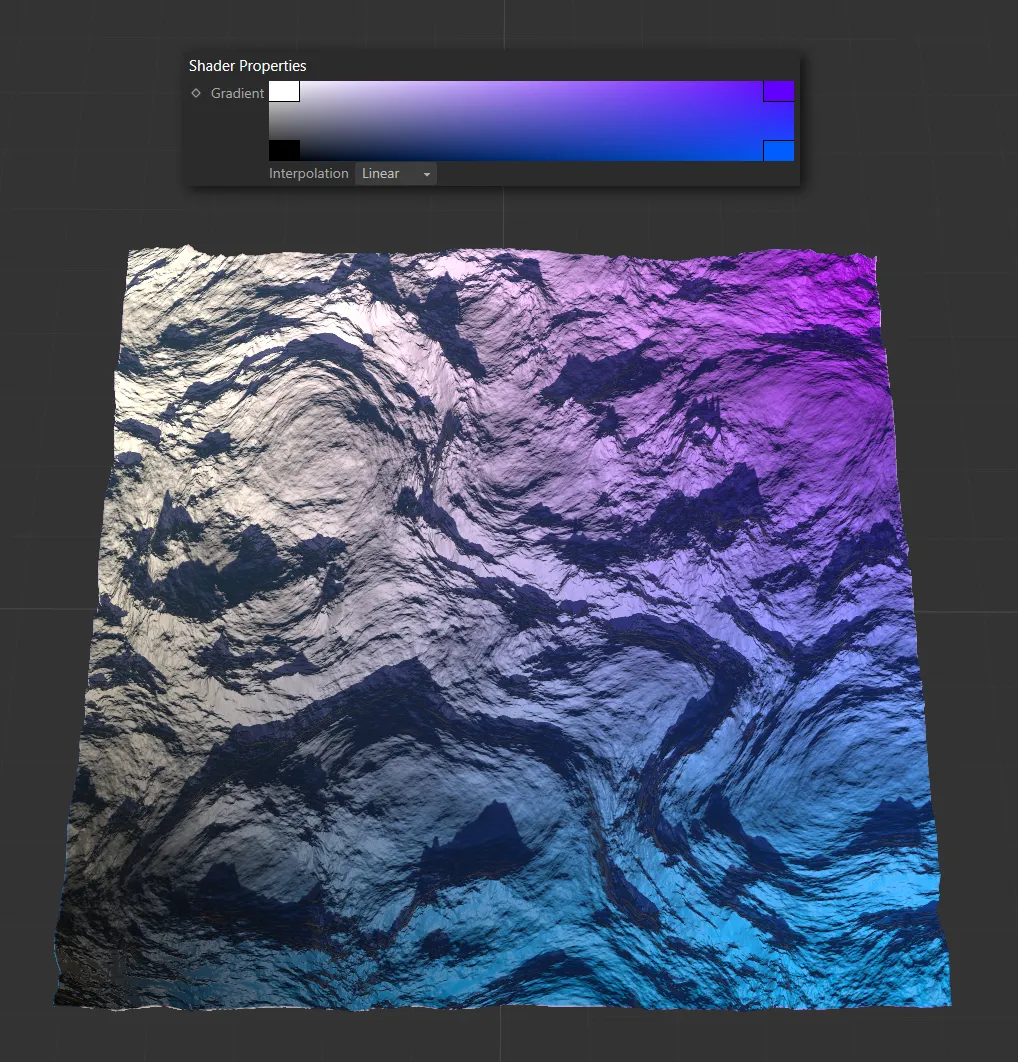
In this second image, the default colors have each been changed.
Interpolation
Section titled “Interpolation”This is set as Linear, by default.
The alternative setting is Smooth.
Input U, Input V
Section titled “Input U, Input V”Shader
Section titled “Shader”The U and V can each be assigned shader inputs.
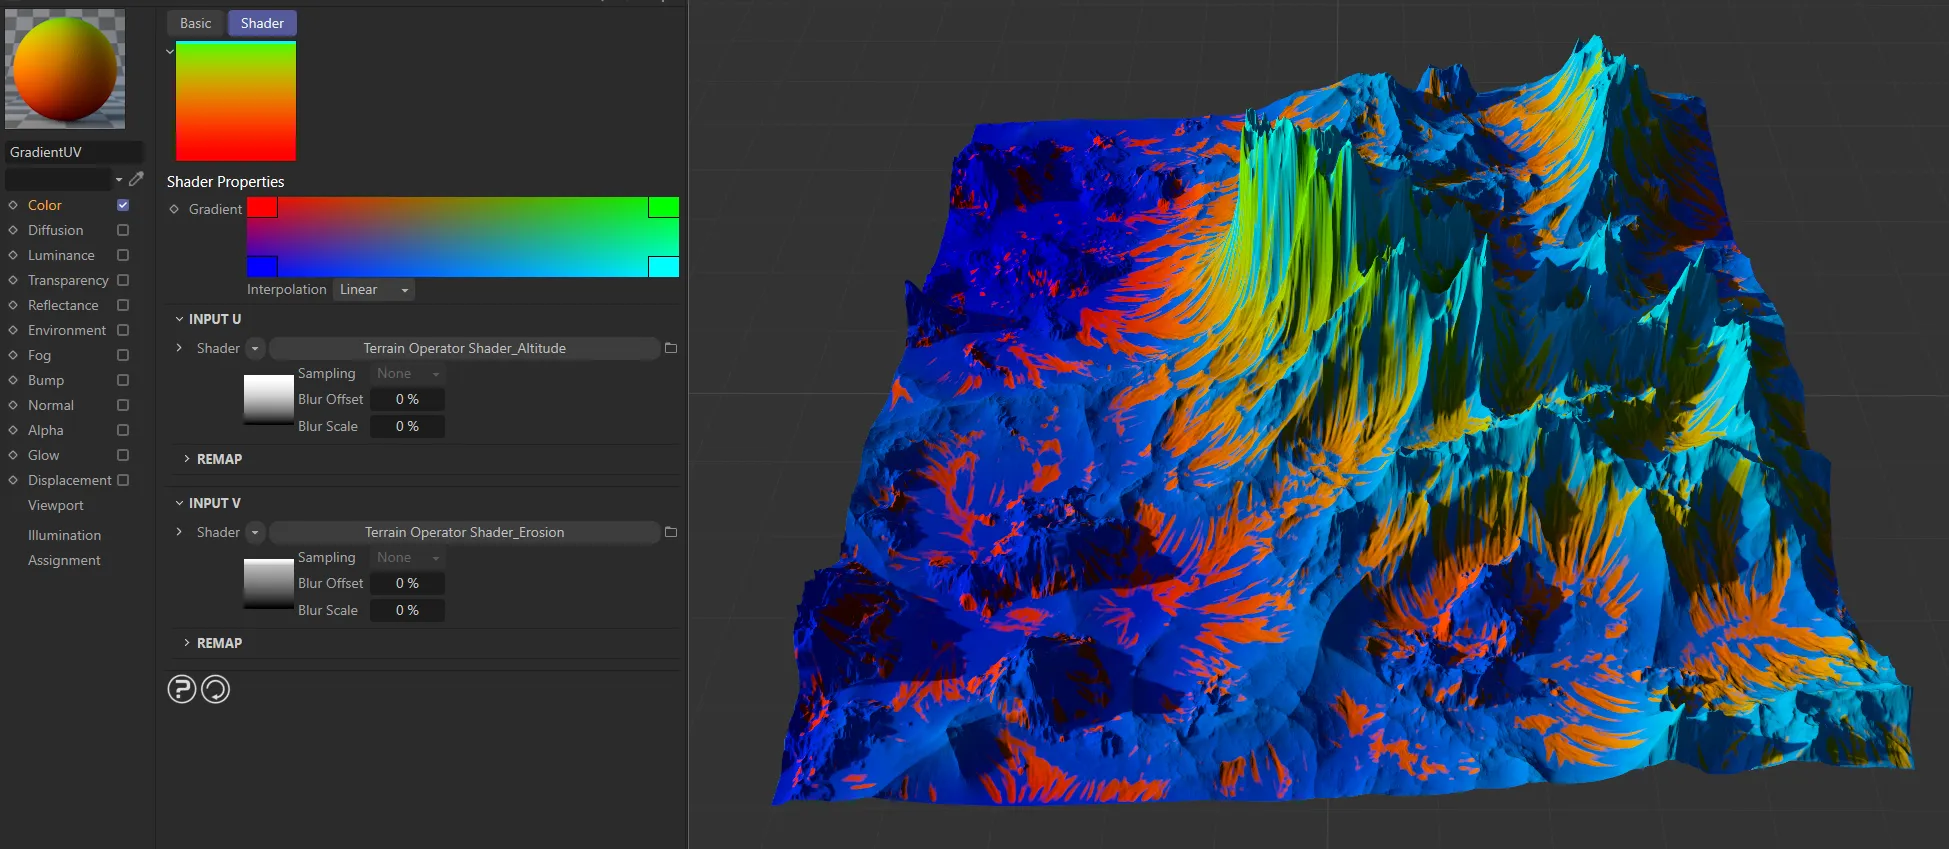
Here, the U and V inputs have been assigned shaders. U now corresponds to a Terrain Operator Shader, linked to the tfTerrain and set to Altitude mode. V also now corresponds to a Terrain Operator Shader but this one is linked to the tfErosion Operator, which is set to Erosion mode.
Remap U, Remap V
Section titled “Remap U, Remap V”Each input has a remap curve, which can be customized to map the color along the length of the gradient.
For example, a linear curve will map an equal transition from color to color, along the length of the gradient.
This can then be remapped by adjusting the curve.
Any fade between colors can be completely removed by applying an aggressive linear curve.
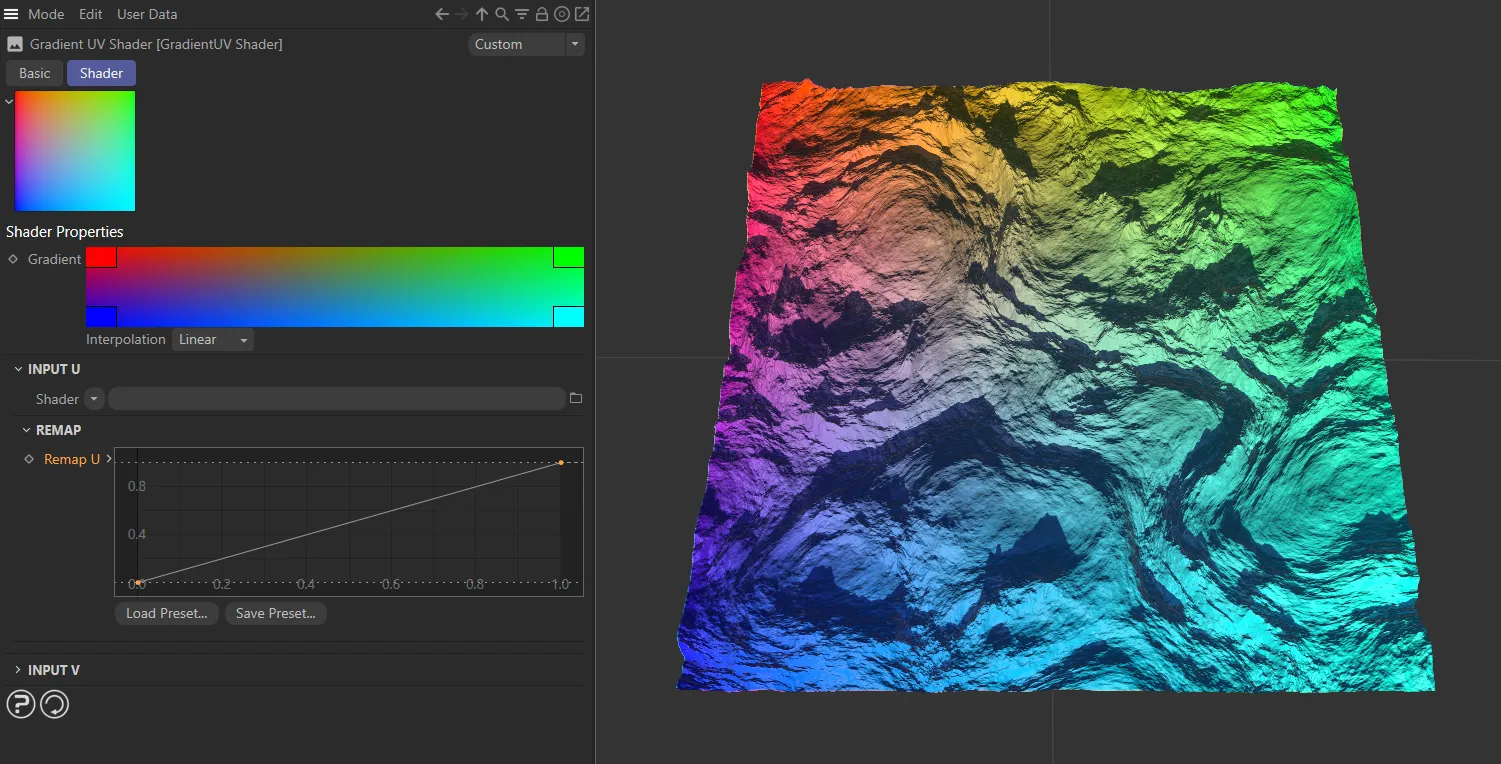
The Remap U curve, with a linear setting.
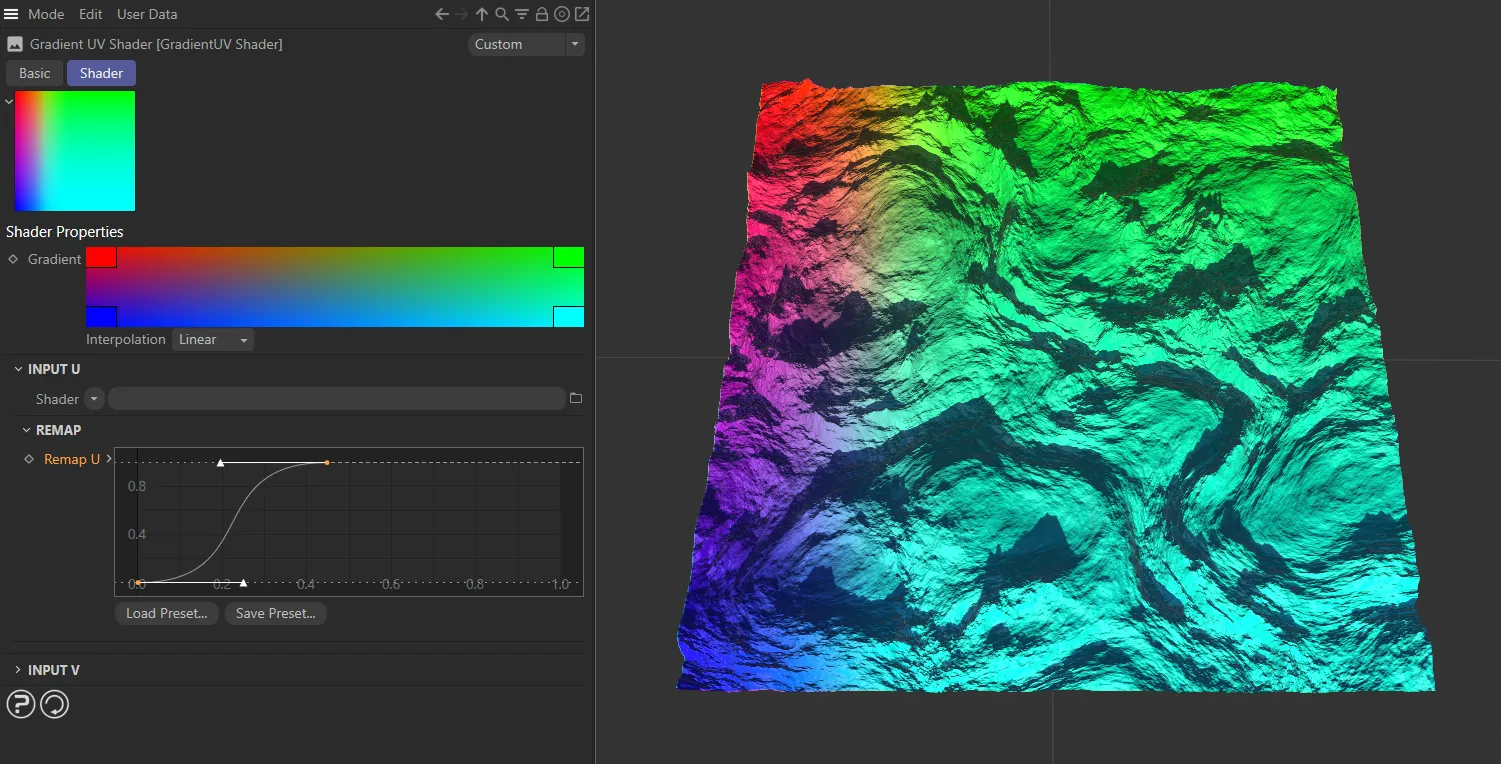
With this customized Remap U curve setting, the transition to green and cyan has happened before halfway.
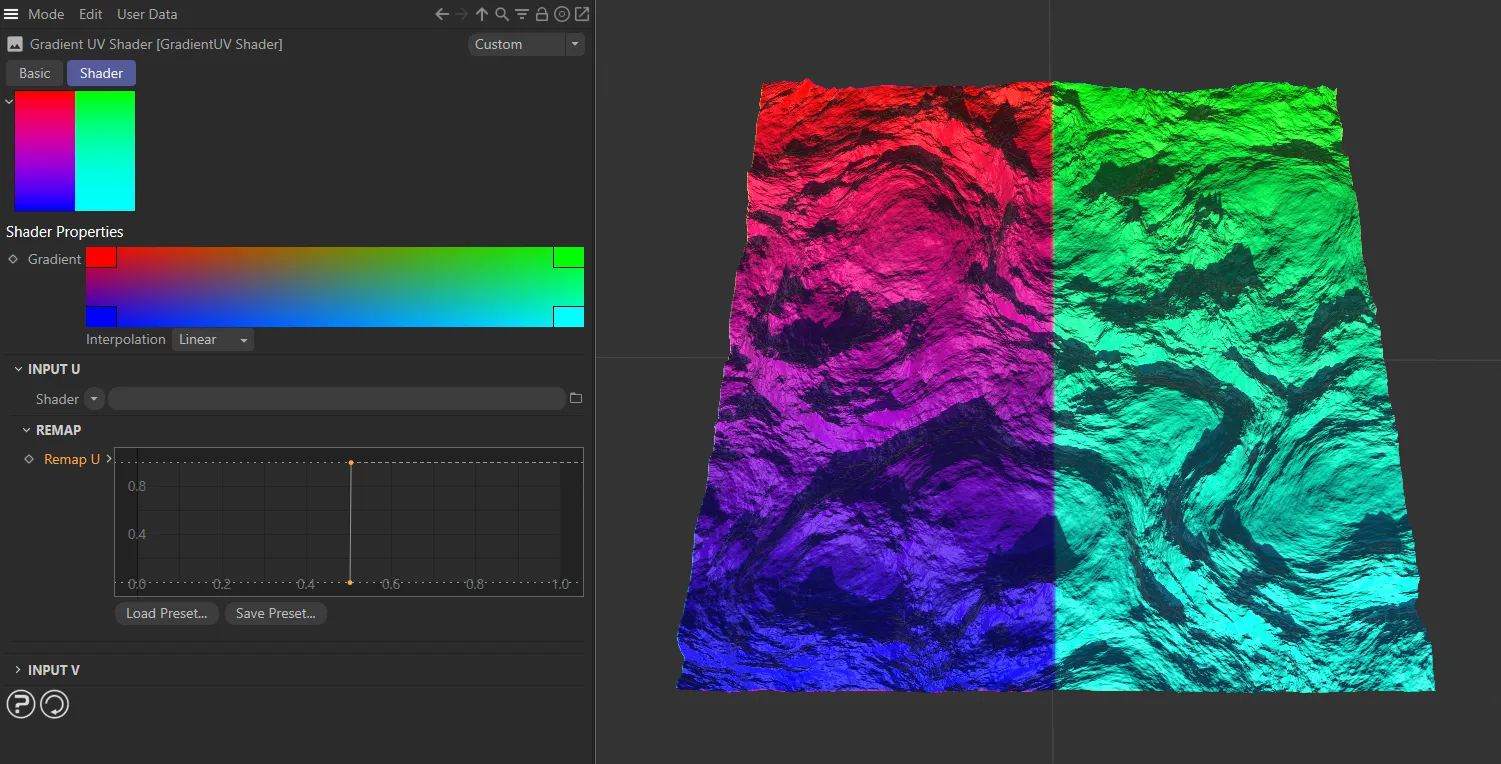
This Remap U curve setting is (as explained above) removing any fading between colors.
The true power of the GradientUV Shader is unlocked when you use shaders in both the U and V inputs.
So, rather than masking two independent gradients of two Terrain Operator Shaders on top of each other, it is possible to get all blended intermediate states of both Terrain Operator Shaders.
Copyright © 2026 INSYDIUM LTD. All rights reserved.