Advanced Terrain Shader
The Advanced Terrain Shader is where TerraformFX’s new texturing system is controlled.
The color of the terrain surface depends on many geological, meteorological and biological factors.
The rules may change, depending on where on Earth we are (and. indeed, whether we are on Earth to begin with).
The Advanced Terrain Shader makes all of this substantially easier to achieve.
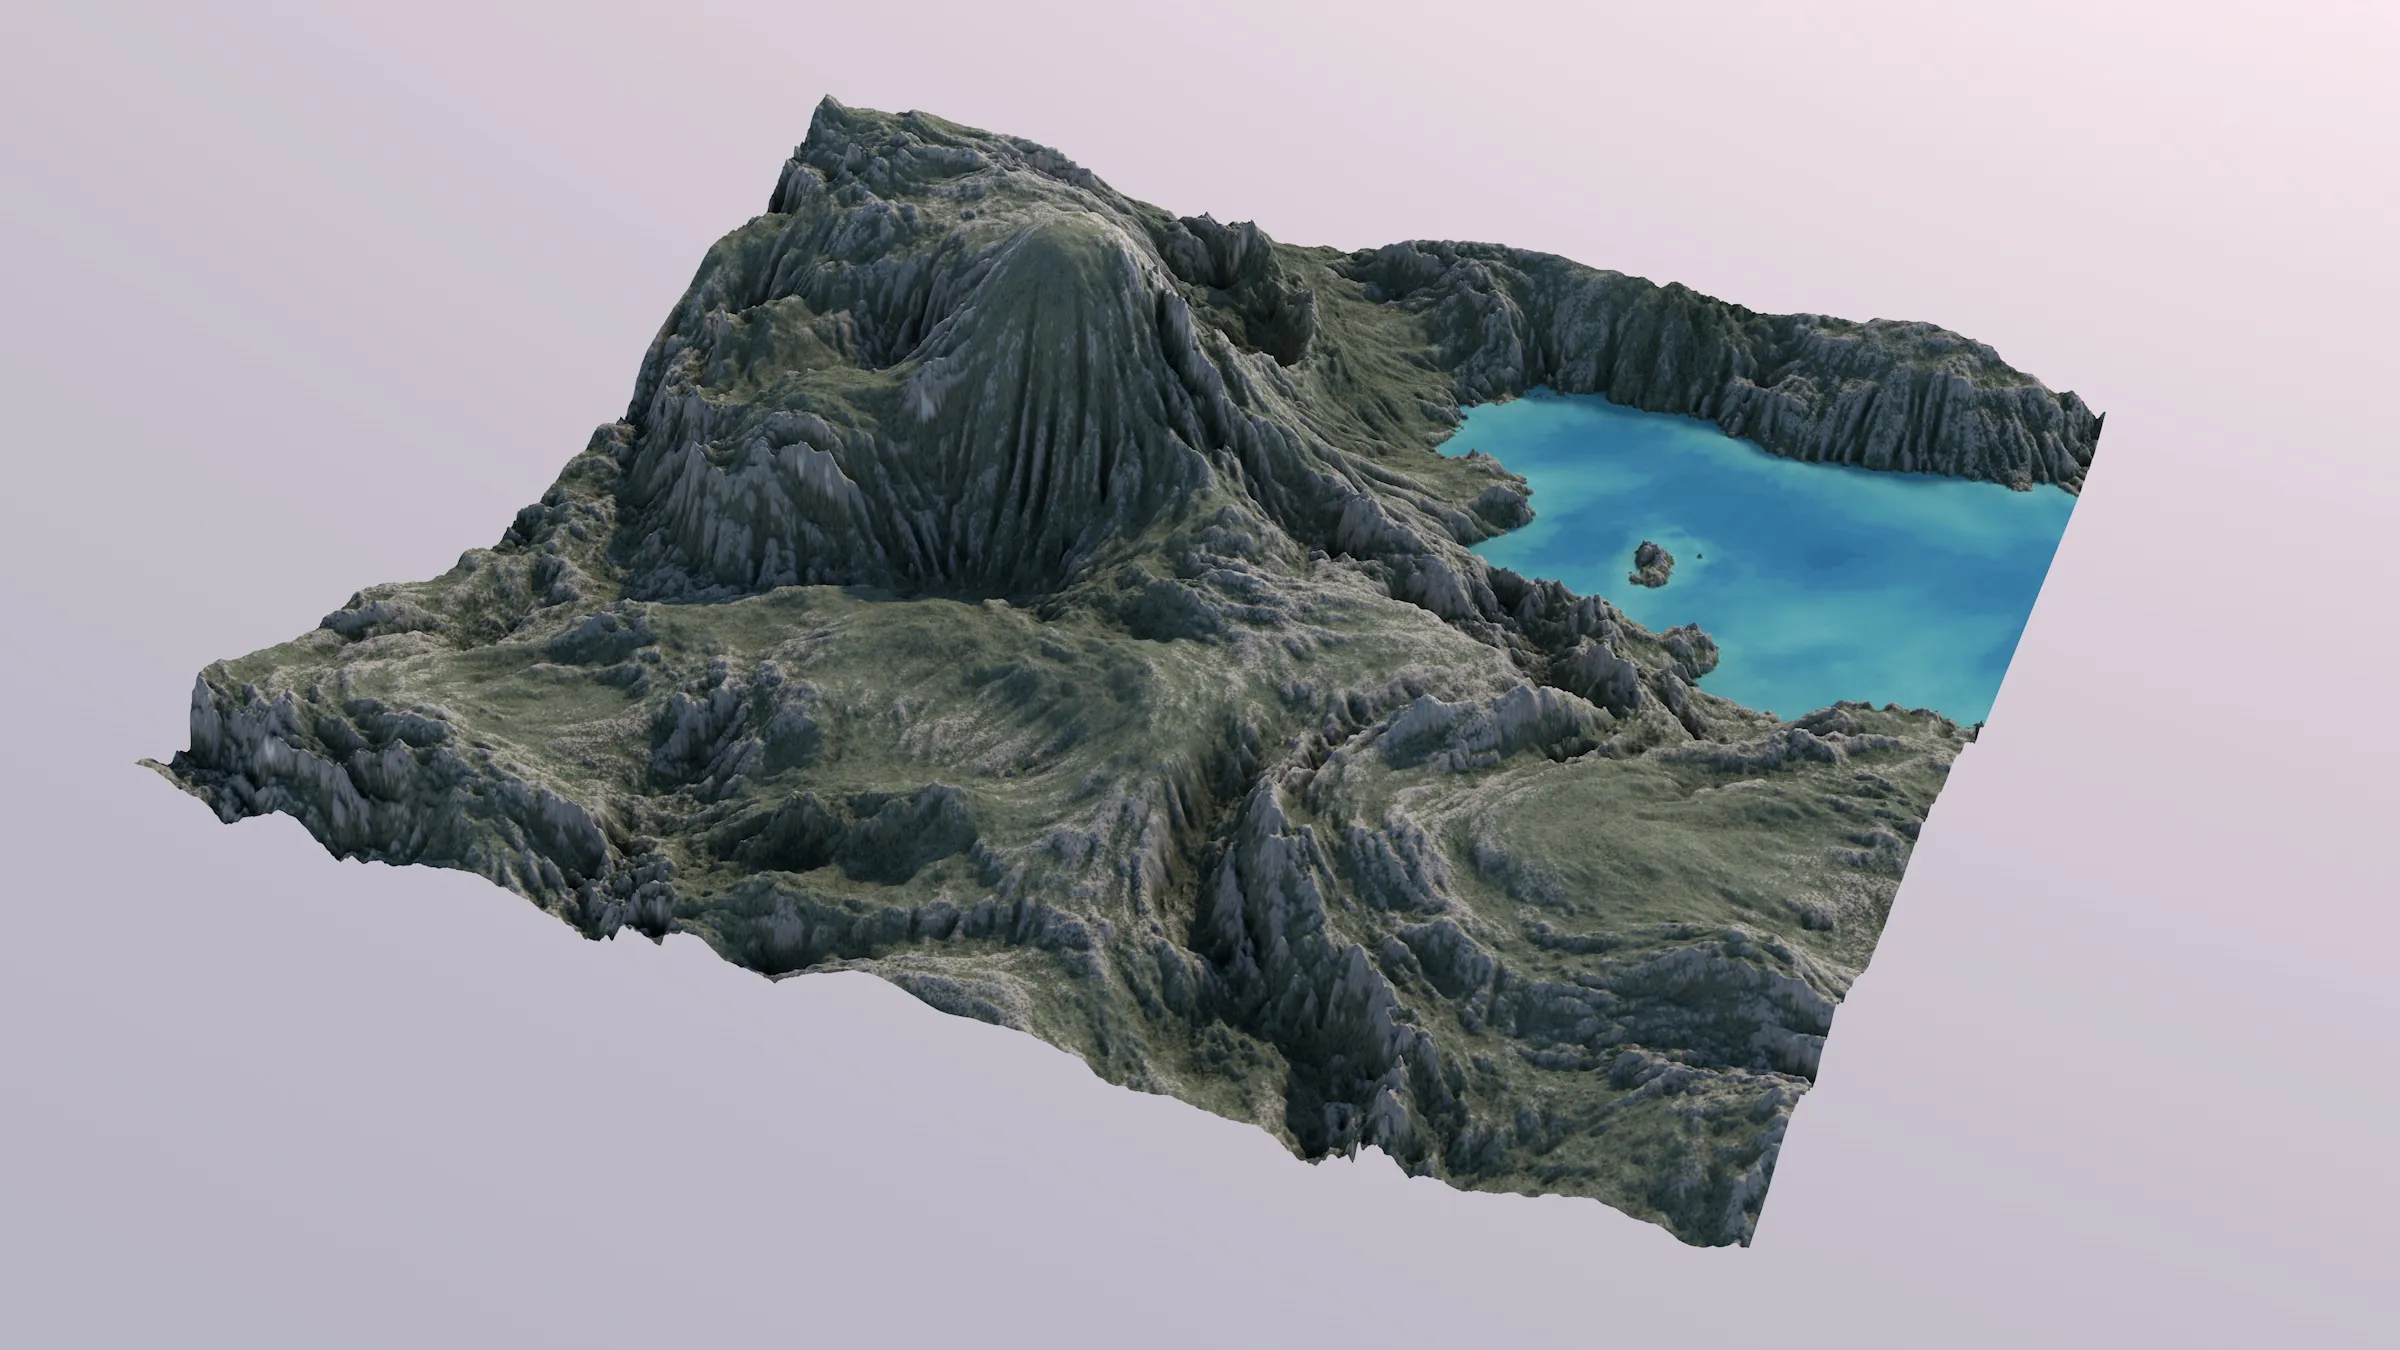
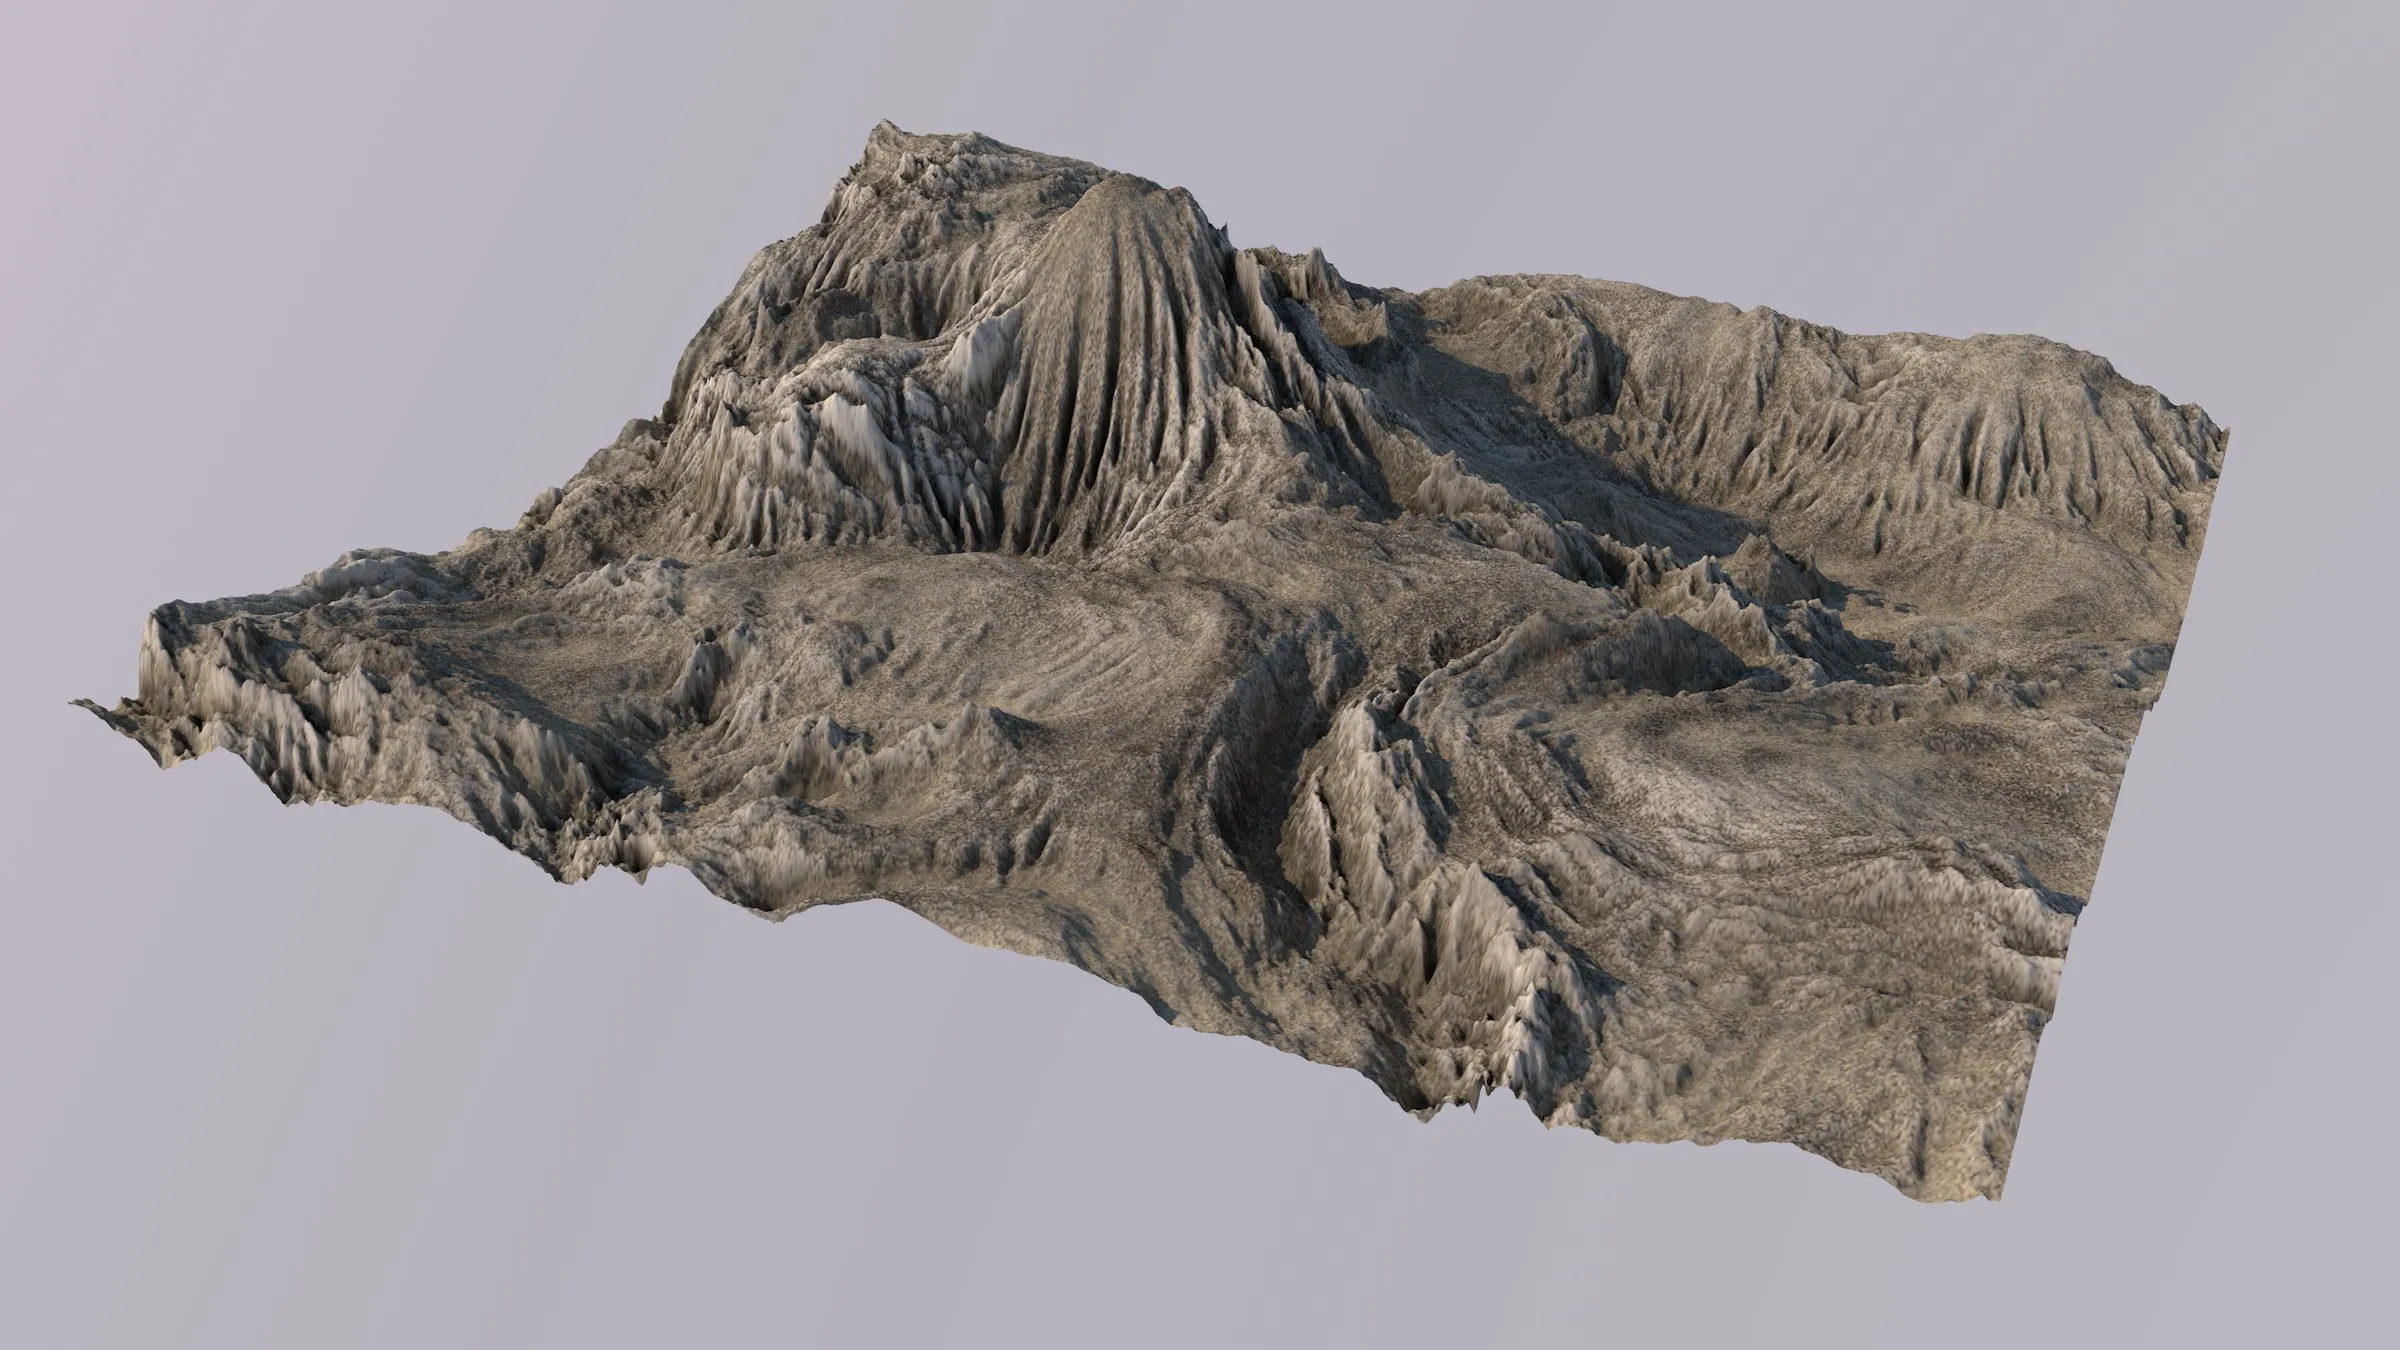
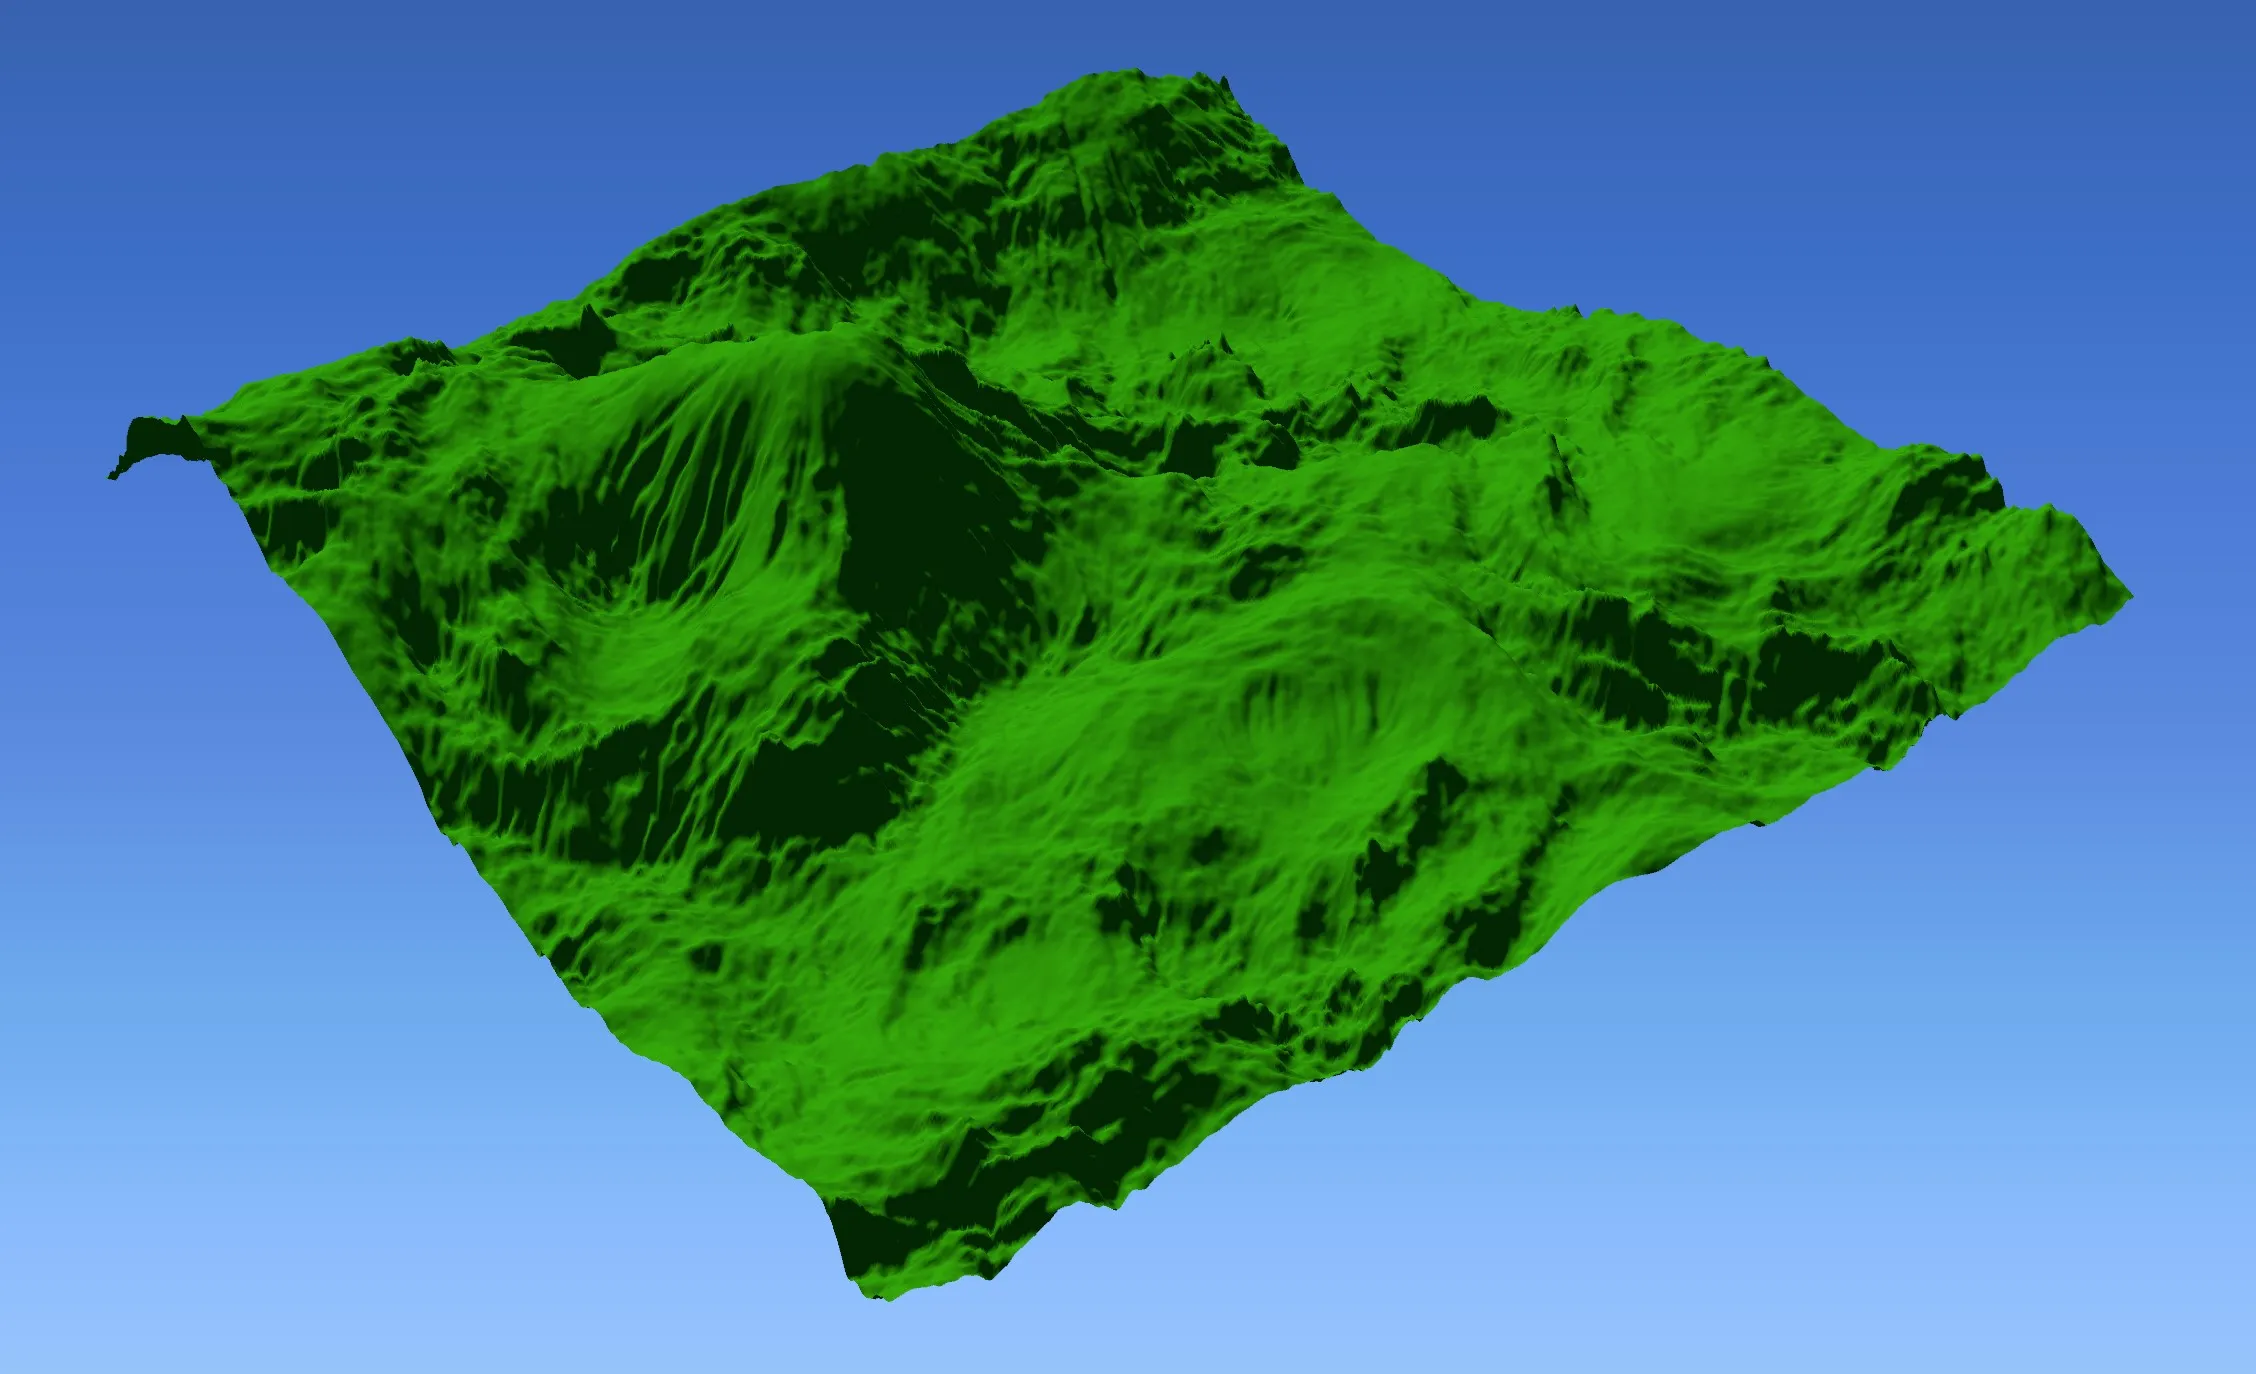
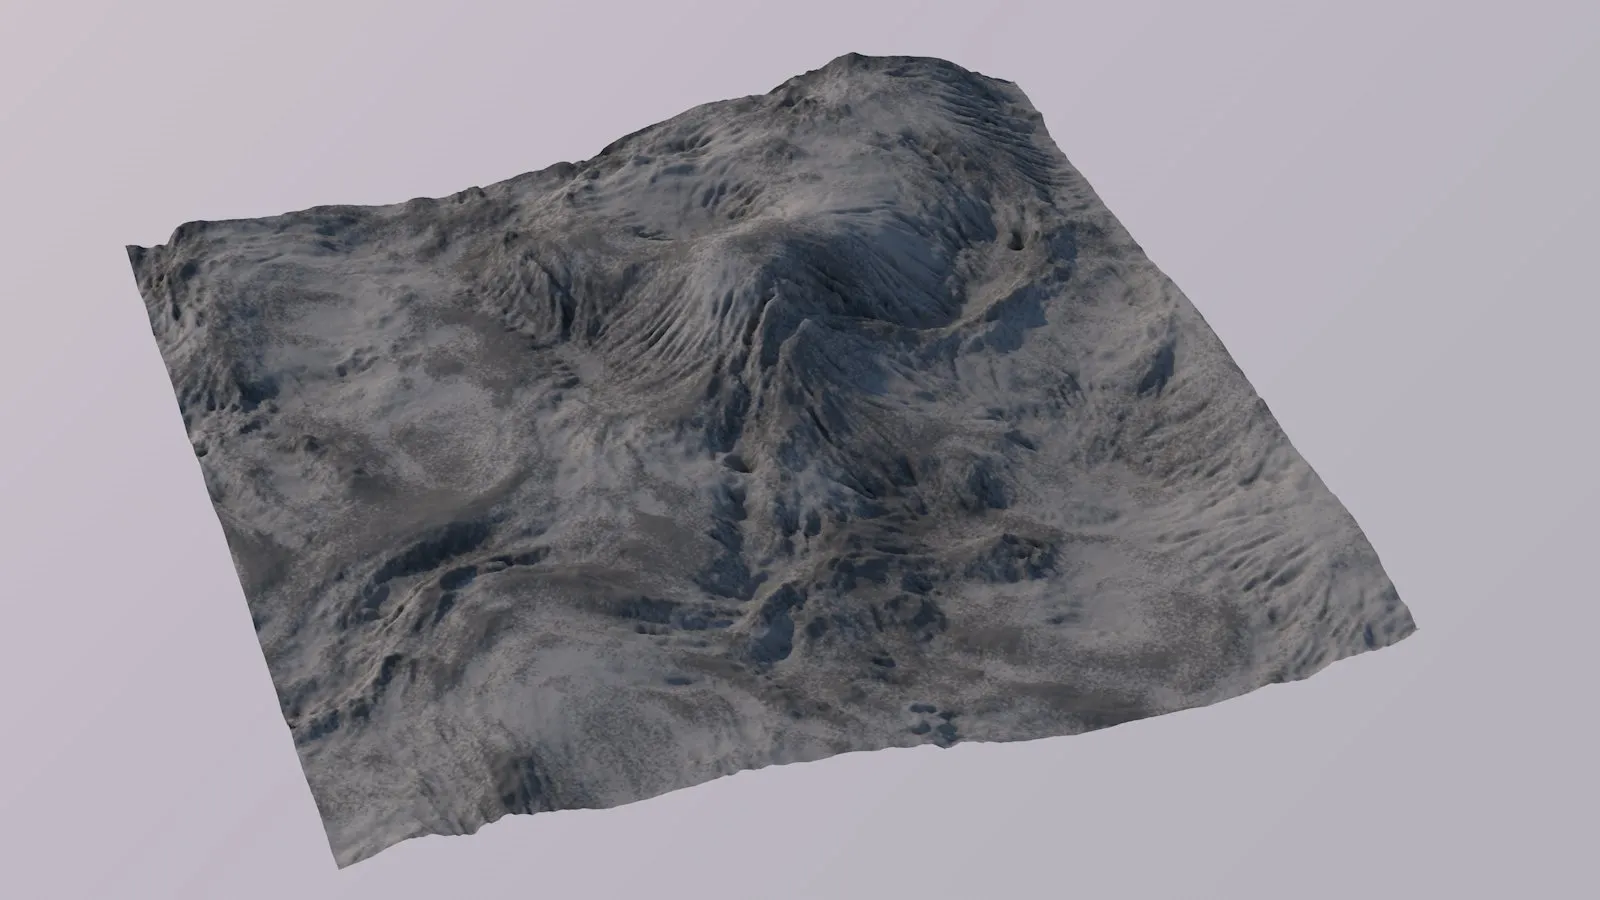
The default terrain with an additional tfFlood.
The water is colored using the tfFlood’s difference map and masked using its Flood Mask output.
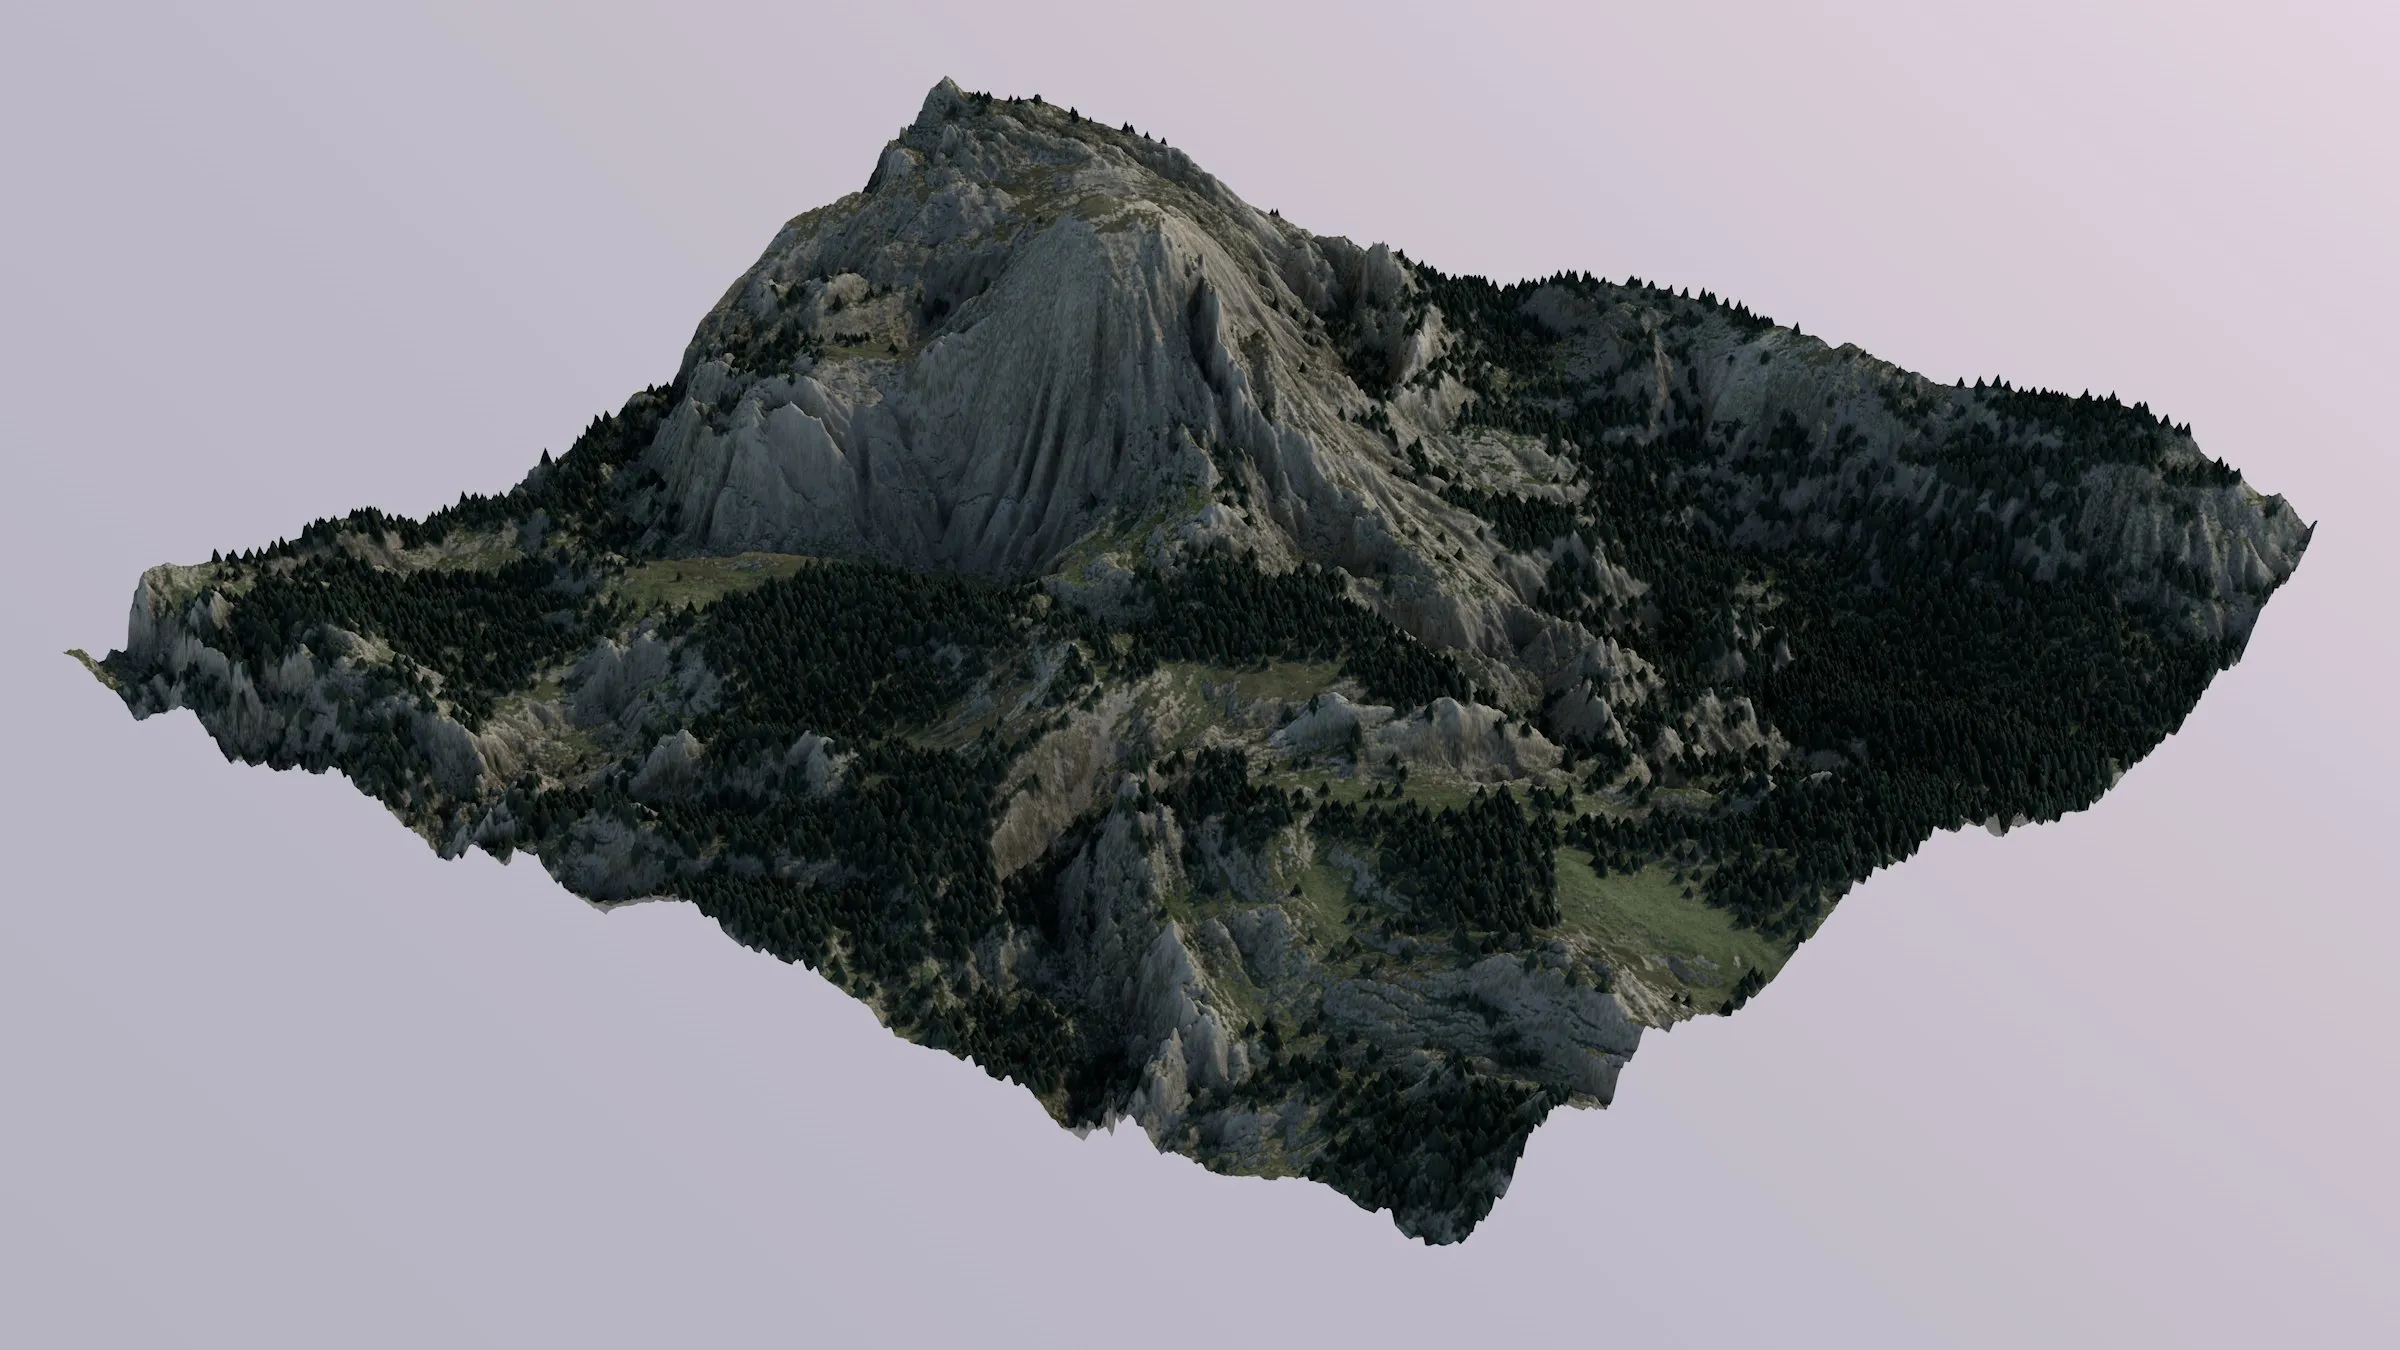
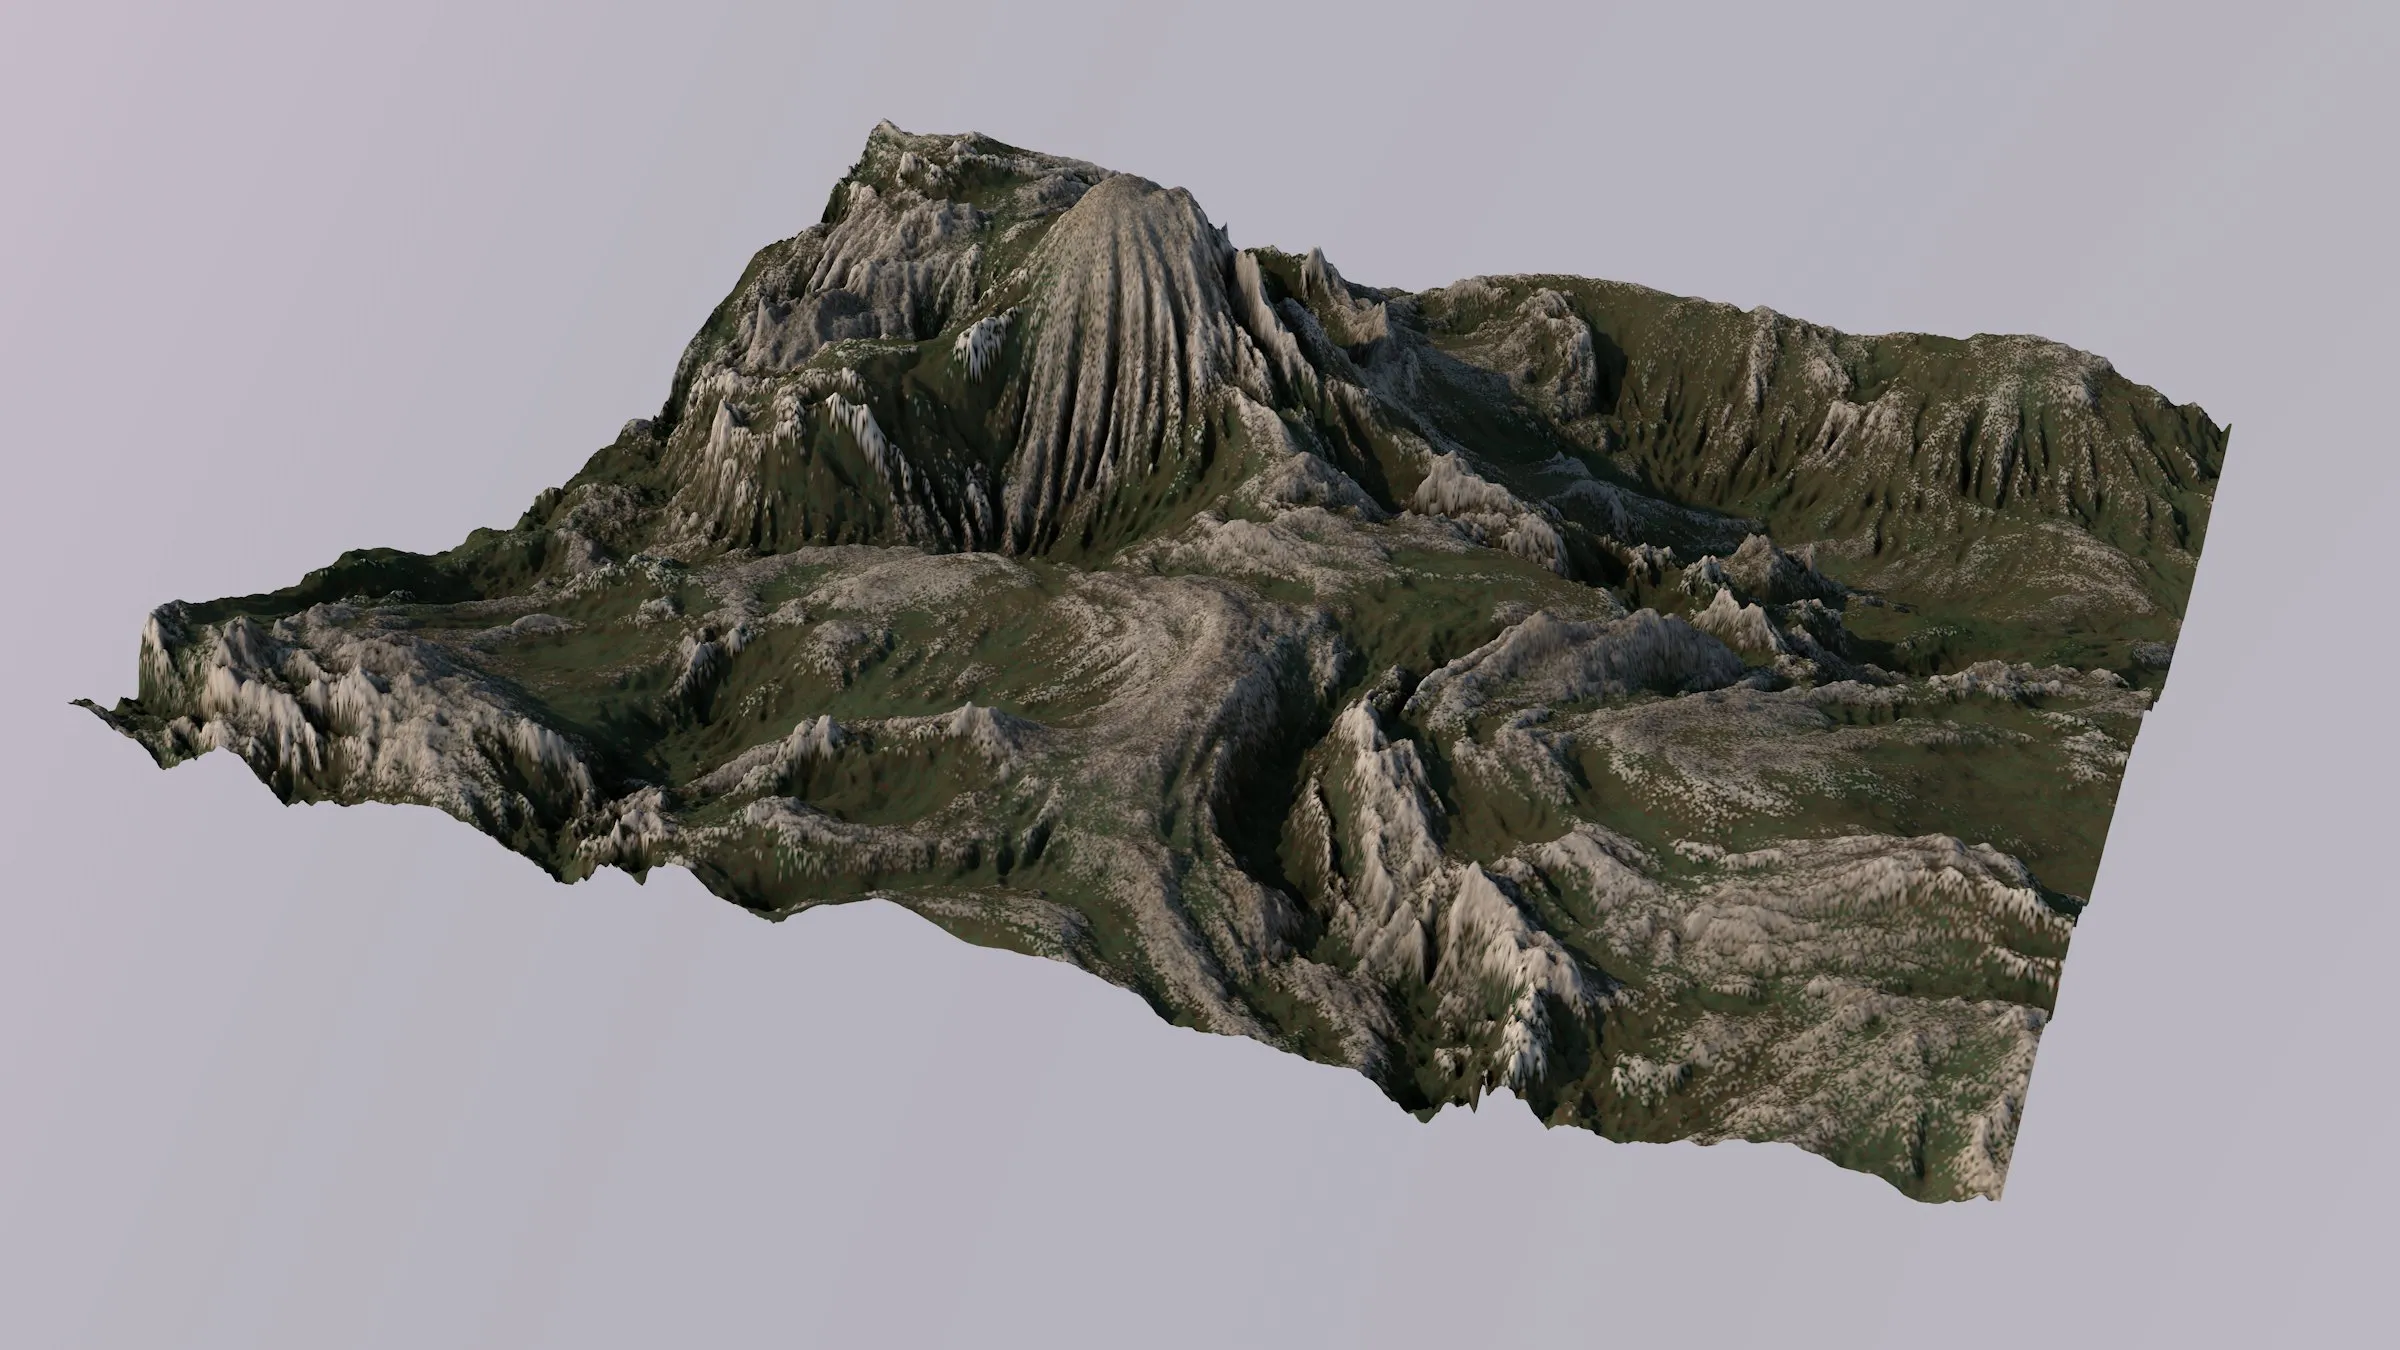
Alpine landscape preset. Fir trees were created with tfDistribute.
Building a terrain texture with the Advanced Terrain Shader is quite different from doing it with nested Fusion or Layer shaders, and separate Terrain Operator Shaders.
You don’t have to navigate nested shaders, if you don’t want to, as the complete texture is built within the shader.
This is done using a layer-based system.
The Bake Terrain Materials command has been updated and fully supports materials that use the Advanced Terrain Shader.
Layering Concept
Section titled “Layering Concept”Similar to the Terrain Operator system in TerraformFX, texture layers can be blended using different blend modes, and they can be masked.
The rules for this concept are:
- Layers on top hierarchy levels define texture.
- Sibling layers (layers that are on the same hierarchy level together) are evaluated from the bottom up (unlike Terrain Operators), and blended with each other.
- Child layers (layers that are nested under another layer) are masking their parent layer. Child siblings will, again, behave as described in (2).
- Any layer type can be parent and child; and any layer type can have parents and children.
The only exception is the Folder layer type, which is described below.
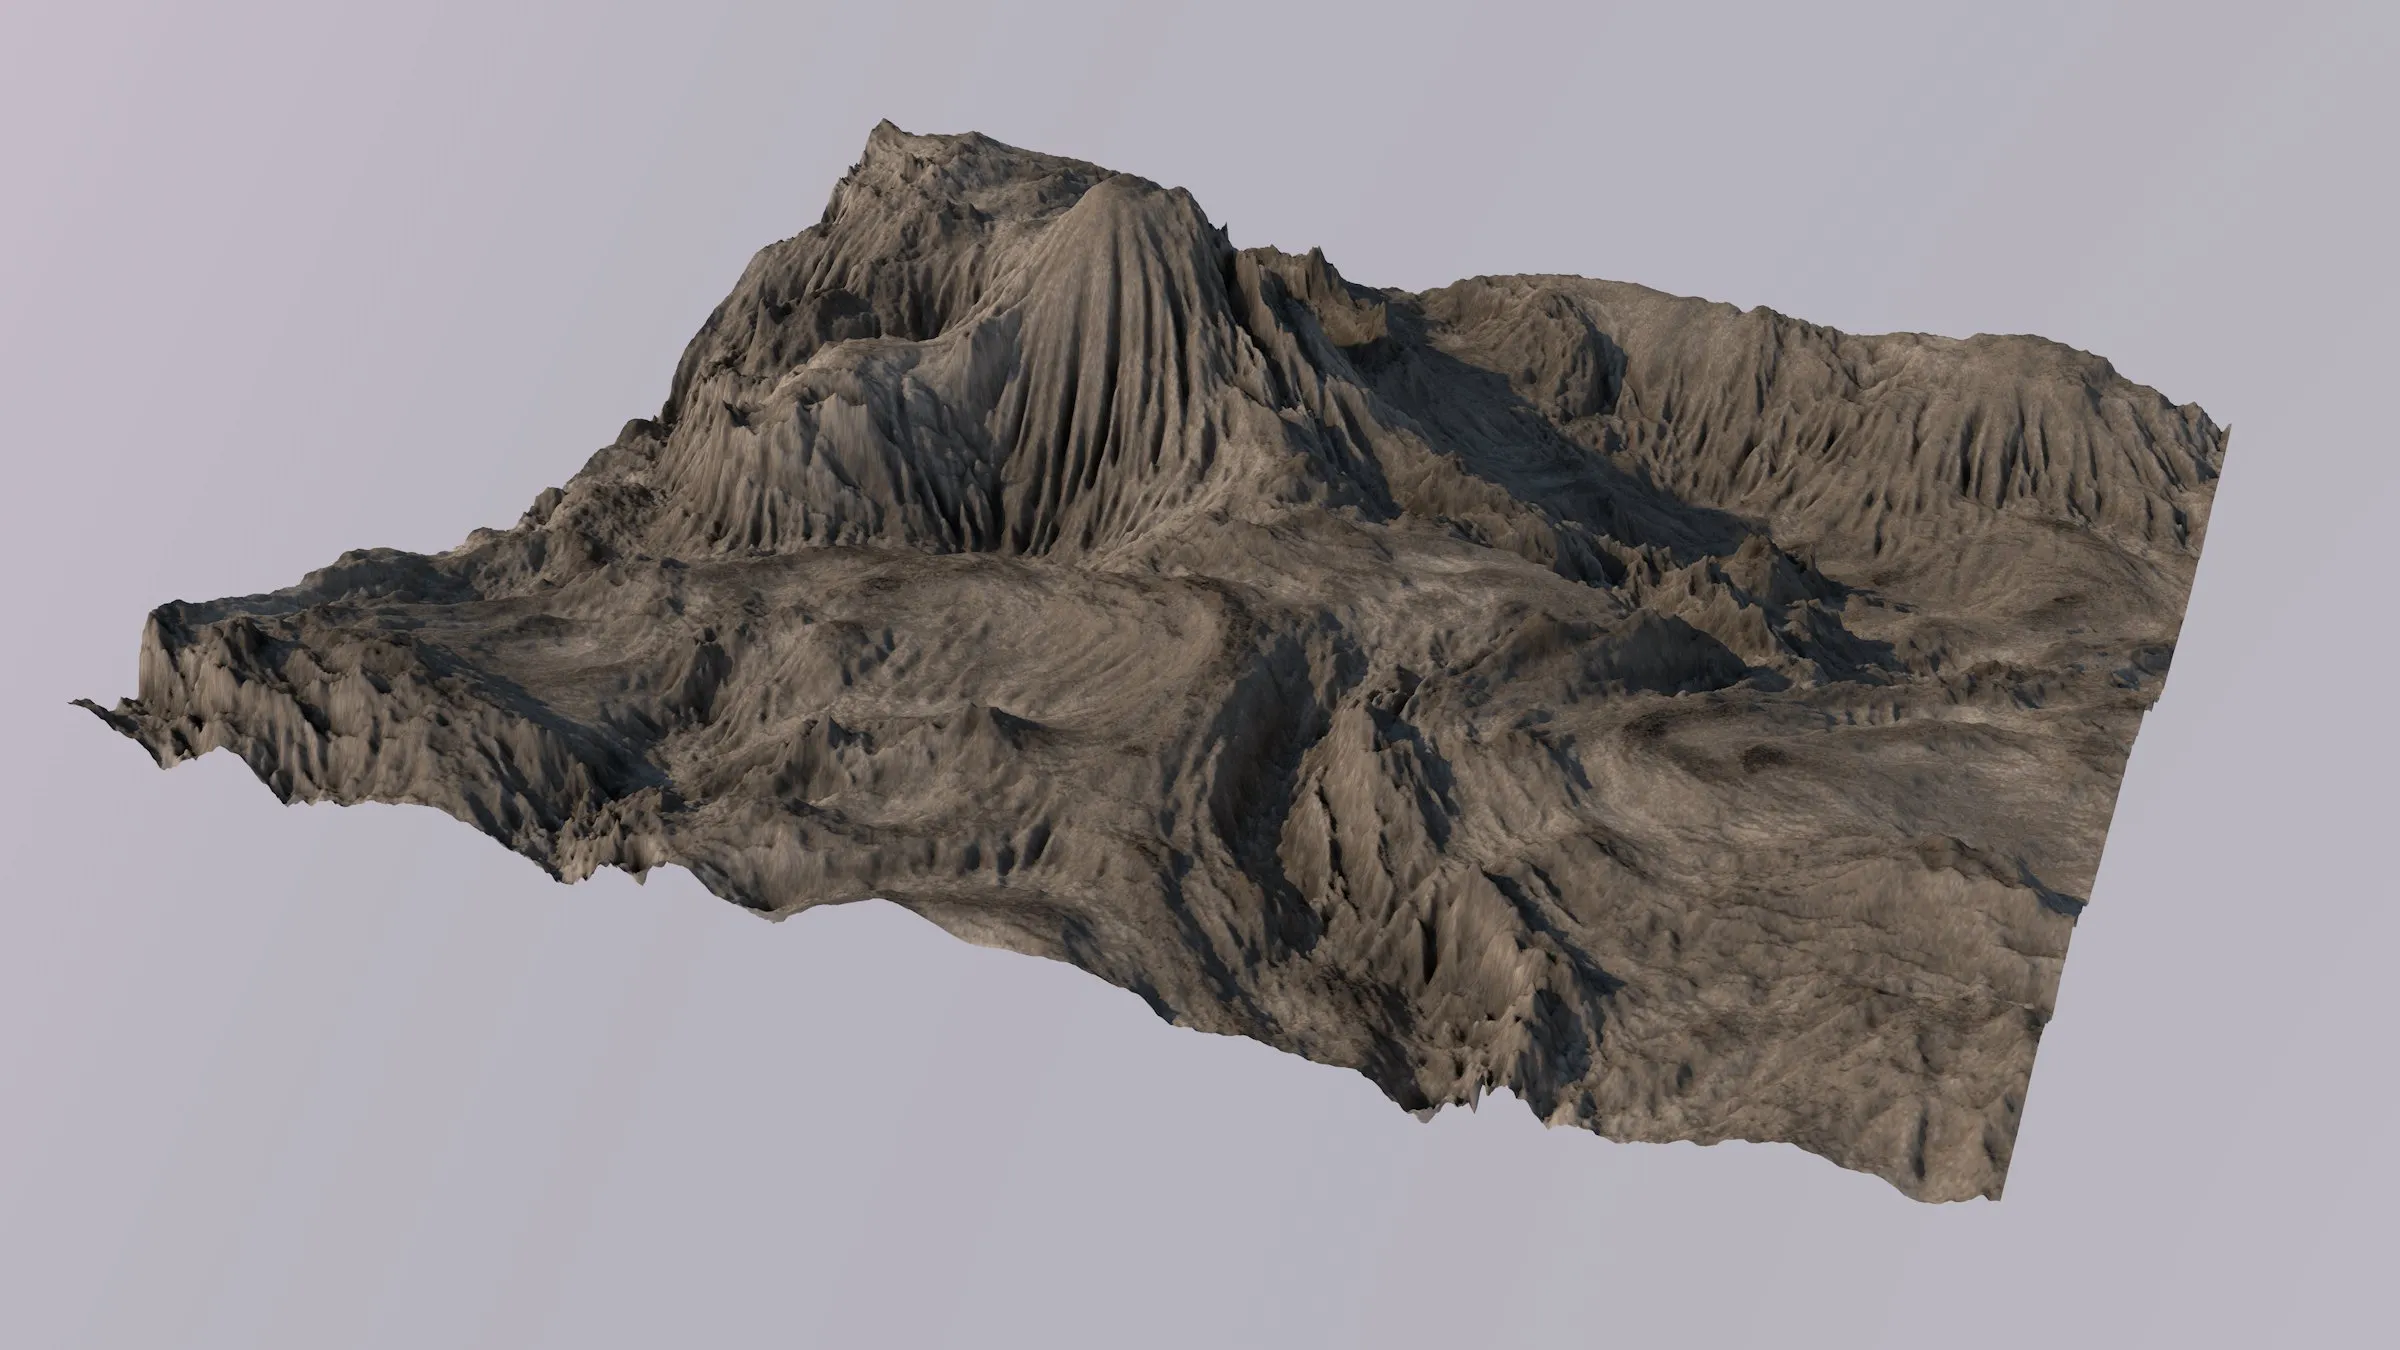
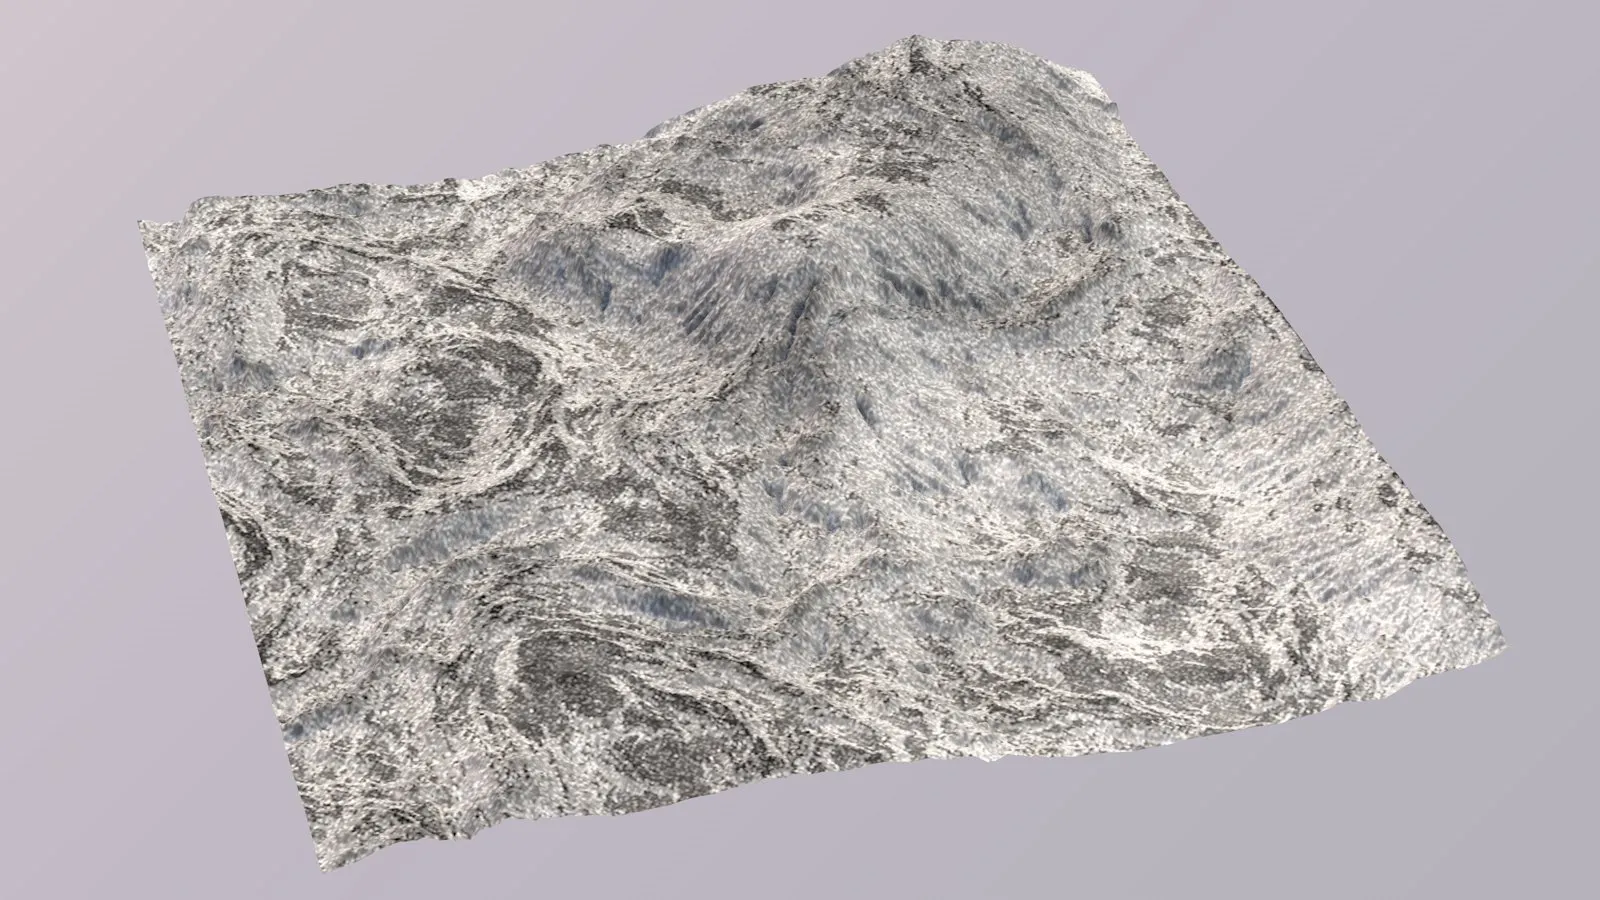
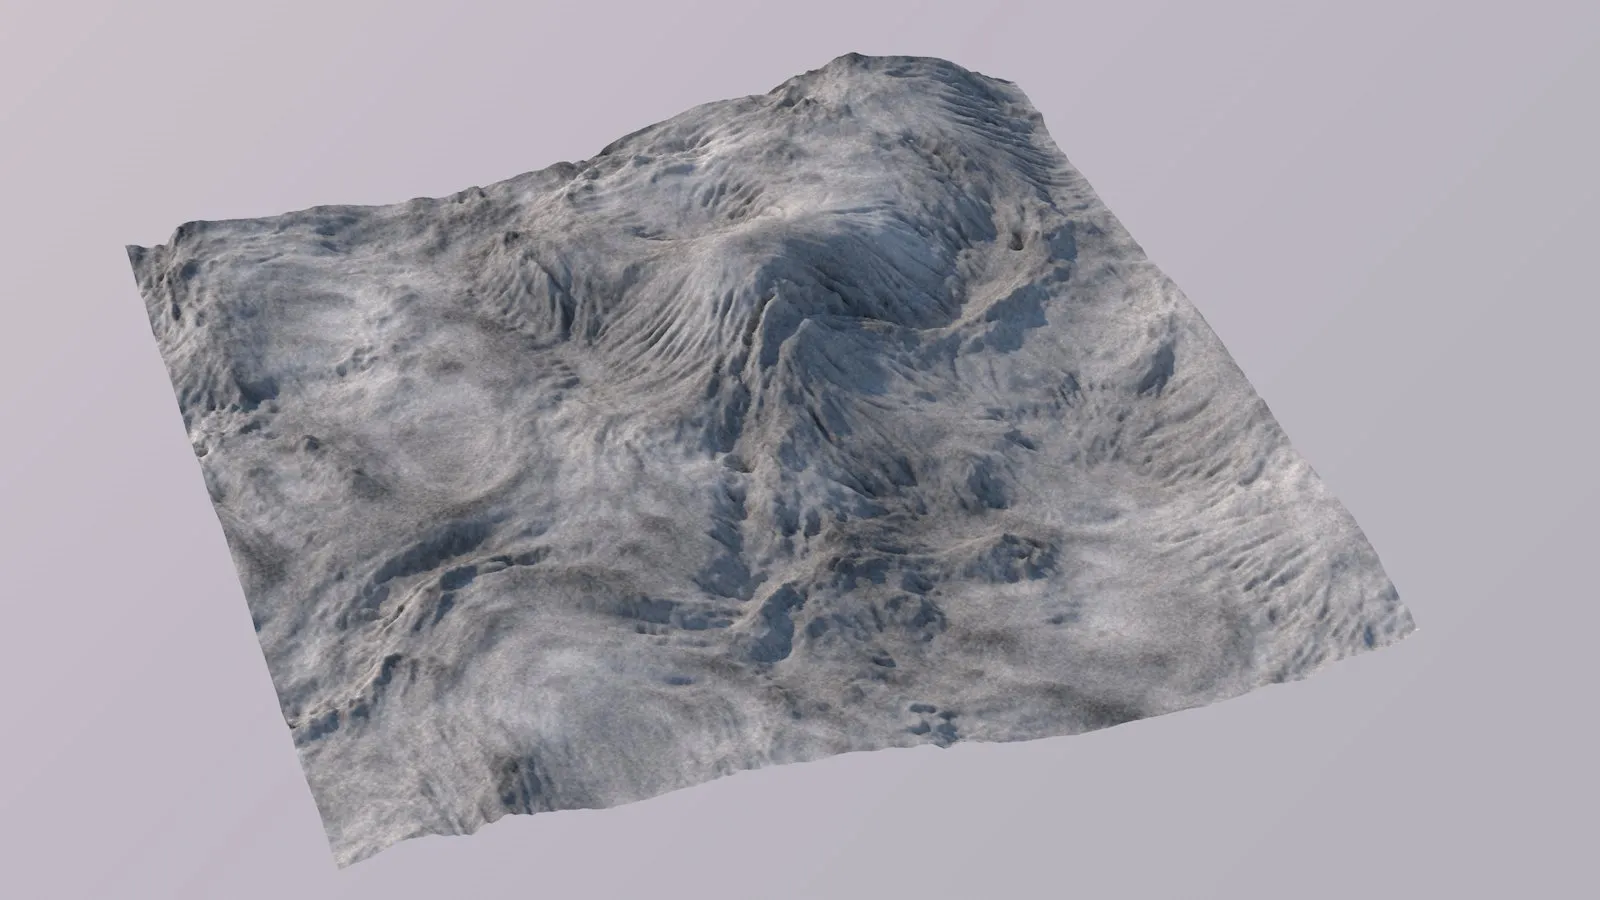
A base layer provides some basic colors.
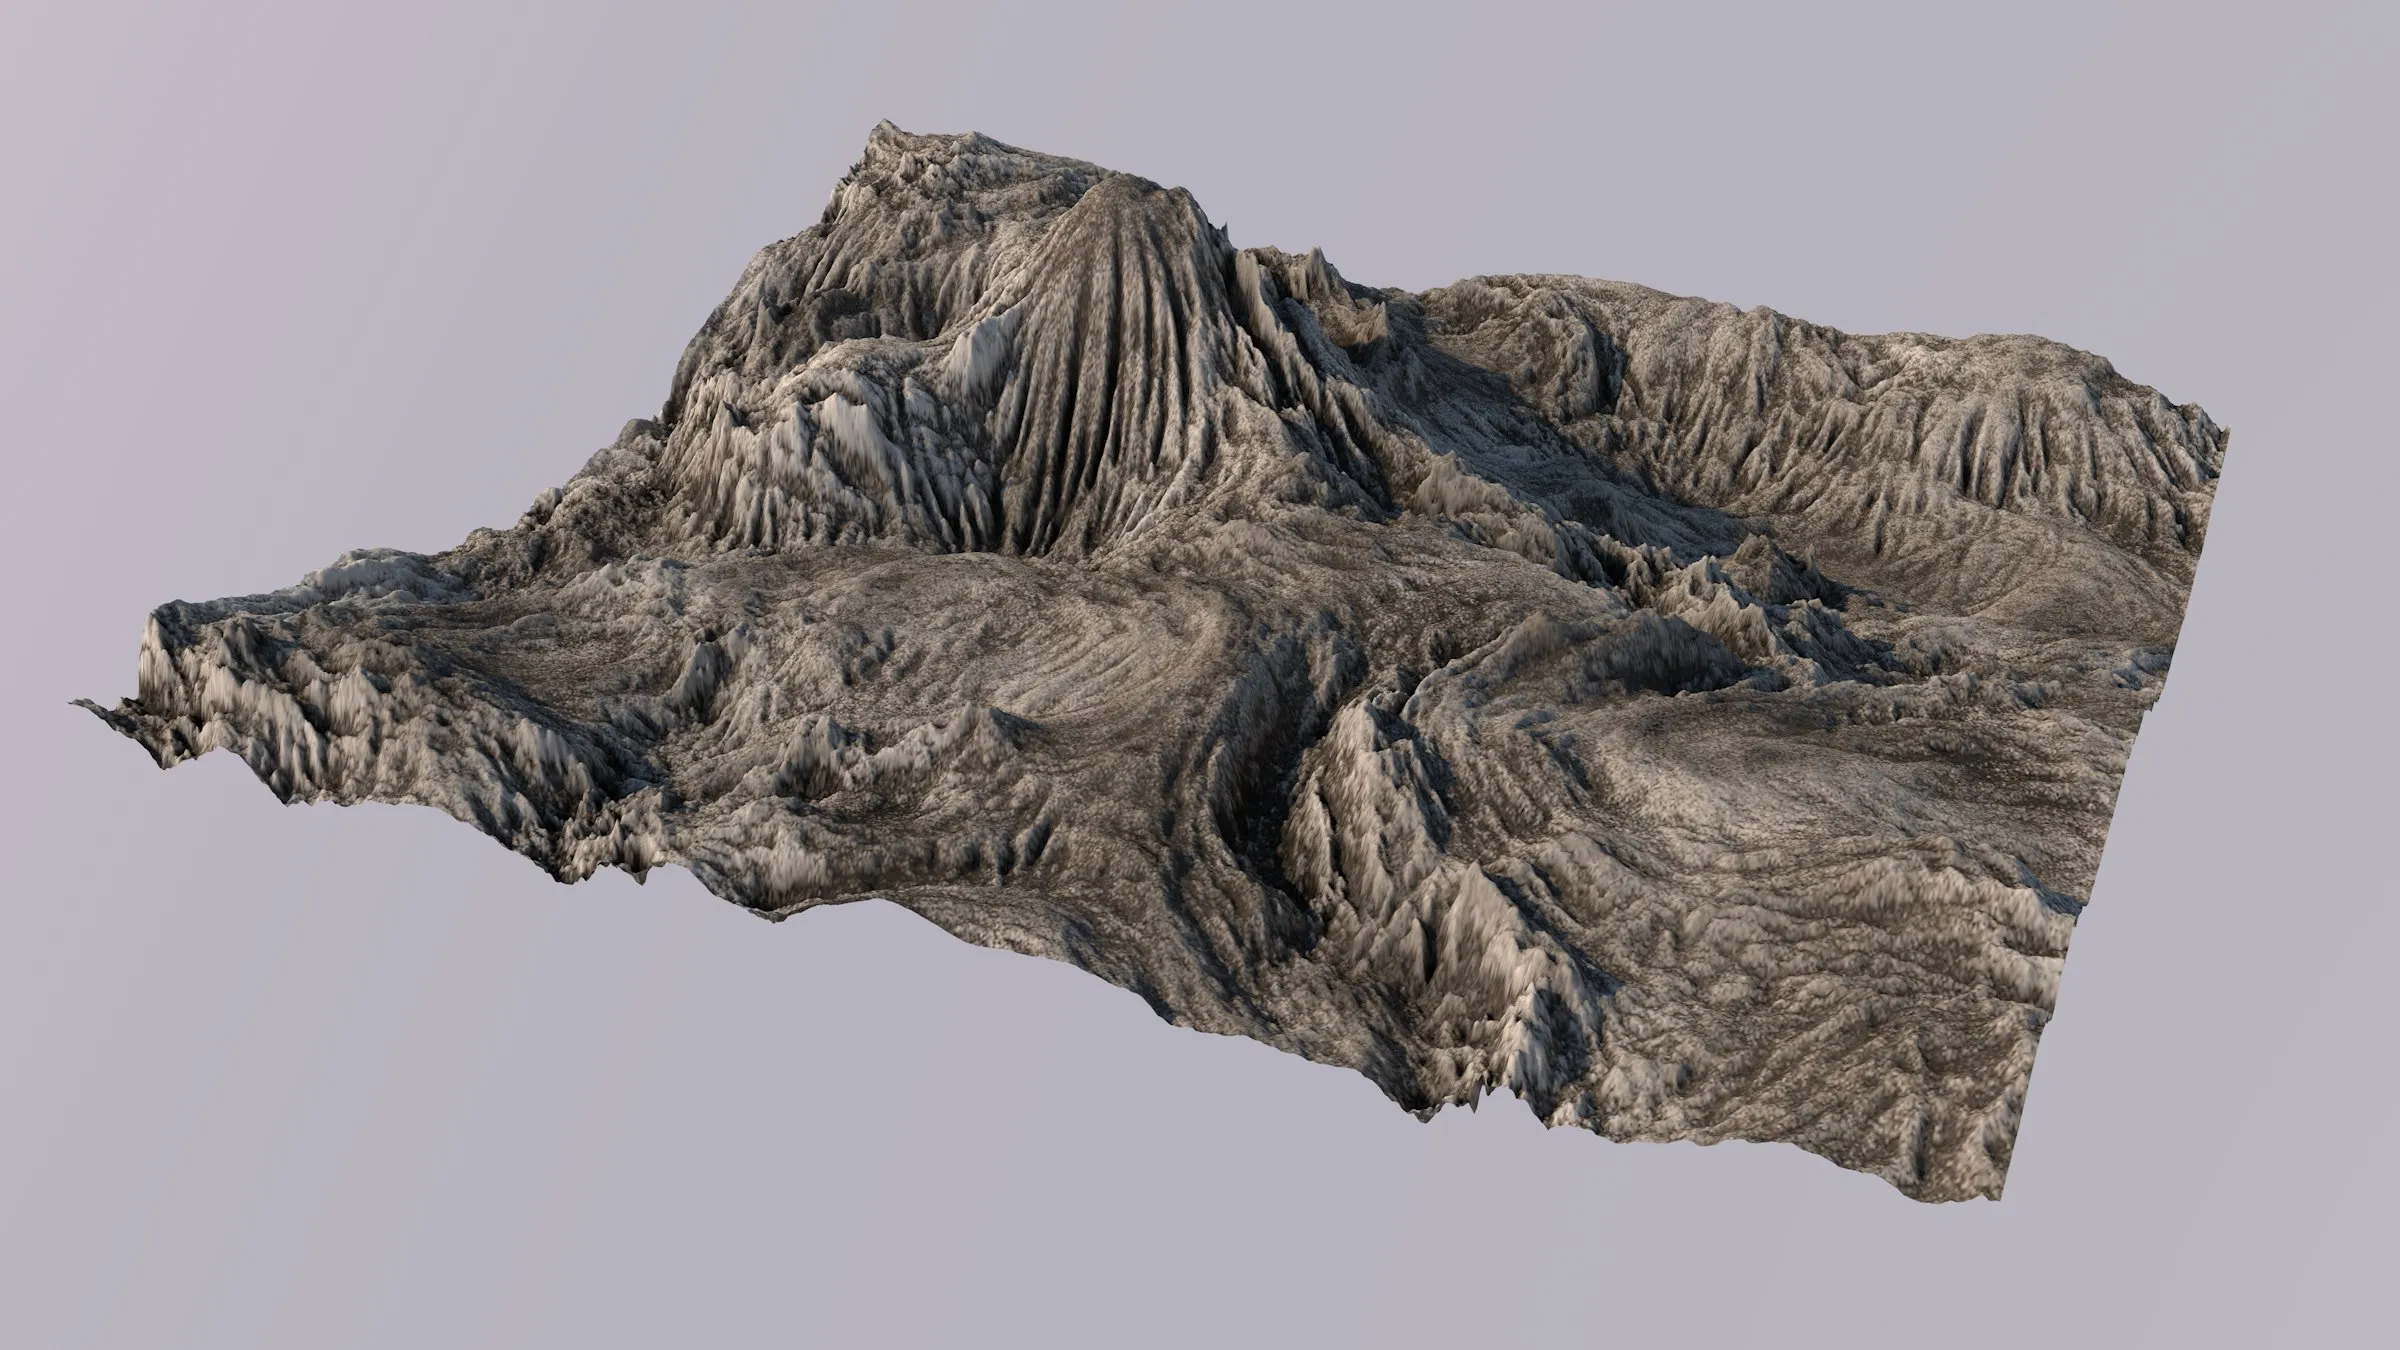
A second layer creates rock detail.
A third layer creates sand and dust.
A fourth layer creates grass.
Shader attributes
Section titled “Shader attributes”In the Advanced Terrain Shader’s attributes, you create a terrain texture by setting up layers and masks in a node tree.
The shader has some general parameters that are independent from the layer setup.

The Advanced Terrain Shader menu settings.
Shader Properties
Section titled “Shader Properties”Terrain
Section titled “Terrain”Link the tfTerrain object that you want to texture here.
This is necessary, because the shader (and its layers) need a connection to the terrain, to obtain the terrain data.
It also means that you need to create a dedicated material for each terrain you want to texture.
Resolution
Section titled “Resolution”Set as Auto, by default, this lets you set a resolution for the texture.
The larger the resolution, the better the quality and the longer it takes to compute.
You can also just leave it on Auto, which will use the linked tfTerrain’s terrain resolution for the texture.
Preview Current Layer
Section titled “Preview Current Layer”By default, the shader outputs the final texture.
However, if you are working on a mask layer or, if you just want to see a single layer or if you have a very complex material and want a speed up, check this box.
You will then get only the layer that is currently selected in the node tree.
Bake Texture
Section titled “Bake Texture”This will let you choose a filename.
The complete layer setup is then going to be rendered out and written to a .tiff file.
The texture can be rendered as 8-bit integer, 16-bit integer, or 32-bit floating point format.
You can set the preferred format in the TerraformFX Preference menu.
Bake All Layers
Section titled “Bake All Layers”This option bakes all layers as individual .tiff files.
Please note: individual layers can be baked in isolation using the Bake Layer button within the appropriate Layer Properties.
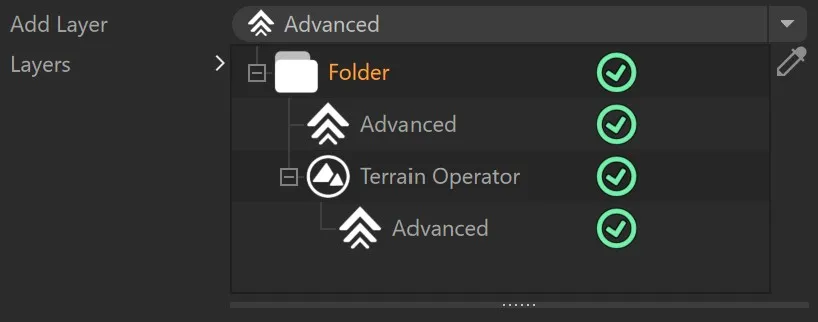
Add Layer
Section titled “Add Layer”This lets the user add a new layer.
Adding a new layer while having a layer selected will add the new layer as a child (mask) to the selected one.
To add a new layer on top hierarchy level, first hold CTRL and click on a selected layer to deselect it.
The available layer types are: Terrain, Terrain Operator, Agricultural Structures, Cinema 4D Shader, Ambient Occlusion, Curvature, Surface Normal, Cinema 4D Fields, Solid Color and Folder.
Layers
Section titled “Layers”Displays the layer hierarchy and lets the user select the layer they want to work on.
This works like the layer manager in other image applications.
Below the node tree, the attributes of the selected layer are displayed.
All layer types share some common properties.
Layer Blending
Section titled “Layer Blending”This defines how a layer is blended with its predecessing layer.
The effect is identical to TerraformFX’s Terrain Operator system.
This controls the intensity of the layer.
Setting it to 0 (zero) % will make the layer invisible, while a value of 100% will make the layer show full effect.
Choose from different blending modes, which all work exactly like they do in the Terrain Operators.
Texture Layer Types
Section titled “Texture Layer Types”You can build your terrain texture using these layer types.
Terrain layer
Section titled “Terrain layer”This is the layer type that does the most ‘magic’.
It is the layer type you’ll probably be working with the most, when creating realistic terrain textures.
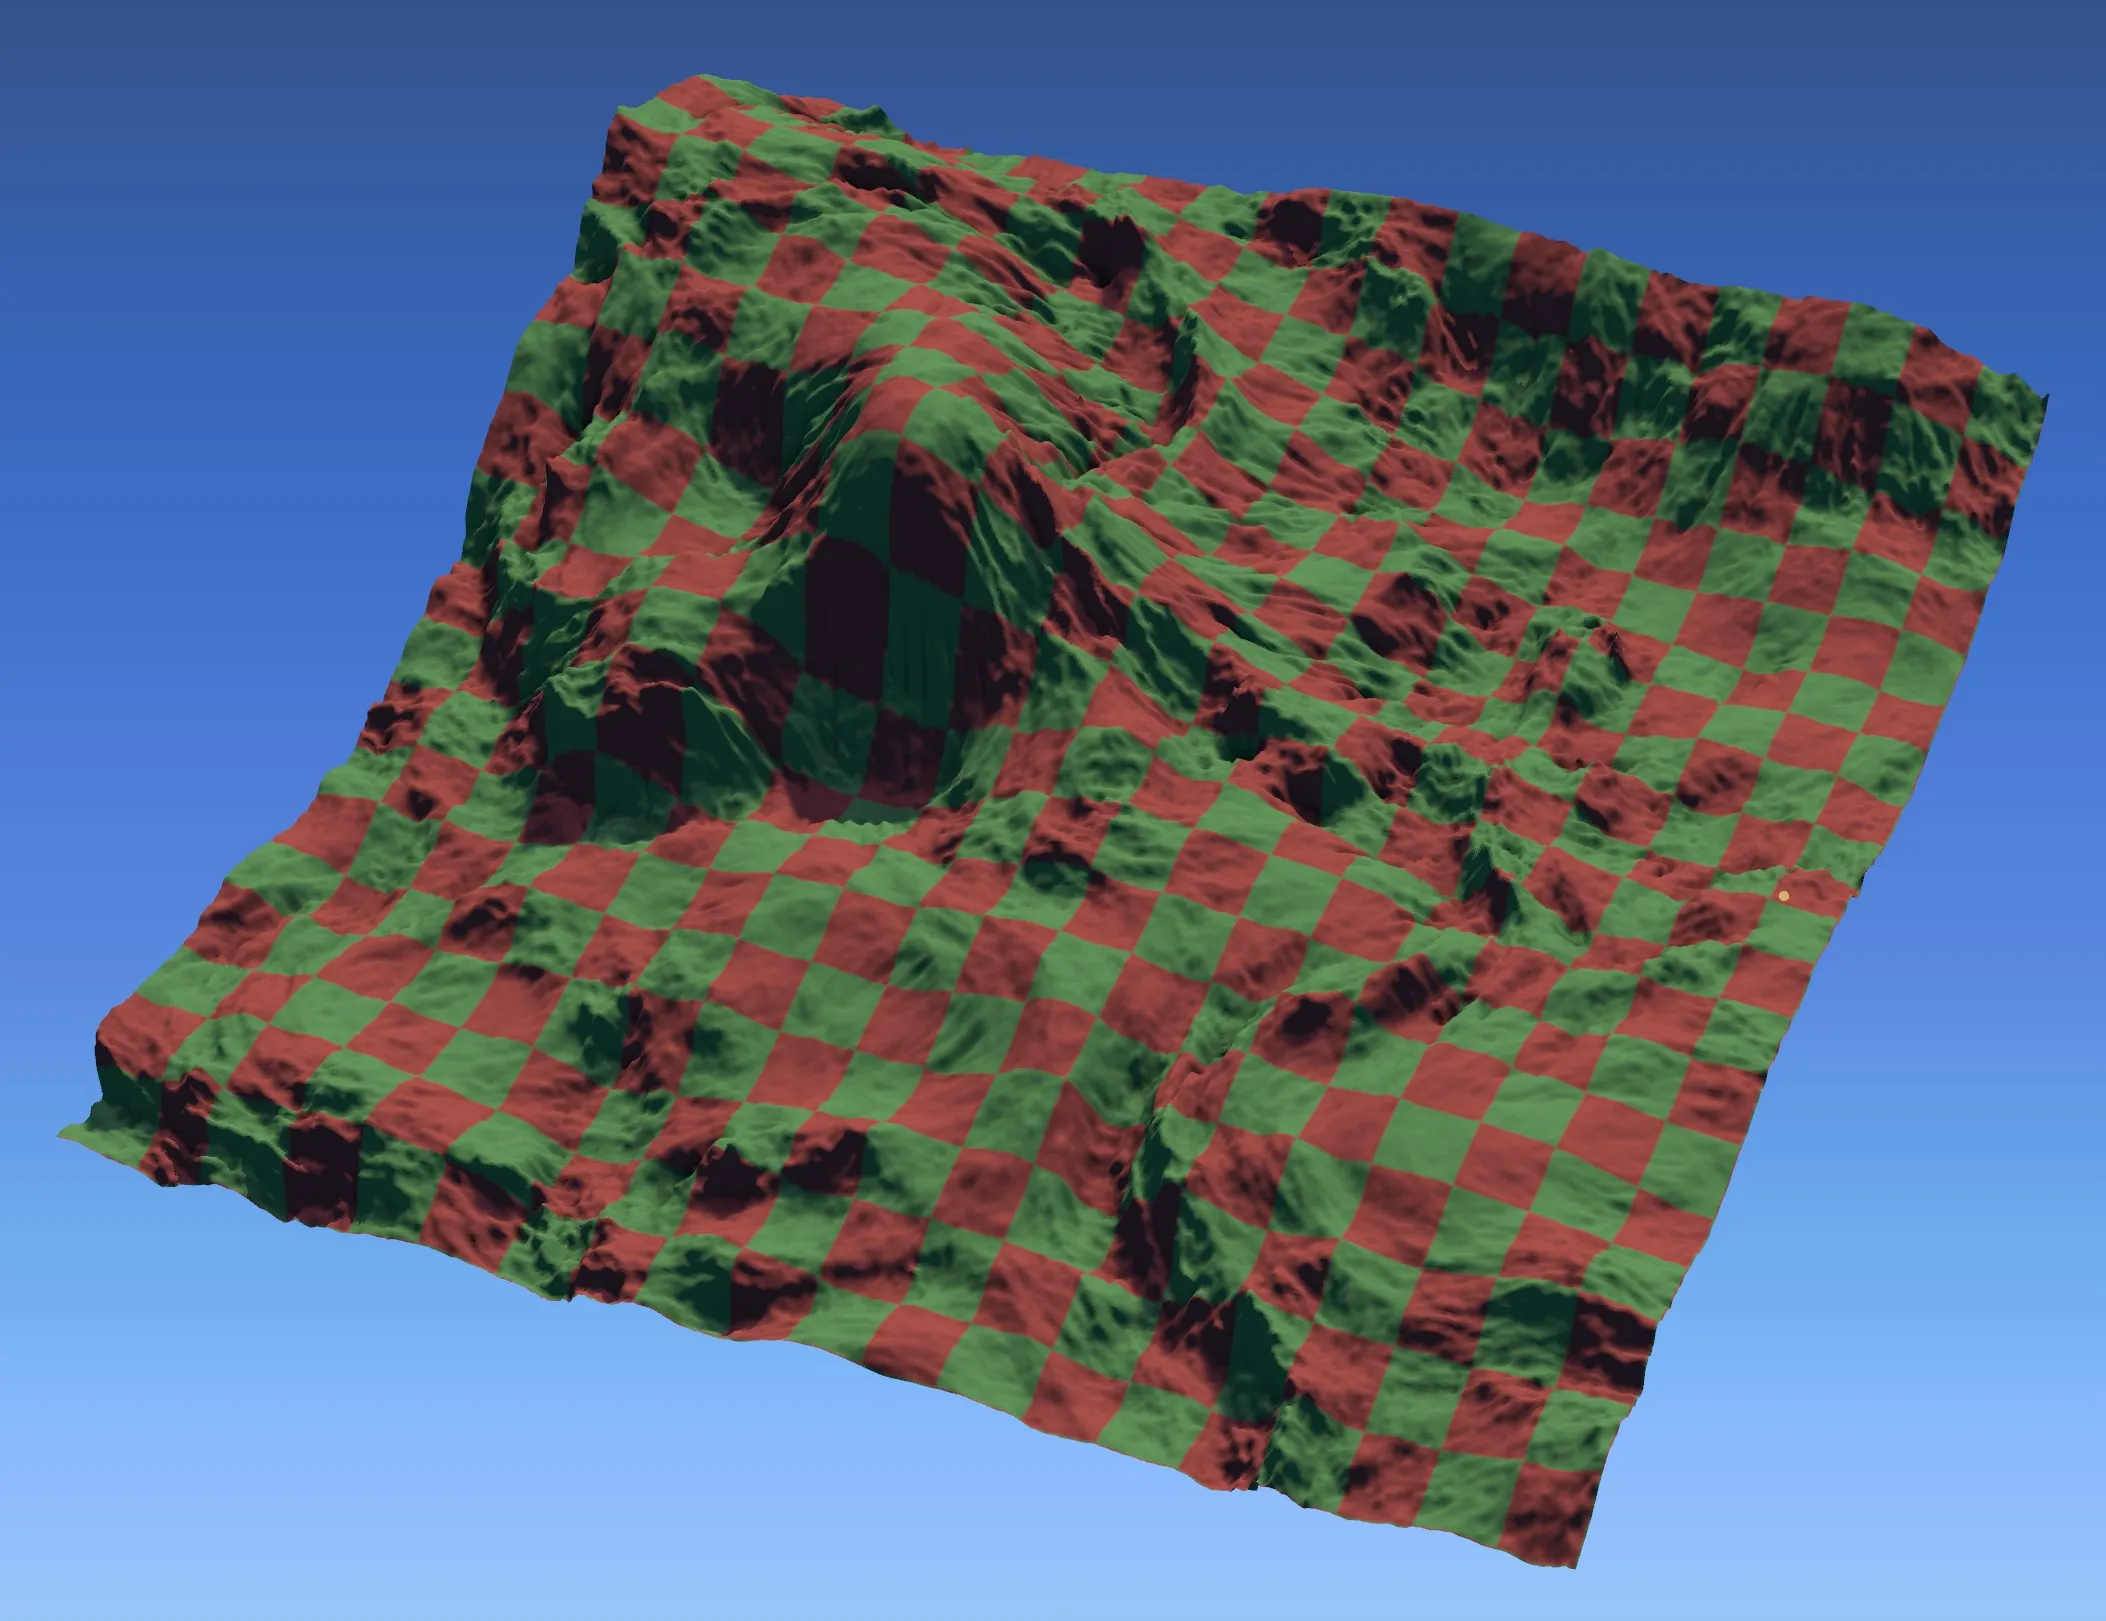
The basic principle is not unlike the Terrain Operator Shader: A greyscale input is used to determine a position to sample from a color gradient.
There are several inputs that you can use to create the map which drives the palette sampling.
Instead of complex mixing parameters, the focus is on simple controls that encourage playful experimentation rather than requiring technical-analytic thinking.
Some of the parameters can be unfolded to reveal more detailed settings.
Additionally, the Terrain layer does not use a standard Cinema 4D gradient, but instead uses a Terrain Color Palette.
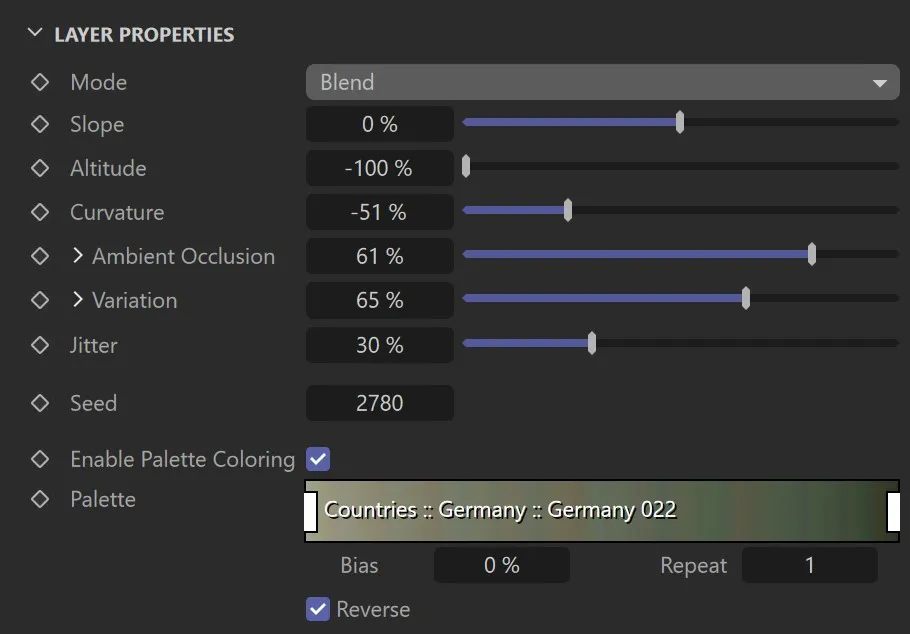
The Terrain layer GUI.
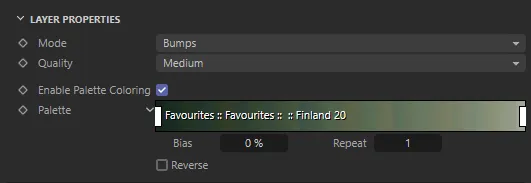
Layer Properties
Section titled “Layer Properties”This selector offers three different modes that control how the inputs are mixed to build the map.
Through experimentation, you’ll find out which one to use for a particular purpose.
The options are: Blend, Add and Subtract.
This parameter creates a hard slope map from the terrain’s slope data.
Moving the slider will change the threshold that controls which slopes will end up white and which ones will turn out black.
This parameter can also have negative values, which work in an alternative way.
Having the slider at 0 (zero) % will result in a completely white map.
Increasing it towards 100%, you isolate increasingly steep slopes.
Decreasing it below 0 (zero) % towards -100% will isolate increasingly plain areas.
Use the Slope slider to start your texture map by having it act more on plains or slopes.
Altitude
Section titled “Altitude”Use this parameter to blend an altitude map on top of the slope.
Positive values will color low areas increasingly black and the higher up areas white.
Negative values will invert the gradient and color low areas increasingly white and higher up areas black.
Use it to include altitude-based variation in your texture map.
Curvature
Section titled “Curvature”TerraformFX provides Slope and Curvature maps separately and lets the user mix them as they please.
Moving the slider towards 100% will increasingly brighten areas with positive curvature (bumps, hills, hummocks), and darken the rest, which is useful for coloring prominent rock formations, for example.
In the negative range, moving the slider towards -100% will brighten the areas with a negative curvature (dents, valleys, depressions), which is good for simulating sandy or rocky pits.
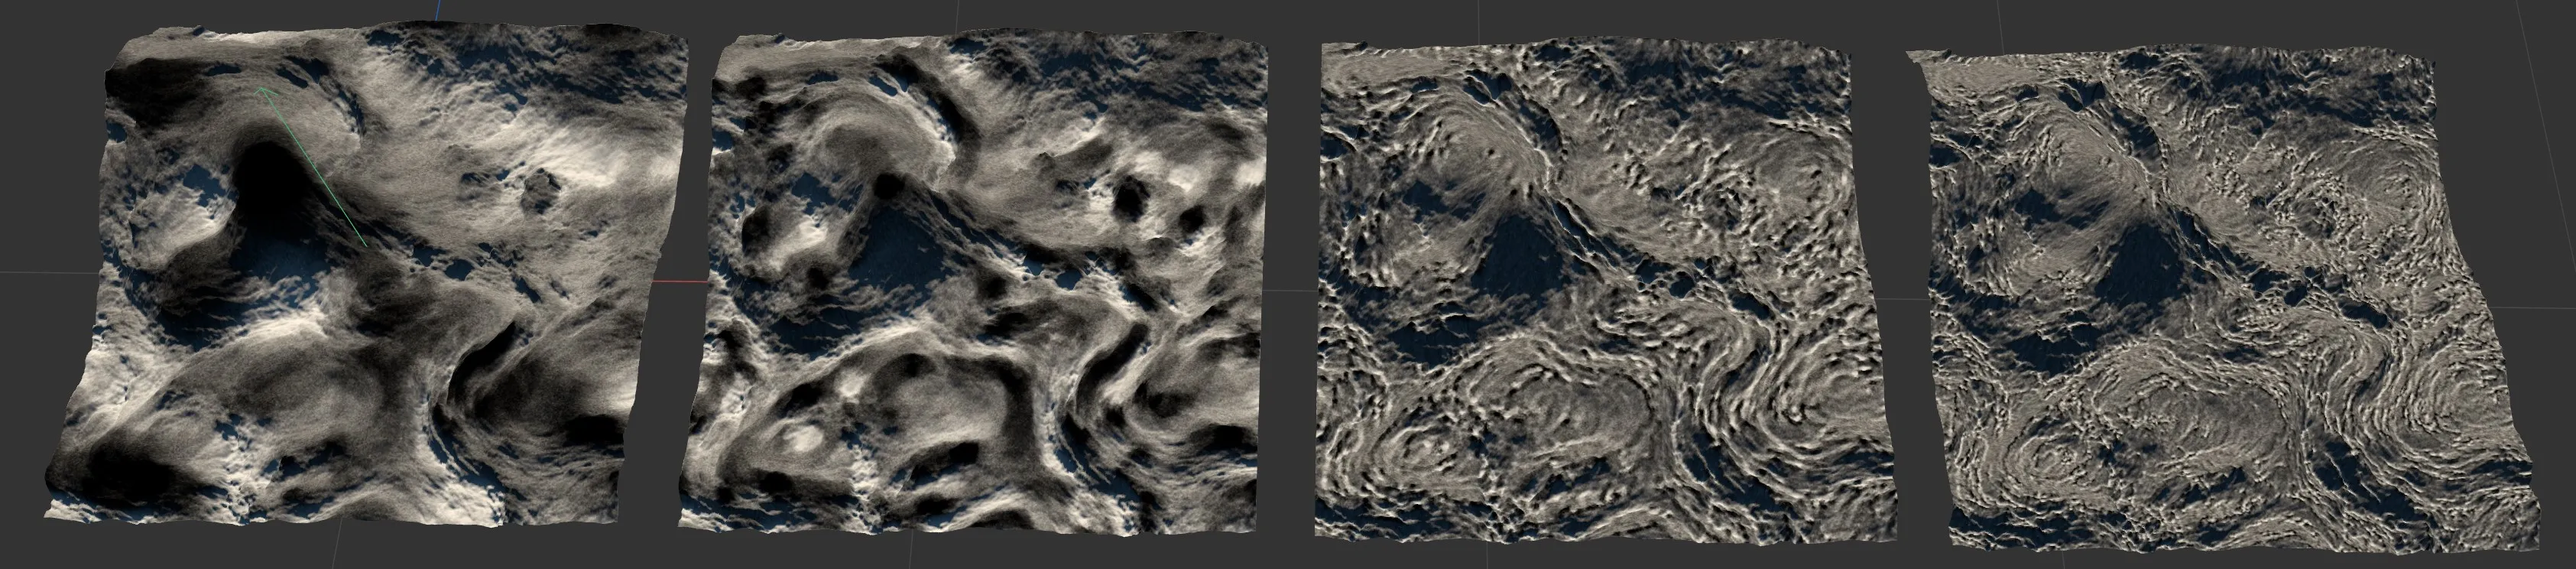
Ambient Occlusion
Section titled “Ambient Occlusion”This computes fast Screen Space Ambient Occlusion (SSAO), like the Ambient Occlusion layer type.
This is another very good way to mask depressions and ridges.
In the positive range, moving the slider towards 100% will brighten the areas that are more occluded (dents, valleys, depressions, pits), which is helpful in simulating sand and grass, often occurring in more occluded areas.
Moving the slider towards -100% will increasingly brighten areas that are less occluded (chines, back of mountains), and darken the rest; good for coloring areas that get more sunlight.
Unfold the attribute to reveal more detailed Ambient Occlusion parameters.
Variation
Section titled “Variation”This blends a large-scale turbulence noise on top of the maps.
Use it to add extra variation and eliminate uniformity.
Unfold the attribute to reveal the turbulence Scale.
Jitter
Section titled “Jitter”This simply adds a very fine random noise to the map; an important factor for a realistic texture.
Use it to smudge overly sharp transitions between terrain areas or palette colors, or to add visible noise (this often increases realism a lot).
The seed for all random computations in this layer.
Enable Palette Coloring
Section titled “Enable Palette Coloring”When using a layer as a mask, you are probably finished after setting the inputs to your liking.
When creating a color texture, you will want to use the palette functionality.
This enables the Palette control and colors the layer according to the greyscale map you see while having Enable Palette Coloring inactive.
Palette
Section titled “Palette”For more information about how to use the palette, see the Terrain Color Palette page.
Tips for the Terrain layer.
- When building a texture layer for rocks, use stronger weight for Curvature and lower weight for Ambient Occlusion.
- When building a texture layer (or mask layer) for sand or grass, use stronger weight for Ambient Occlusion and lower weight for Curvature.
- In Blend mode, the higher you set a value slider, the more it will cover the effects of the preceding sliders and, before you know it, the effect of the Slope slider has faded away. For a good base layer or interesting rock texture, set the other sliders a bit lower and let Slope be more visible; it’s key to a detailed looking texture map.
- When creating a mask for a grass layer, the Threshold post processing operation is your best friend.
Terrain Operator layer
Section titled “Terrain Operator layer”This layer type is the Terrain Operator Shader’s counterpart in the realm of the Advanced Terrain Shader.
Use it to tap any terrain operator’s output and render it to the texture, optionally using a Terrain Color Palette.
A good example for the usage of an Operator layer is the first image at the top of this page, where the Difference Map of a tfFlood is used to color the water by depth (applying the color palettes from the Water category), and the tfFlood’s Flood Mask to constrain the water texture layer to the flooded area.
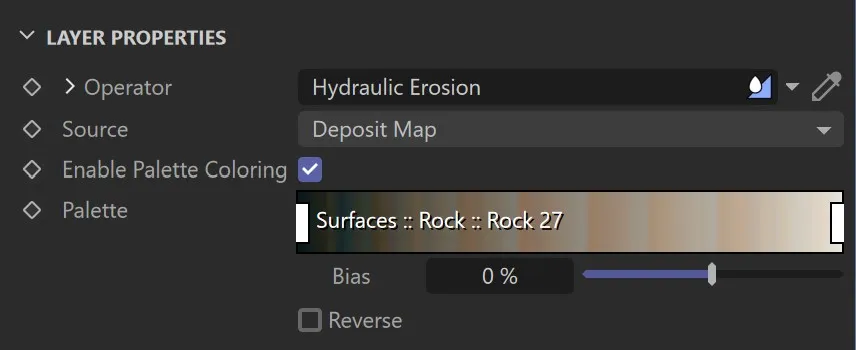
The Operator layer GUI
Layer Properties
Section titled “Layer Properties”Operator
Section titled “Operator”Drag and drop a Terrain Operator object here.
Only operator objects that are part of the terrain linked in the shader are accepted.
Source
Section titled “Source”Select a data source here. You will have seen this already from the Terrain Operator Shader, from the operators’ Preview tab, and from the Grid Preview.
Each operator offers the staples: Altitude, Slope and Curvature (with its derivates Bumps and Dents).
All Filter operators also offer the Difference Map.
If a linked operator provides output maps, they will also be available here (e.g. the Erode and Deposit maps of tfErosion).
Enable Palette Coloring
Section titled “Enable Palette Coloring”When using a layer as a mask, you are probably finished after setting the inputs to your liking.
When creating a color texture, you will want to use the palette functionality.
This enables the Palette control and colors the layer according to the greyscale map you see while having Enable Palette Coloring inactive.
Palette
Section titled “Palette”For more information about how to use the palette, see the Terrain Color Palette page.
Agricultural Structures layer
Section titled “Agricultural Structures layer”This layer type uses a custom 2D Voronoi generator and morphological dilation to create structures that resemble agricultural fields as seen from greater altitude.
It also generates hinted dirt roads between and varying furrow patterns on the fields.
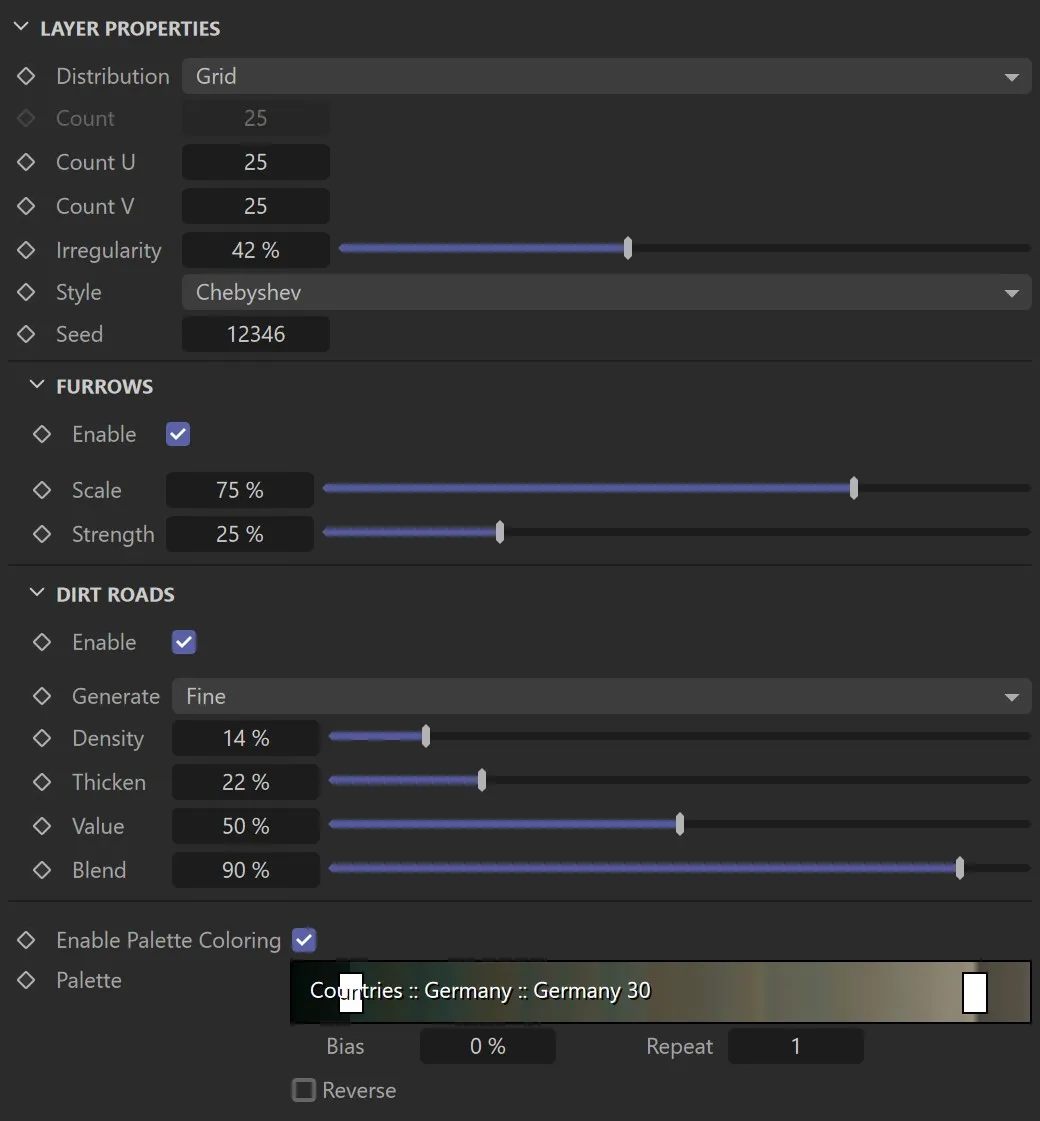
The Agricultural Structures layer GUI.
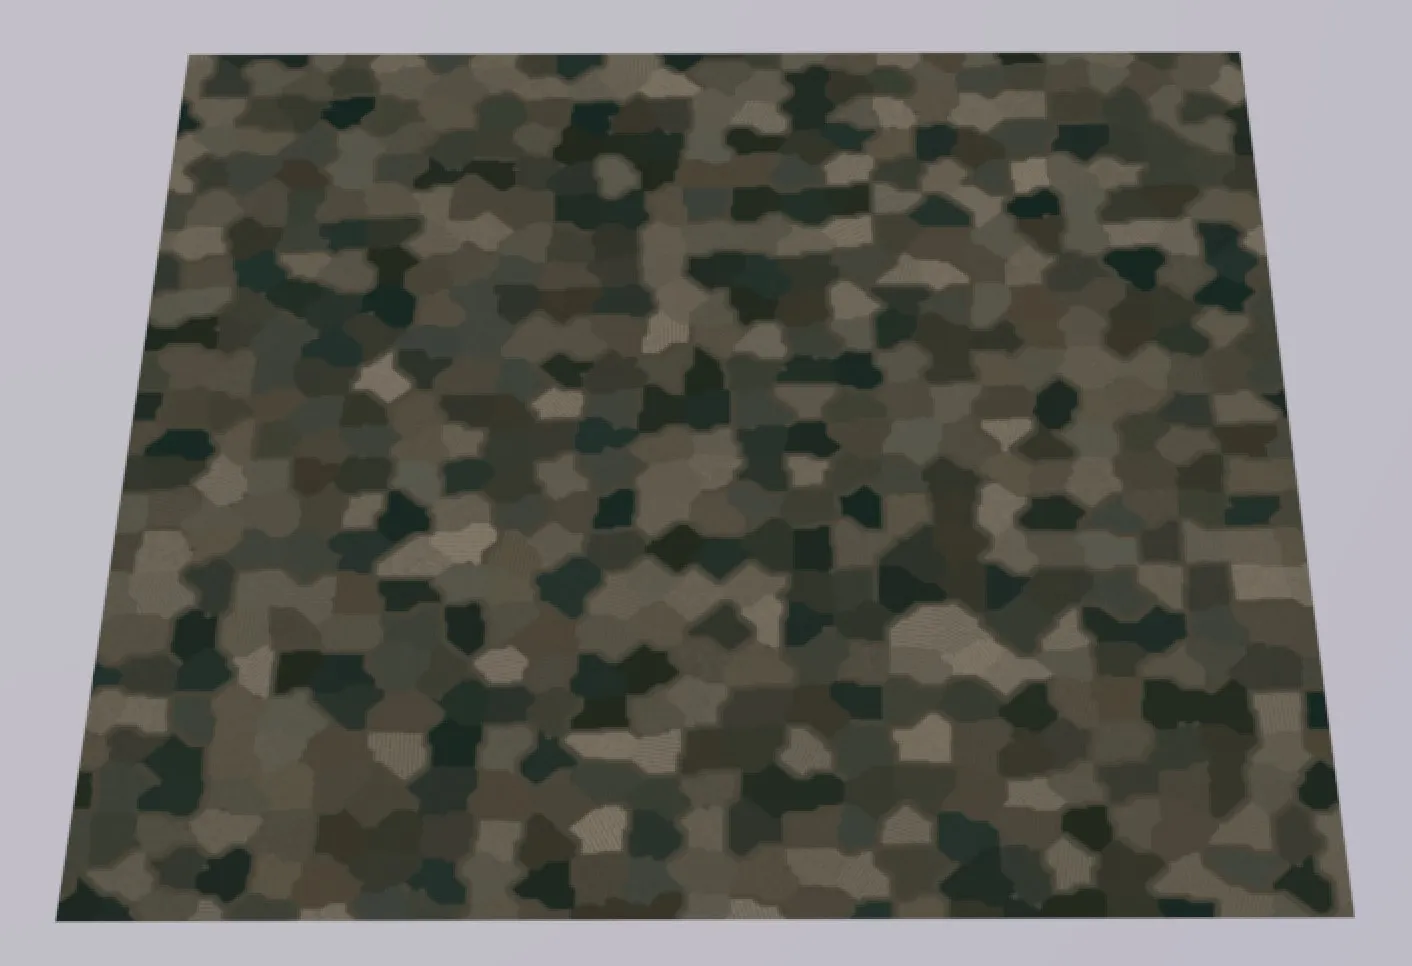
A simple example of the Agricultural Structures layer.
Layer Properties
Section titled “Layer Properties”Distribution
Section titled “Distribution”There are two distribution modes: Grid and Random.
In Random distribution mode, this defines the number of fields.
Count U / Count V
Section titled “Count U / Count V”In Grid distribution mode, these define the number of fields along U and V.
Irregularity
Section titled “Irregularity”In Grid distribution mode, this makes the fields less uniform.
Setting it to 0 (zero) % will result in rectangular fields.
Different field shaping styles.
Random seed for all random calculations.
Change the value to completely change the output of the layer.
Furrows
Section titled “Furrows”Procedural furrow patterns can be added to the fields.
The visibility, alignment and style of the patterns will vary with each field.
Enable
Section titled “Enable”Enable this to add the furrow patterns to the fields.
This controls the scale of the furrow patterns.
Strength
Section titled “Strength”Use this to control the furrow patterns’ visibility.
Dirt Roads
Section titled “Dirt Roads”Procedural dirt roads can be added between the fields.
Technically, this is done by running an edge recognition kernel on the Voronoi texture, applying morphological dilation to the result and then using it to superimpose the dirt roads value on the fields.
Enable
Section titled “Enable”Enable this to add dirt roads between the fields.
Generate
Section titled “Generate”Choose between fine and coarse dirt road structures.
Density
Section titled “Density”This controls how many roads are generated; increase it to generate more roads.
Thicken
Section titled “Thicken”Increase this parameter to get wider dirt roads.
Since it acts independent from the texture resolution, but internally controls the dilation of the roads in grid pixels, the parameter does not feel very smooth.
The greyscale value used for the dirt roads.
When using palette coloring, this effectively controls the color of the dirt roads.
Use this to control the dirt roads’ visibility.
Enable Palette Coloring
Section titled “Enable Palette Coloring”When using a layer as a mask, you’re probably finished after setting the inputs to your liking.
When creating a color texture, you will want to use the palette functionality.
This enables the palette control and colors the layer according to the greyscale map you see while having Enable Palette Coloring inactive.
Palette
Section titled “Palette”For more information about how to use the palette, see the Terrain Color Palette page.
Cinema 4D Shader layer
Section titled “Cinema 4D Shader layer”This layer type renders Cinema 4D shaders to the texture.
Use it to incorporate bitmap textures or procedural shaders in your terrain texture.
There’s also support for shaders that sample in 3D space.
This might not work for all 3D-based shaders (especially if they’re sample-based, like e.g. Ambient Occlusion or ChanLum), but things like the noise shader in a 3D mode should work.
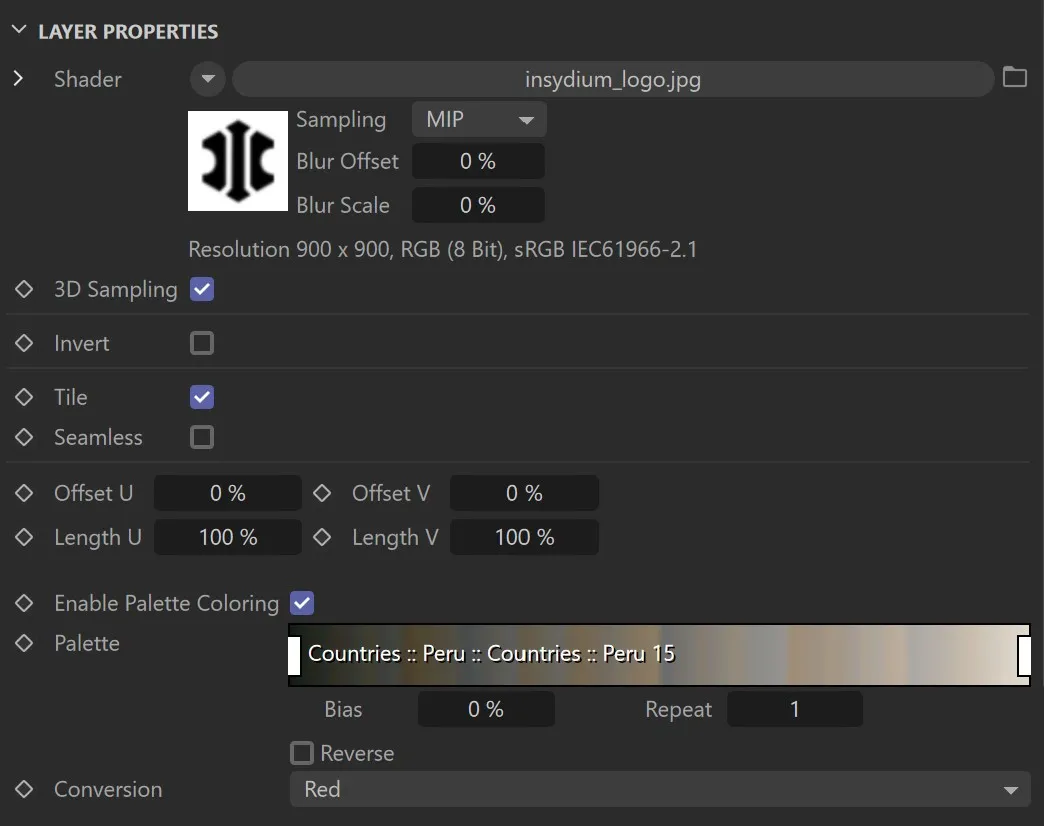
The Cinema 4D Shader layer GUI.
Layer Properties
Section titled “Layer Properties”Shader
Section titled “Shader”You can either import from the drop-down menu or you can bring a texture of your own in, by clicking the file icon to the right of the shader box.
All shaders that operate in UV space should work, as well as some that also use 3D space.
3D Sampling
Section titled “3D Sampling”Activate this to sample in 3D space (if the used shader supports it), or leave it deactivated for UV sampling.
Invert
Section titled “Invert”Inverts the texture.
Especially useful for masks.
Enabling the Tile option will have the shader repeat.
Seamless
Section titled “Seamless”If you have the Tile setting enabled, this option will mirror the tiles, so that they fit together.
Offset U/V
Section titled “Offset U/V”Offsets the shader along U and V.
Length U/V
Section titled “Length U/V”Scales the shader along U and V.
Enable Palette Coloring
Section titled “Enable Palette Coloring”This enables the Palette control and colors the layer according to the sampled shader image you see while having Enable Palette Coloring inactive.
Palette
Section titled “Palette”For more information about how to use the palette, see the Terrain Color Palette page.
Conversion
Section titled “Conversion”Since the sampled Cinema 4D Shader yields RGB color values, and the Terrain Color Palette needs a simple Float value for sampling, you can set the conversion mode here:
Uses the red component of the sampled shader image.
Uses the green component of the sampled shader image.
Uses the blue component of the sampled shader image.
Converts the sampled shader image to HSV space, and uses the V component.
Average
Section titled “Average”Uses the average of the RGB channels.
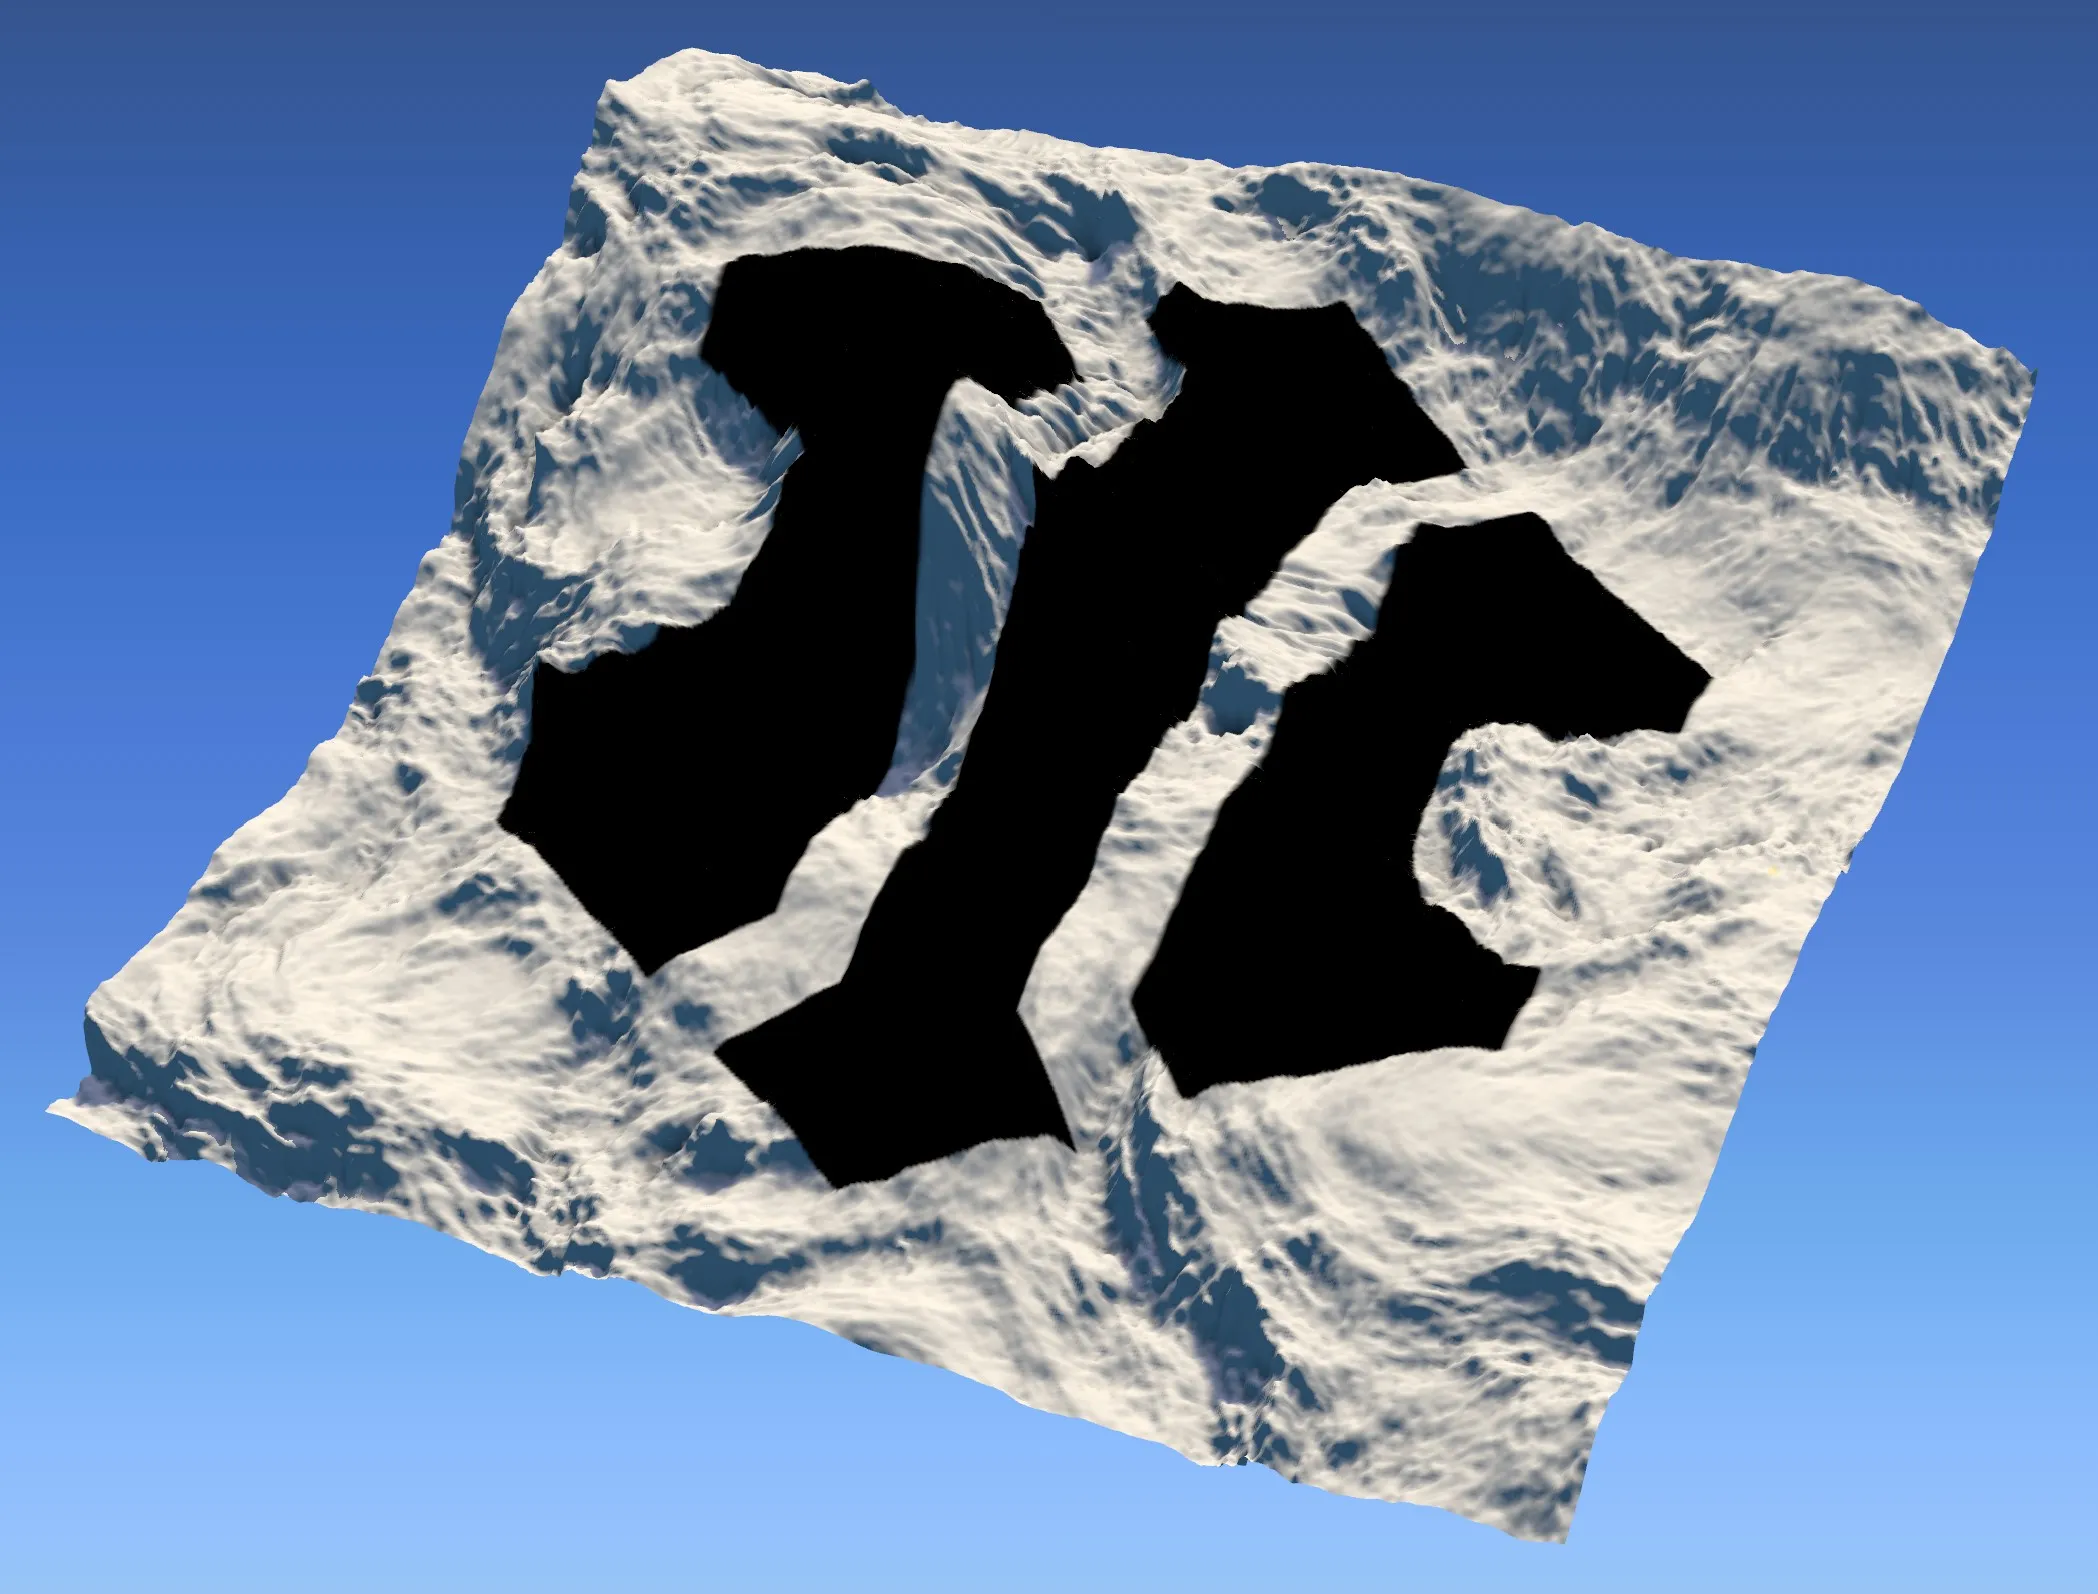
A bitmap texture.
A procedural shader.
Ambient Occlusion layer
Section titled “Ambient Occlusion layer”This layer type computes fast Screen Space Ambient Occlusion (SSAO).
Using Ambient Occlusion for surface coloring enables you to simulate material accumulating in valleys and depressions, to isolate large features or small details, or to simply apply some shadowing to crevices.

The Ambient Occlusion layer GUI.
Layer Properties
Section titled “Layer Properties”Quality
Section titled “Quality”Choose a quality setting here.
Lower quality will yield a more noisy result, higher quality will take longer to compute.
Radius
Section titled “Radius”The sampling radius around each grid point.
Larger values will isolate larger features, lower values will isolate smaller details.
Bias for computing the occlusion factor.
Invert
Section titled “Invert”Inverts the output map.
Enable Palette Coloring
Section titled “Enable Palette Coloring”When using a layer as a mask, you are probably finished after setting the inputs to your liking.
When creating a color texture, you will want to use the palette functionality.
This enables the Palette control and colors the layer according to the greyscale map you see while having Enable Palette Coloring inactive.
Palette
Section titled “Palette”For more information about how to use the palette, see the Terrain Color Palette page.
Ambient Occlusion examples with different Radius values.
Curvature layer
Section titled “Curvature layer”This layer type computes curvature.
Using Curvature for surface coloring and masking enables you to isolate terrain features based on their immediate topology.
The Curvature layer GUI.
Layer Properties
Section titled “Layer Properties”Choose from the usual Curvature modes here: All, Bumps or Dents.
Quality
Section titled “Quality”Choose a quality setting here.
Lower quality will yield a more less precise result, higher quality will take notably longer to compute.
Enable Palette Coloring
Section titled “Enable Palette Coloring”When using a layer as a mask, you are probably finished after setting the inputs to your liking.
When creating a color texture, you will want to use the palette functionality.
This enables the Palette control and colors the layer according to the greyscale map you see while having Enable Palette Coloring inactive.
Palette
Section titled “Palette”For more information about how to use the palette, see the Terrain Color Palette page.
Surface Normal layer
Section titled “Surface Normal layer”This layer type compares each surface point’s normal against a custom reference vector.
In layer masking, this can be very handy to e.g. constrain snow to a mountain’s shadowed side, or grass to a hill’s sunny side.
The Surface Normal layer GUI.
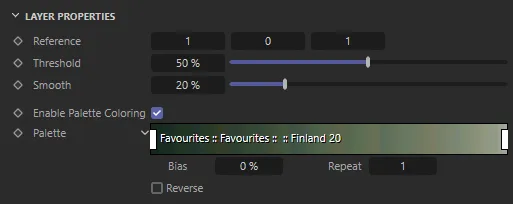
Layer Properties
Section titled “Layer Properties”Reference
Section titled “Reference”A reference vector against which the surface normal will be compared.
Threshold
Section titled “Threshold”The normal falloff’s threshold.
Smooth
Section titled “Smooth”The normal falloff’s softness (Q width).
Enable Palette Coloring
Section titled “Enable Palette Coloring”When using a layer as a mask, you are probably finished after setting the inputs to your liking.
When creating a color texture, you will want to use the palette functionality.
This enables the Palette control and colors the layer according to the greyscale map you see while having Enable Palette Coloring inactive.
Palette
Section titled “Palette”For more information about how to use the palette, see the Terrain Color Palette page.
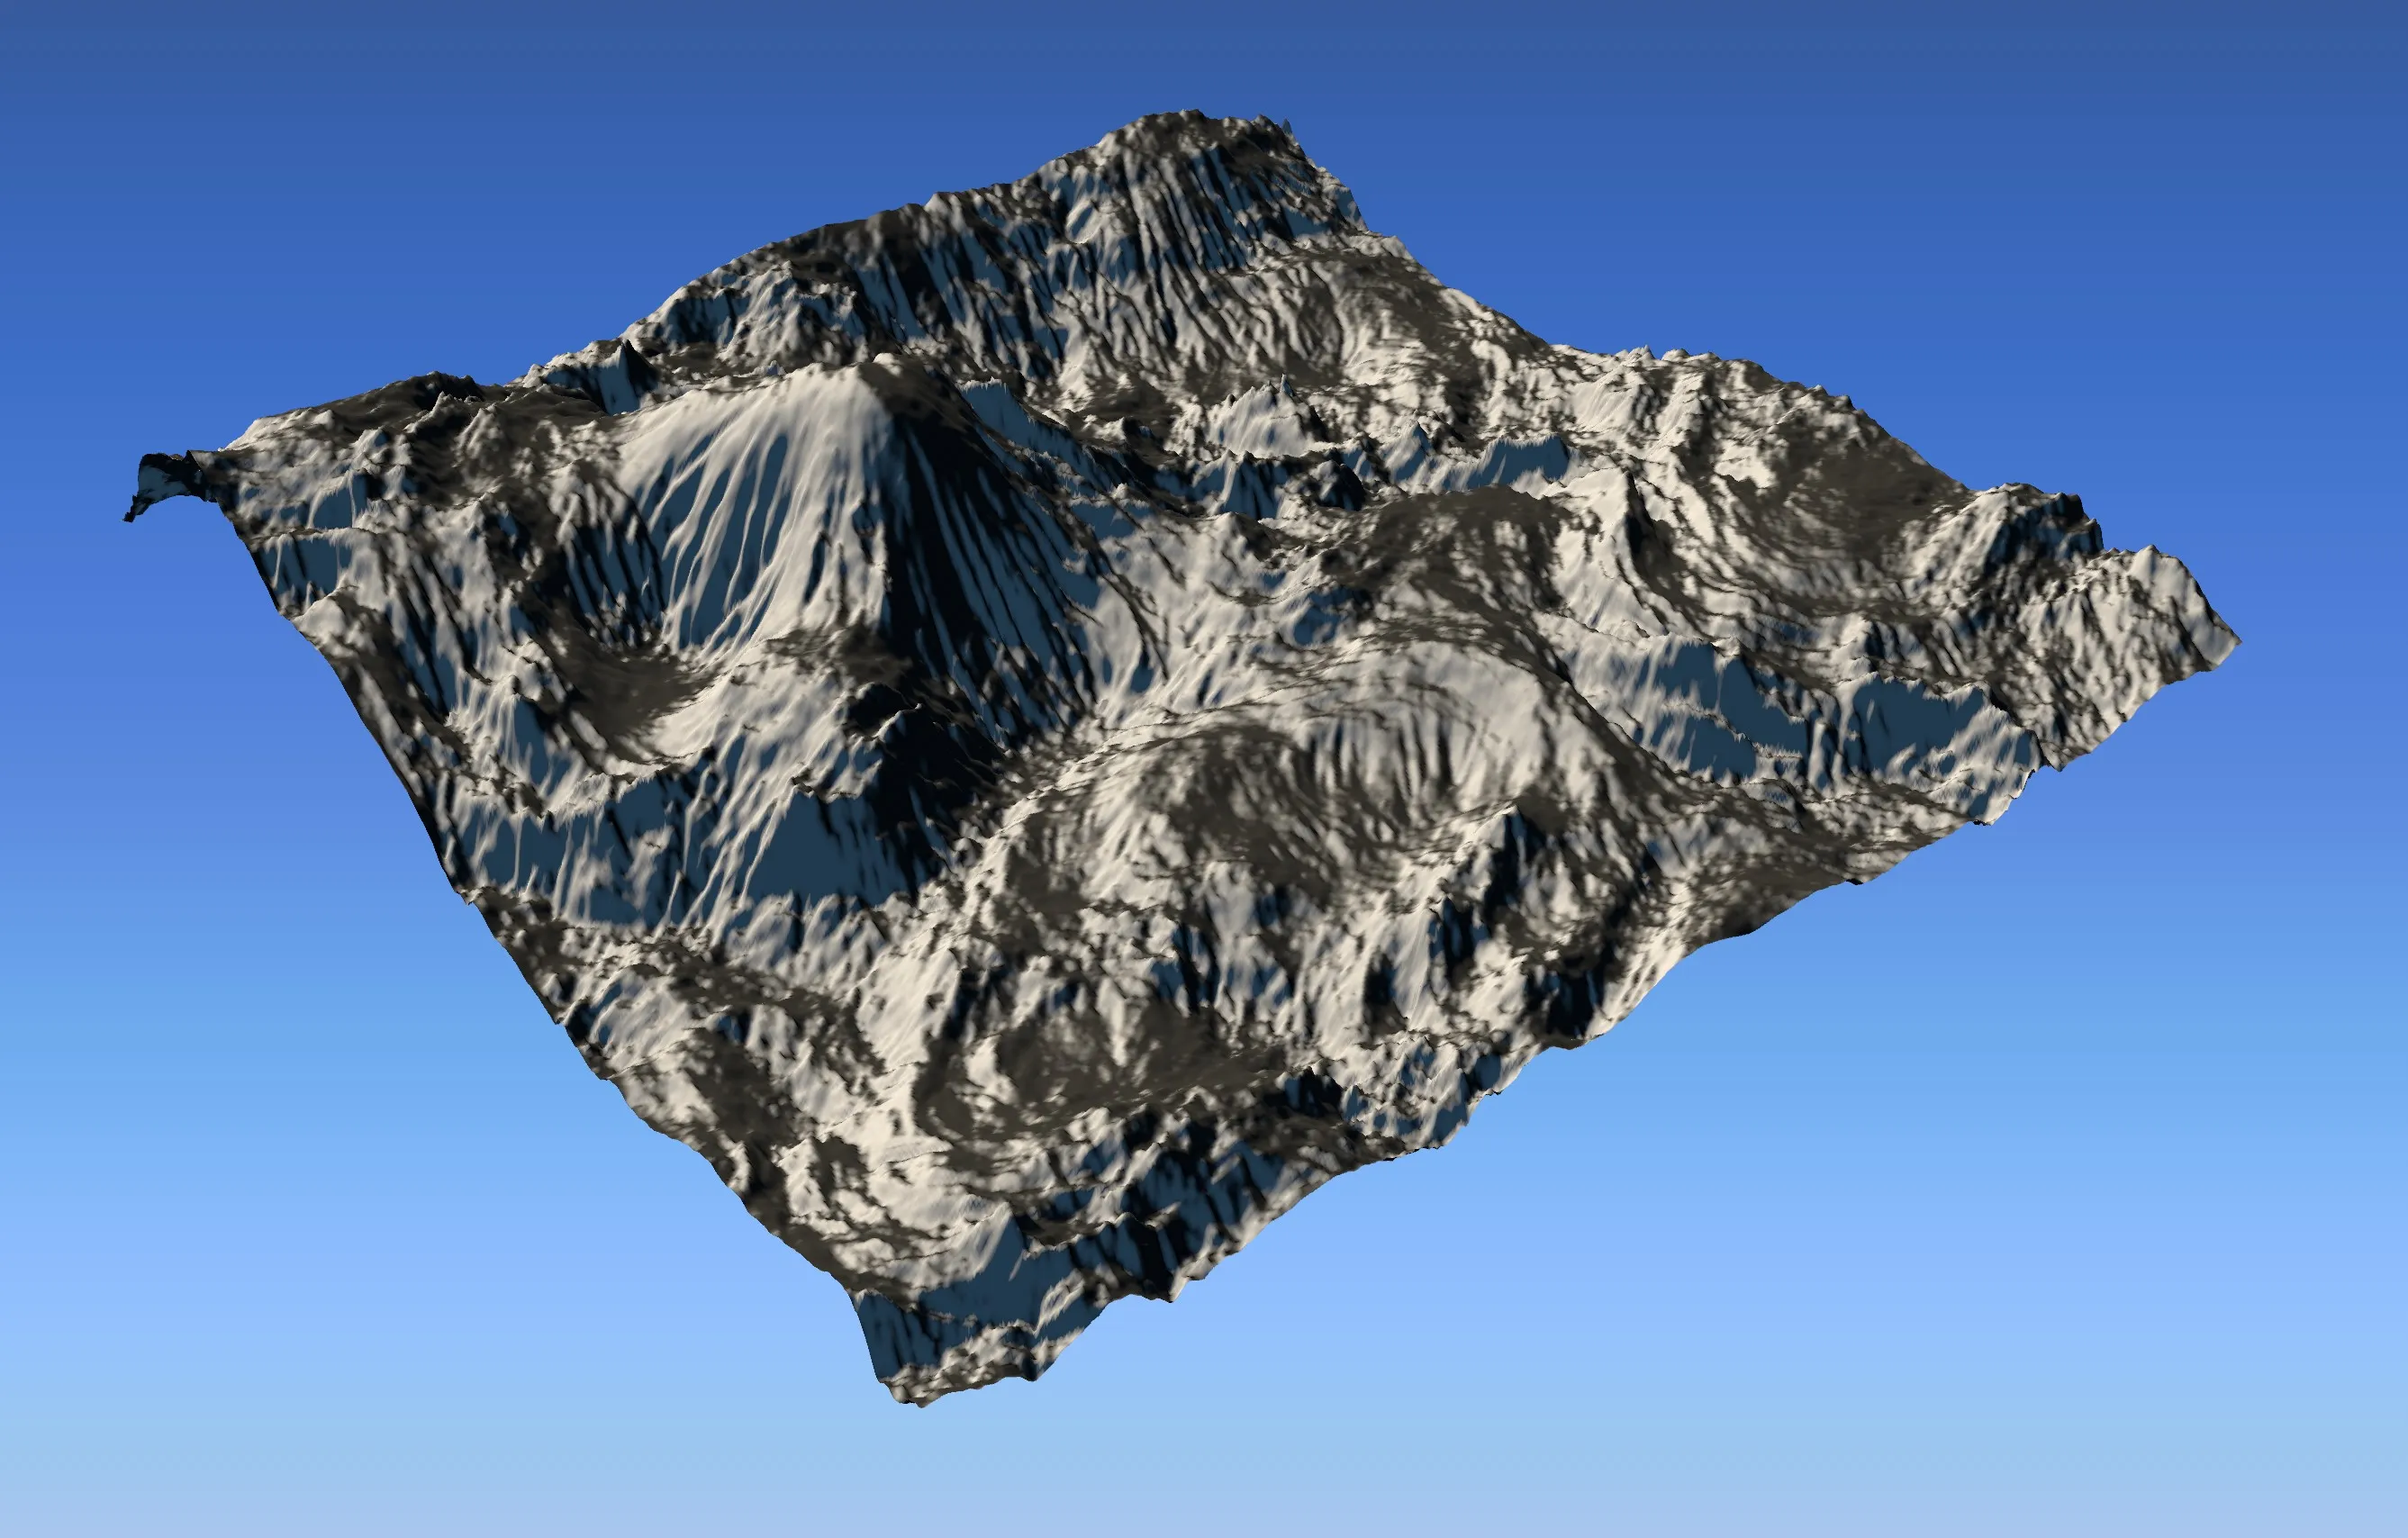
Using the Normal layer, snow is masked to one side of the mountains.
Cinema 4D Fields layer
Section titled “Cinema 4D Fields layer”This layer type samples a list of Cinema 4D Fields against the terrain.
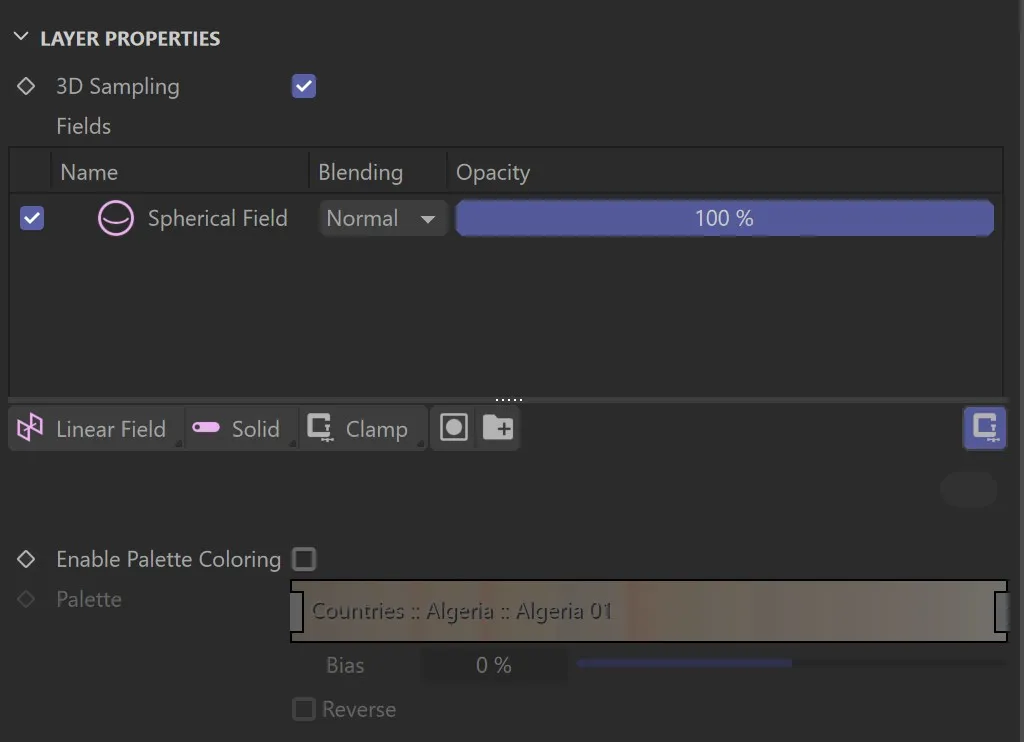
The Fields layer GUI.
Layer Properties
Section titled “Layer Properties”3D Sampling
Section titled “3D Sampling”Enable this to sample the fields in 3D space.
Fields
Section titled “Fields”A standard C4D fields list.
Organize your fields here.
Enable Palette Coloring
Section titled “Enable Palette Coloring”When using a layer as a mask, you are probably finished after setting the inputs to your liking.
When creating a color texture, you will want to use the palette functionality.
This enables the Palette control and colors the layer according to the greyscale map you see while having Enable Palette Coloring inactive.
Palette
Section titled “Palette”For more information about how to use the palette, see the Terrain Color Palette page.
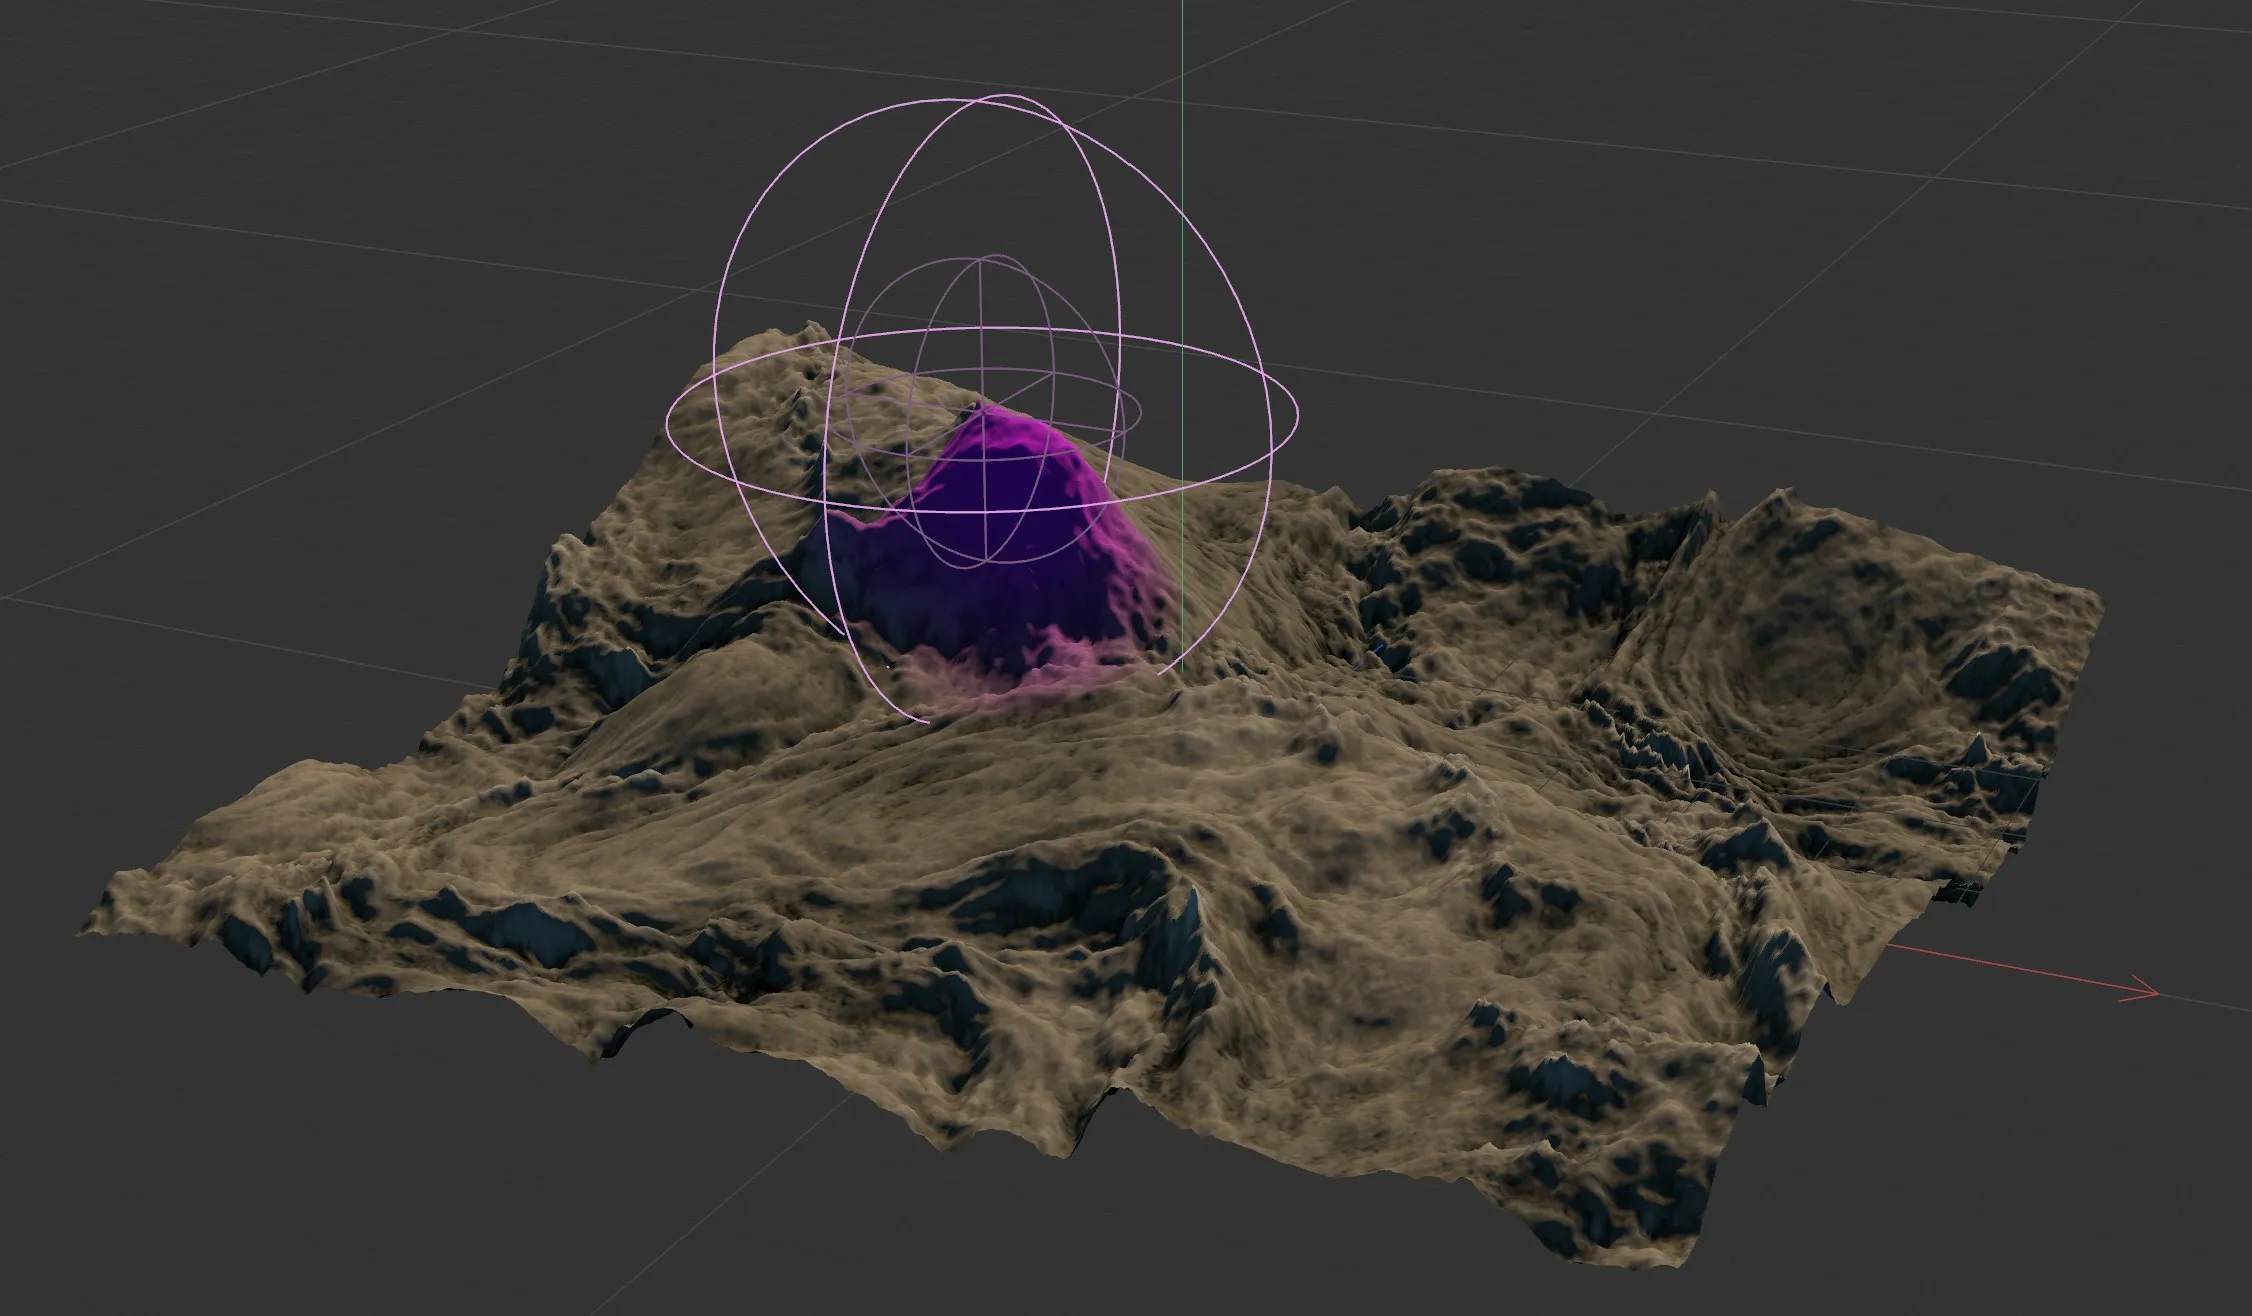
A mountain top masked by the Fields layer.
Solid Color layer
Section titled “Solid Color layer”This is the most simple layer type.
All it does is render a solid color.
Well suited for simple snow or water, or as a placeholder.
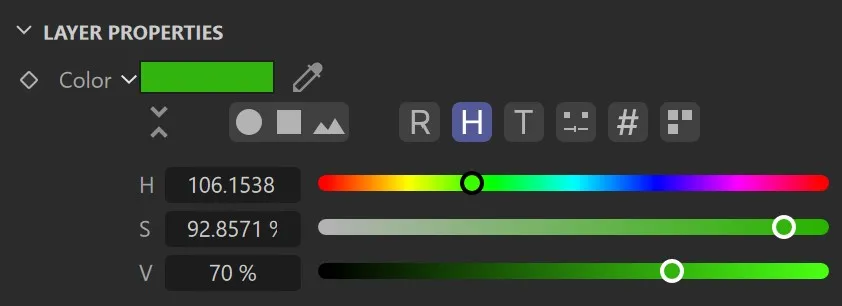
The Solid Color layer GUI.
Choose the layer’s color here.
Example output of a Solid Color layer.
Folder layer
Section titled “Folder layer”This layer type is meant only for organization; it allows you to group multiple layers together, as to blend, post process, or deactivate them as if they were one.
It does not have any specific properties, but still offers blending and post processing.
For organizational purpose, Folder layers can be colored using the color swatch displayed in the node tree.
Folder layer.
Bake Layer
Section titled “Bake Layer”Every layer has this button.
It lets you choose a filename, and then renders out the layer to a .tiff file.
The texture can be rendered as 8-bit integer, 16-bit integer, or 32-bit floating point format.
You can set the preferred format in the TerraformFX preferences.
Layer Post Processing
Section titled “Layer Post Processing”Every texture layer has a Post Processing stack, which allows for powerful manipulation and adjustment of a layer’s output.
Add any number of post processing operations using the Add cycle button and the NodeTree and they will be applied to the layer (one by one, from the top down).
Post Processing operations can be reordered, but they cannot be renamed or nested.
The Post Processing stack.
Available Post Processing operations are: Brightness & Contrast, Blur / Sharpen, Clamp, Color Correction, Colorize, Equalize, Gamma Correction, Graduation Curves, Invert, Noise, Normalize, Shaping and Threshold.
Brightness & Contrast
Section titled “Brightness & Contrast”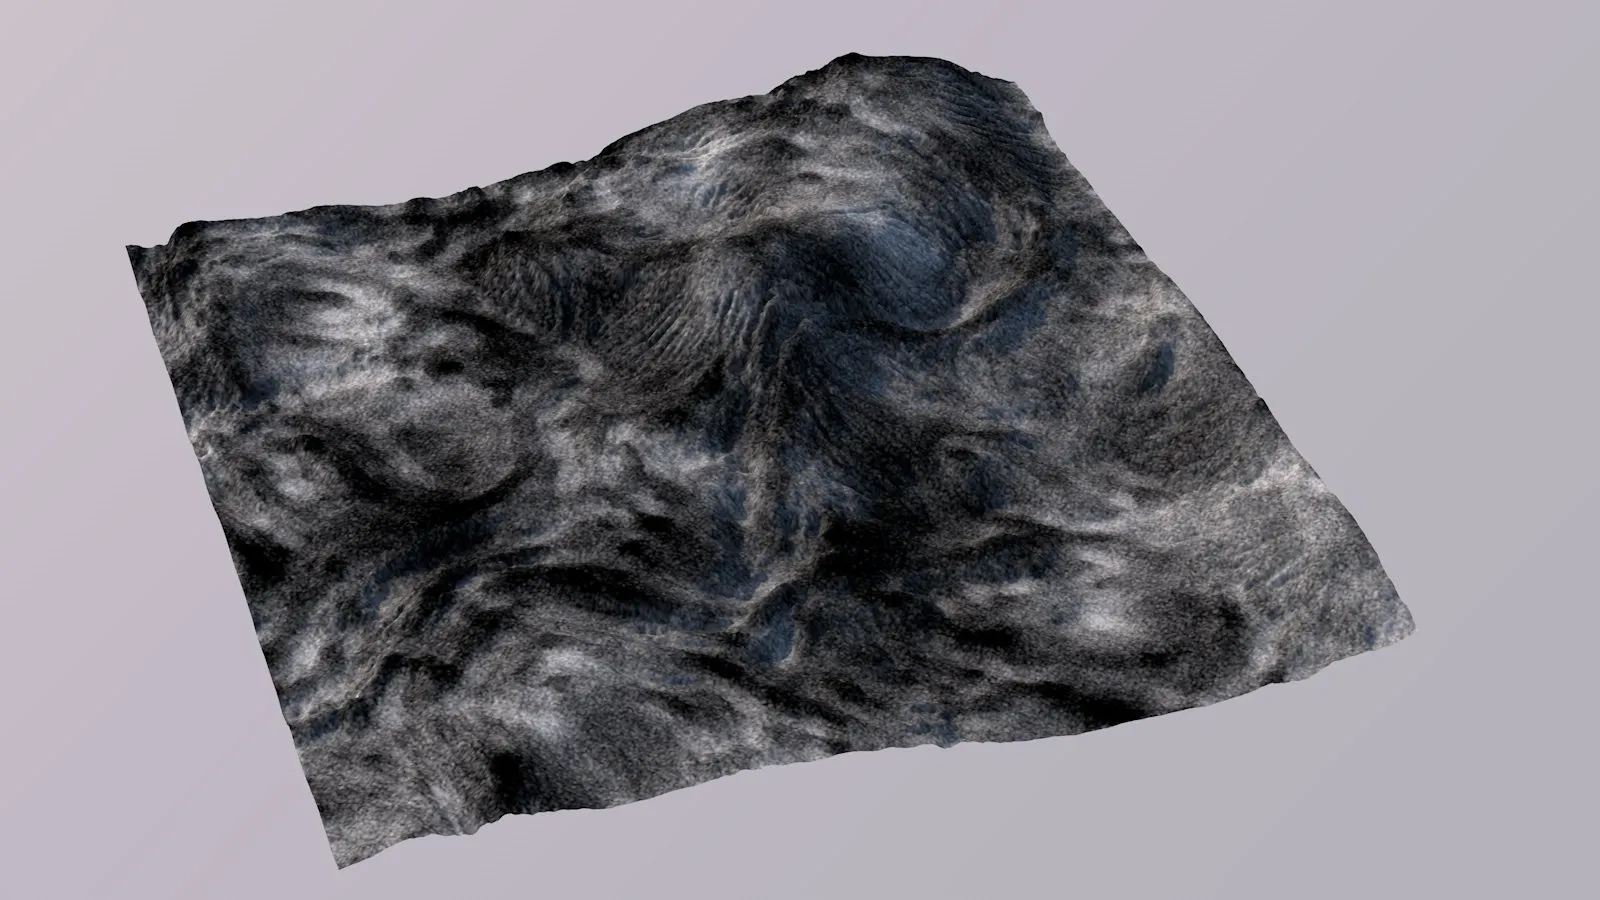
Brightness & Contrast.
Lets you manipulate the texture’s brightness and contrast.
With color textures, increasing contrast will often also increase perceived saturation.
Blur / Sharpen
Section titled “Blur / Sharpen”
Blur / Sharpen.
Lets you quickly blur or sharpen a layer.
Positive values will apply an increasingly strong Unsharp mask to the terrain, while negative values will apply an increasingly large Box Blur kernel.
This is especially useful for masks.
Clamp.
Lets you clamp or clip the texture’s values between a minimum and a maximum.
This is very useful for masks and lets you easily isolate a certain dynamic value range.
When using Clamp, you might also want to add a Normalize operation to compensate for the loss of value range.
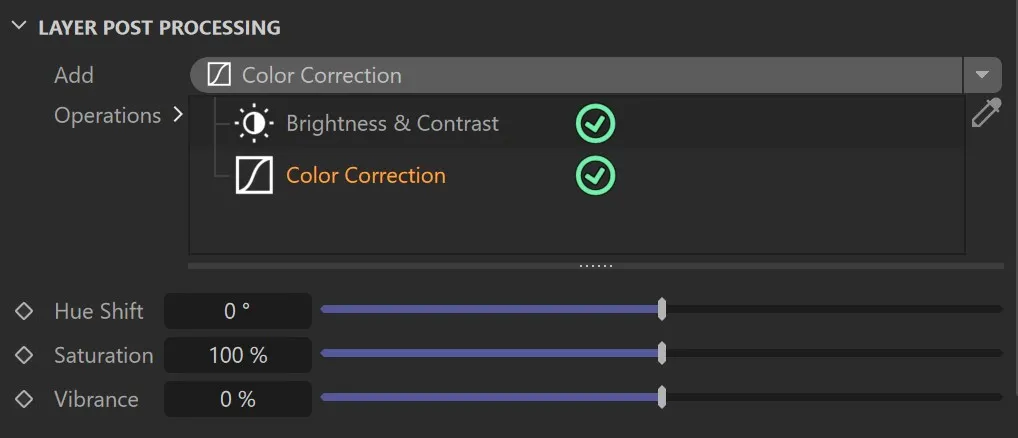
Color Correction
Section titled “Color Correction”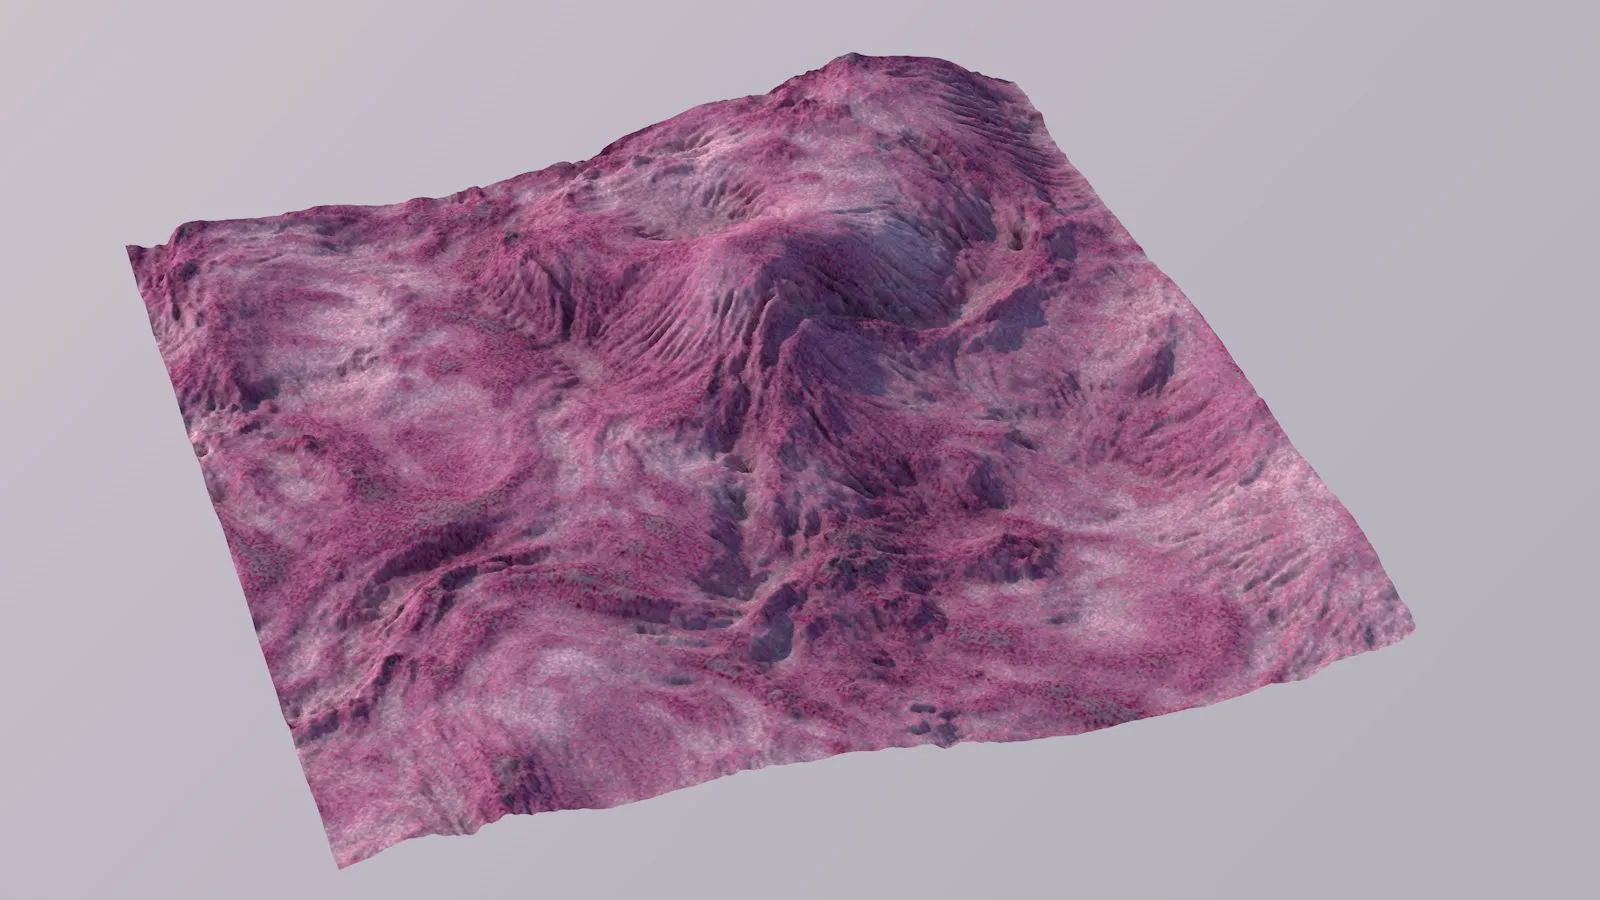
Color Correction.
This lets you shift the texture’s hue angle, allowing it to be recolored.
Additionally, you can lower or increase the texture’s saturation and it also offers a Vibrance parameter.
Colorize
Section titled “Colorize”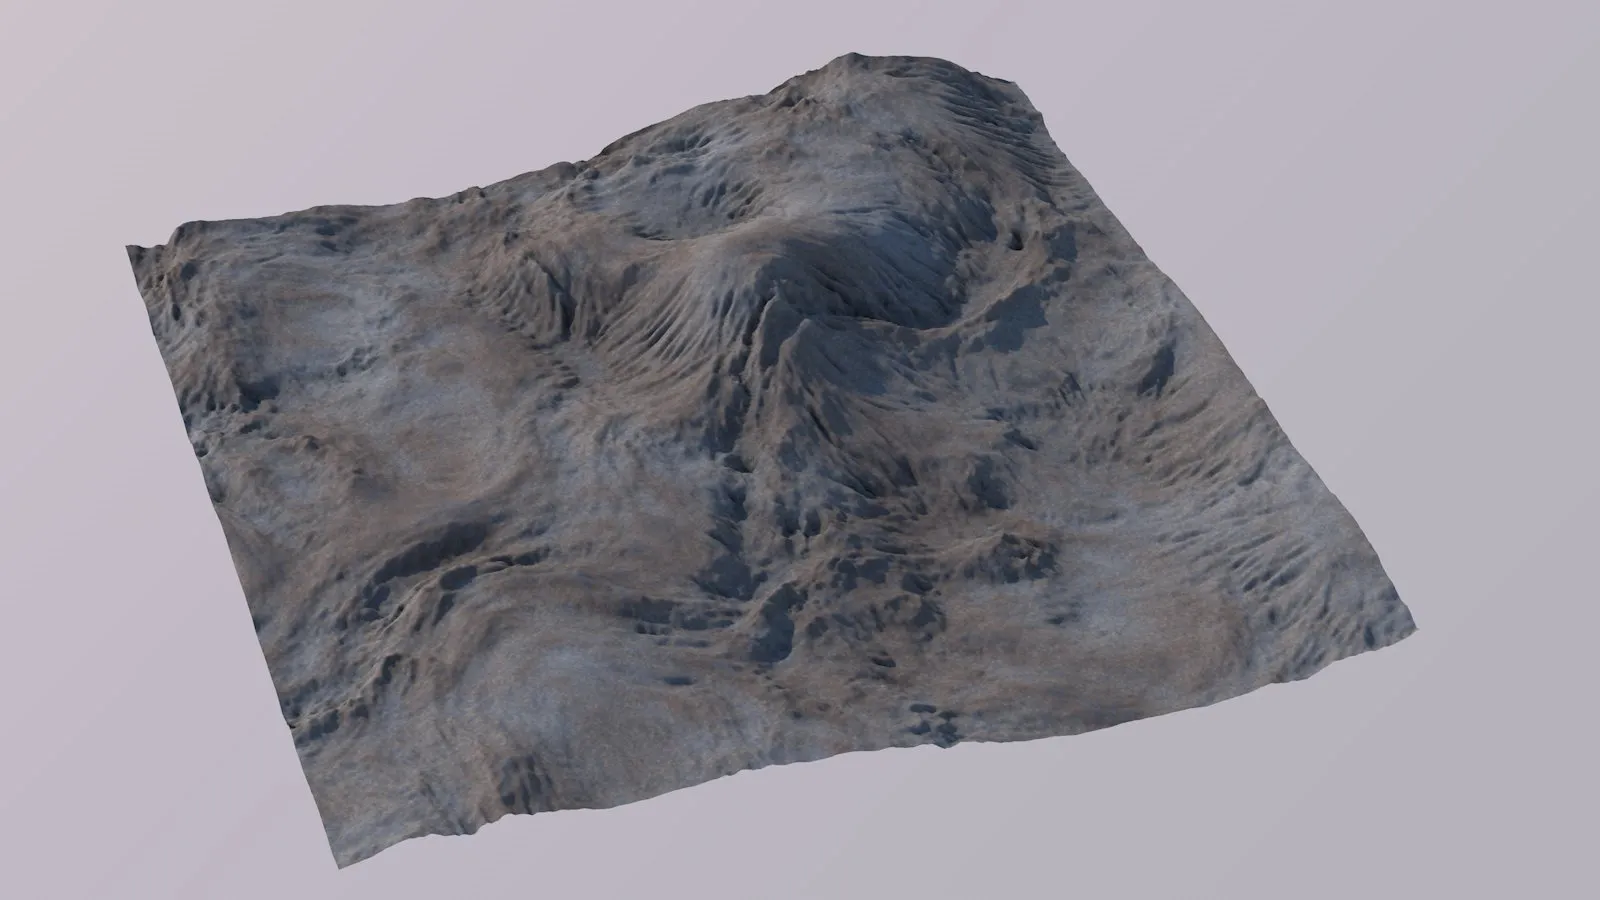
Colorize.
This lets you gradually colorize the texture.
Very useful e.g. if you like to use a color palette, but want it a little cooler or warmer.
Equalize
Section titled “Equalize”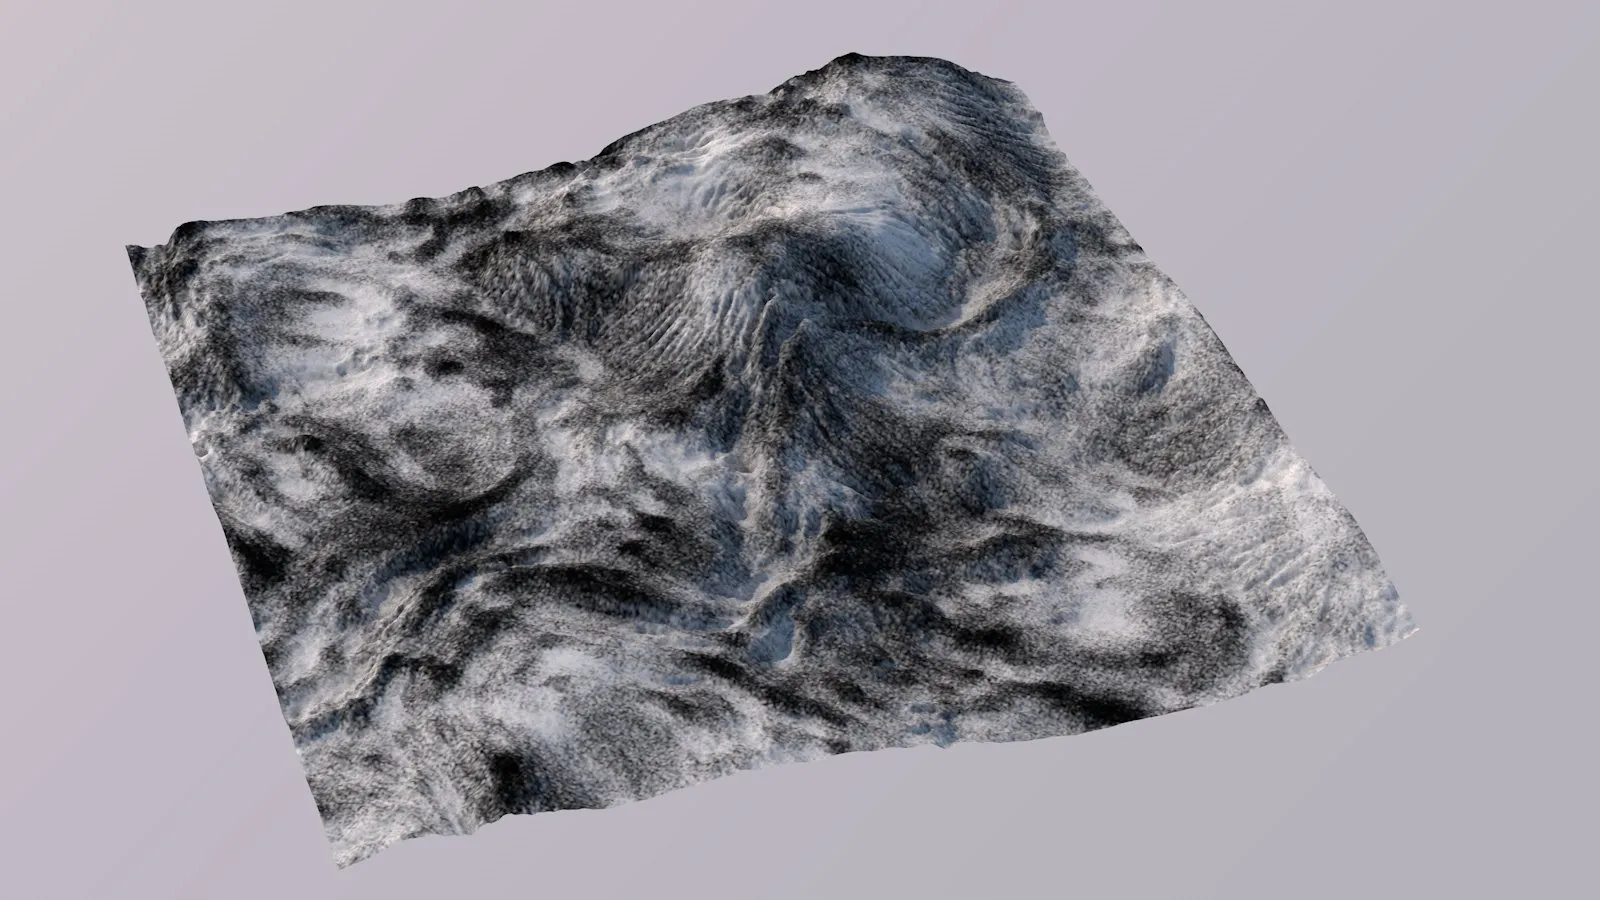
Equalize.
This uses Histogram Equalization to redistribute a layer’s texels’ values evenly across the histogram.
This will balance out low-contrast, too dark and too bright texture content.
Optionally, histogram hyperbolization can be applied, using a hyperbolic distribution during the histogram back projection.
The effect is reminiscent of Gamma Correction, but not quite the same.
Gamma Correction
Section titled “Gamma Correction”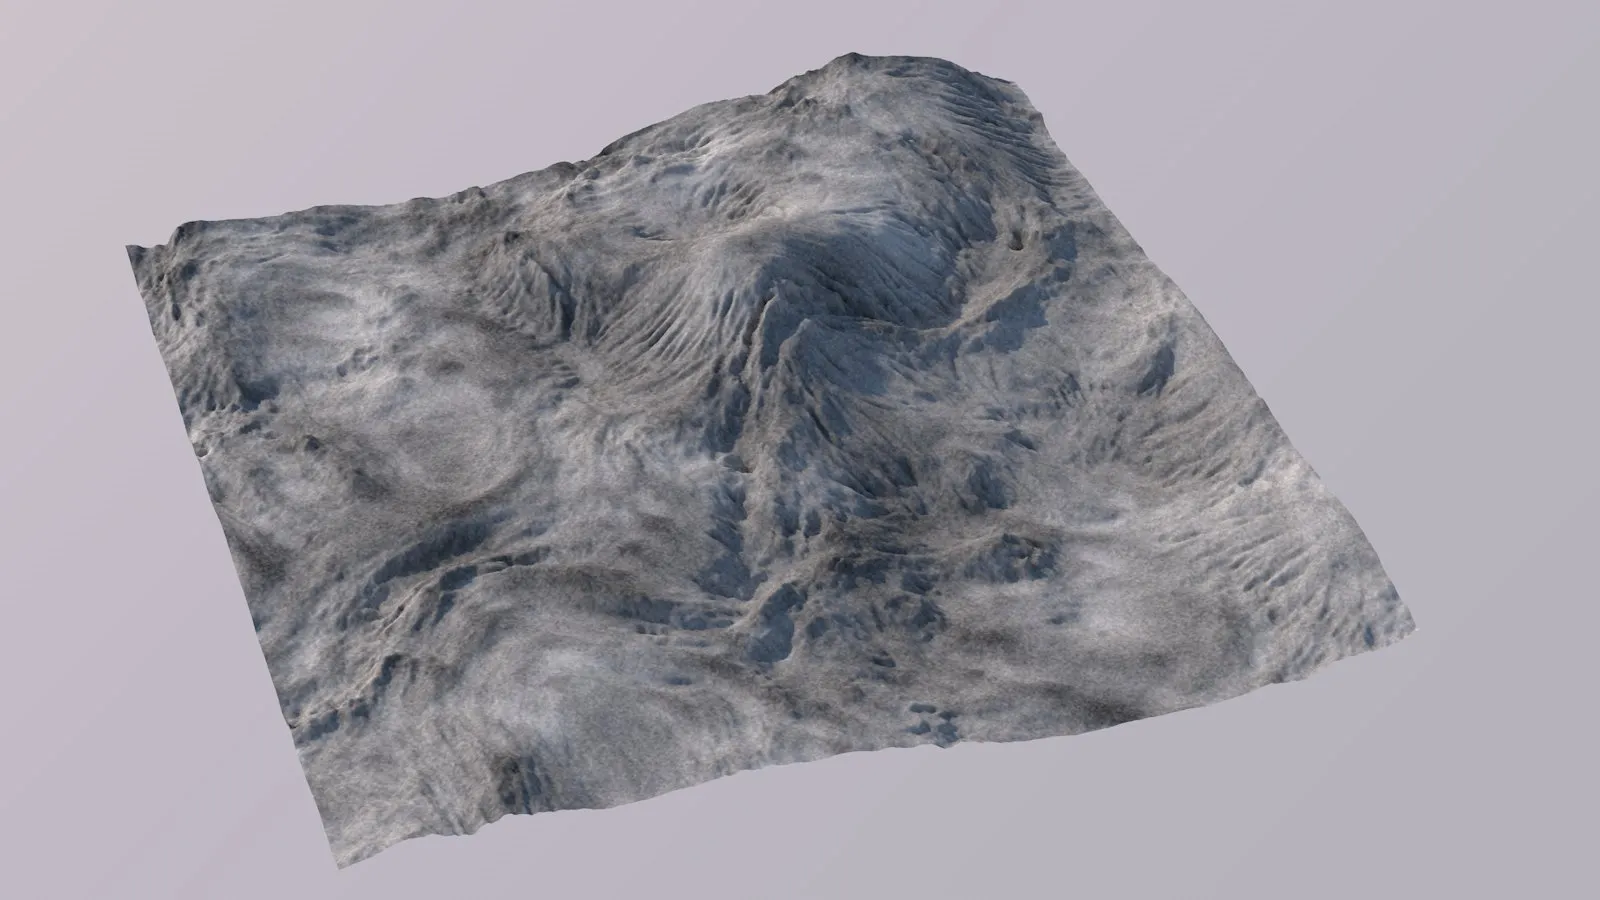
Gamma Correction.
This applies Gamma Correction to the texture, which is useful in controlling the brightness of the darker/shadowed texture areas.
Graduation Curves
Section titled “Graduation Curves”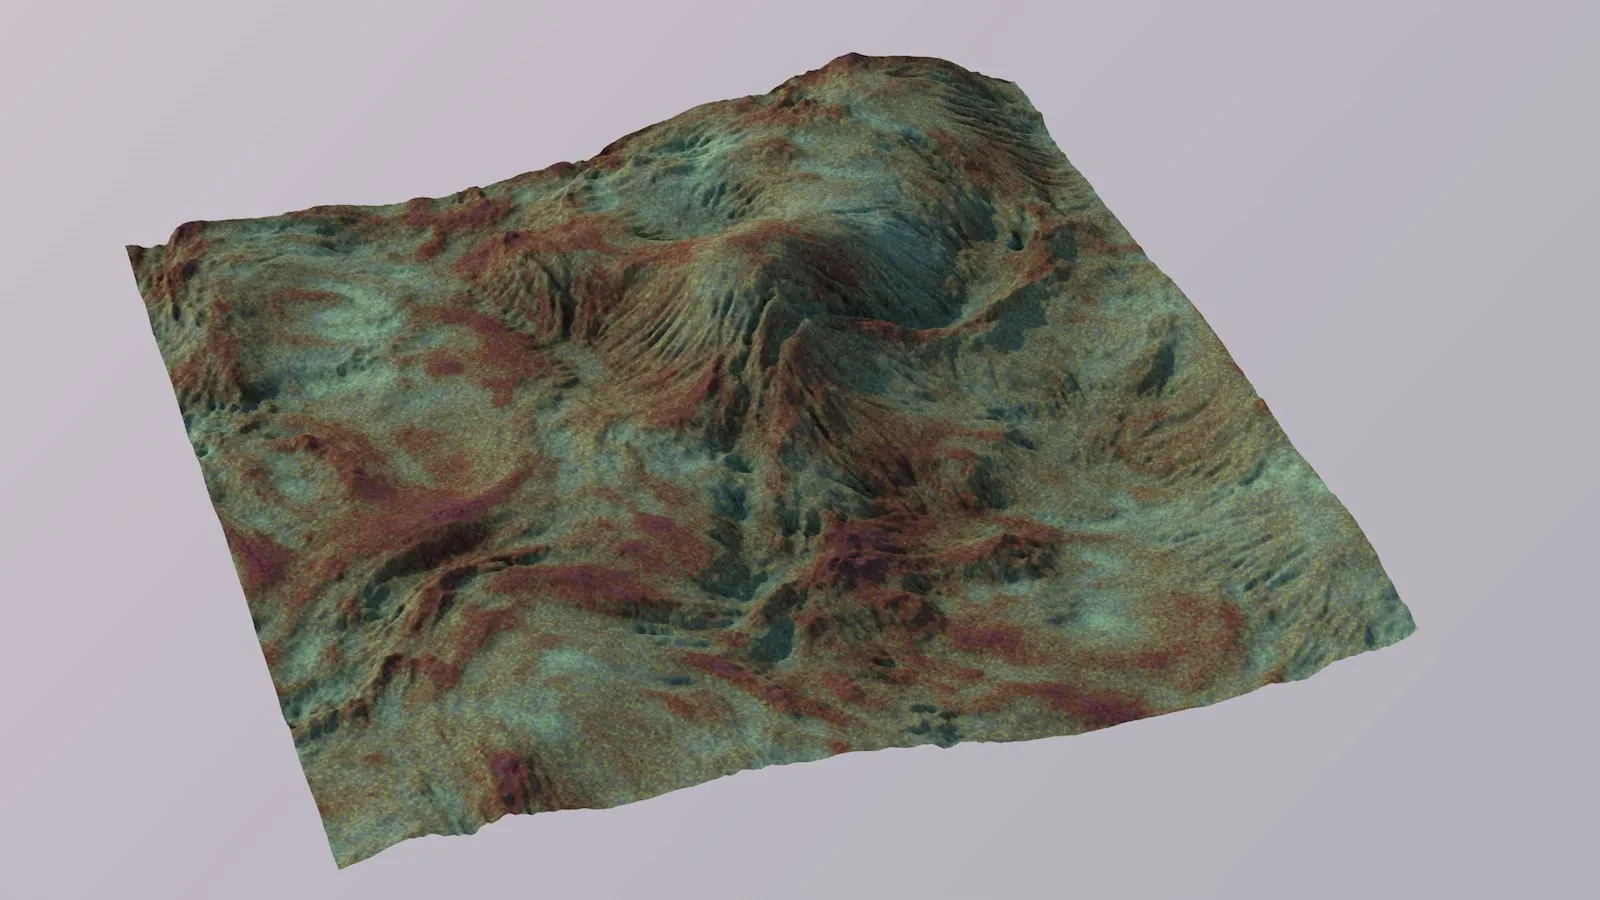
Graduation Curves.
This lets you apply level correction using gradation curves for brightness, as well as adding a separate one for every color channel.
Invert
Section titled “Invert”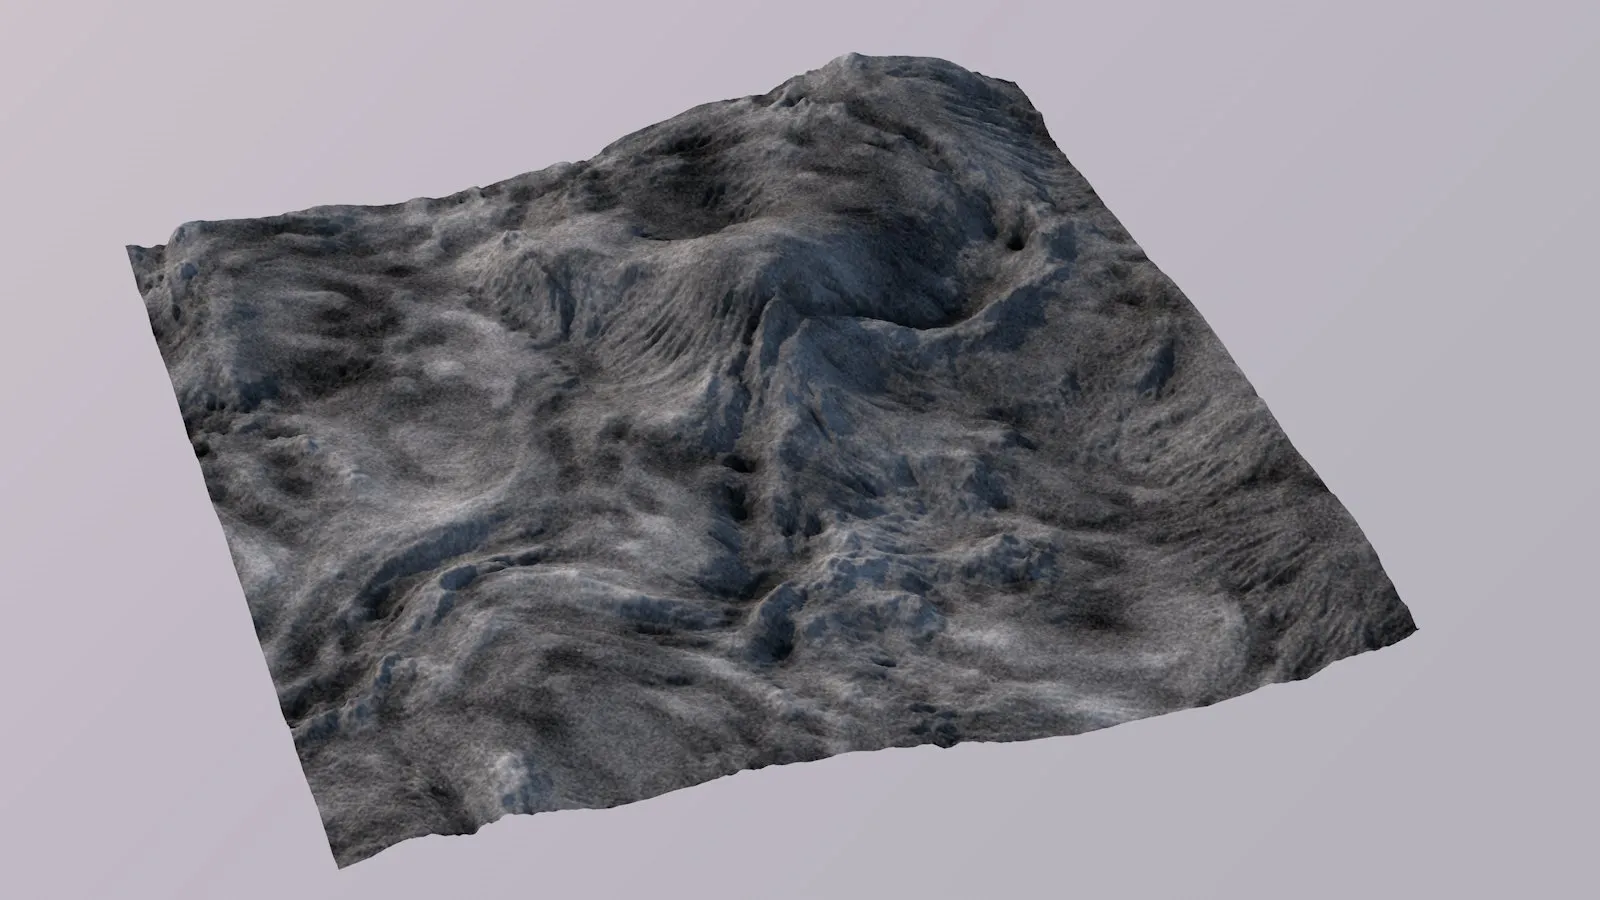
Invert.
This inverts the texture’s colors.
Black becomes white, white becomes black, red becomes cyan, blue becomes yellow, etc.
Noise.
This adds a fine noise to the texture layer, which can be useful in making masks less precise and clean.
Normalize
Section titled “Normalize”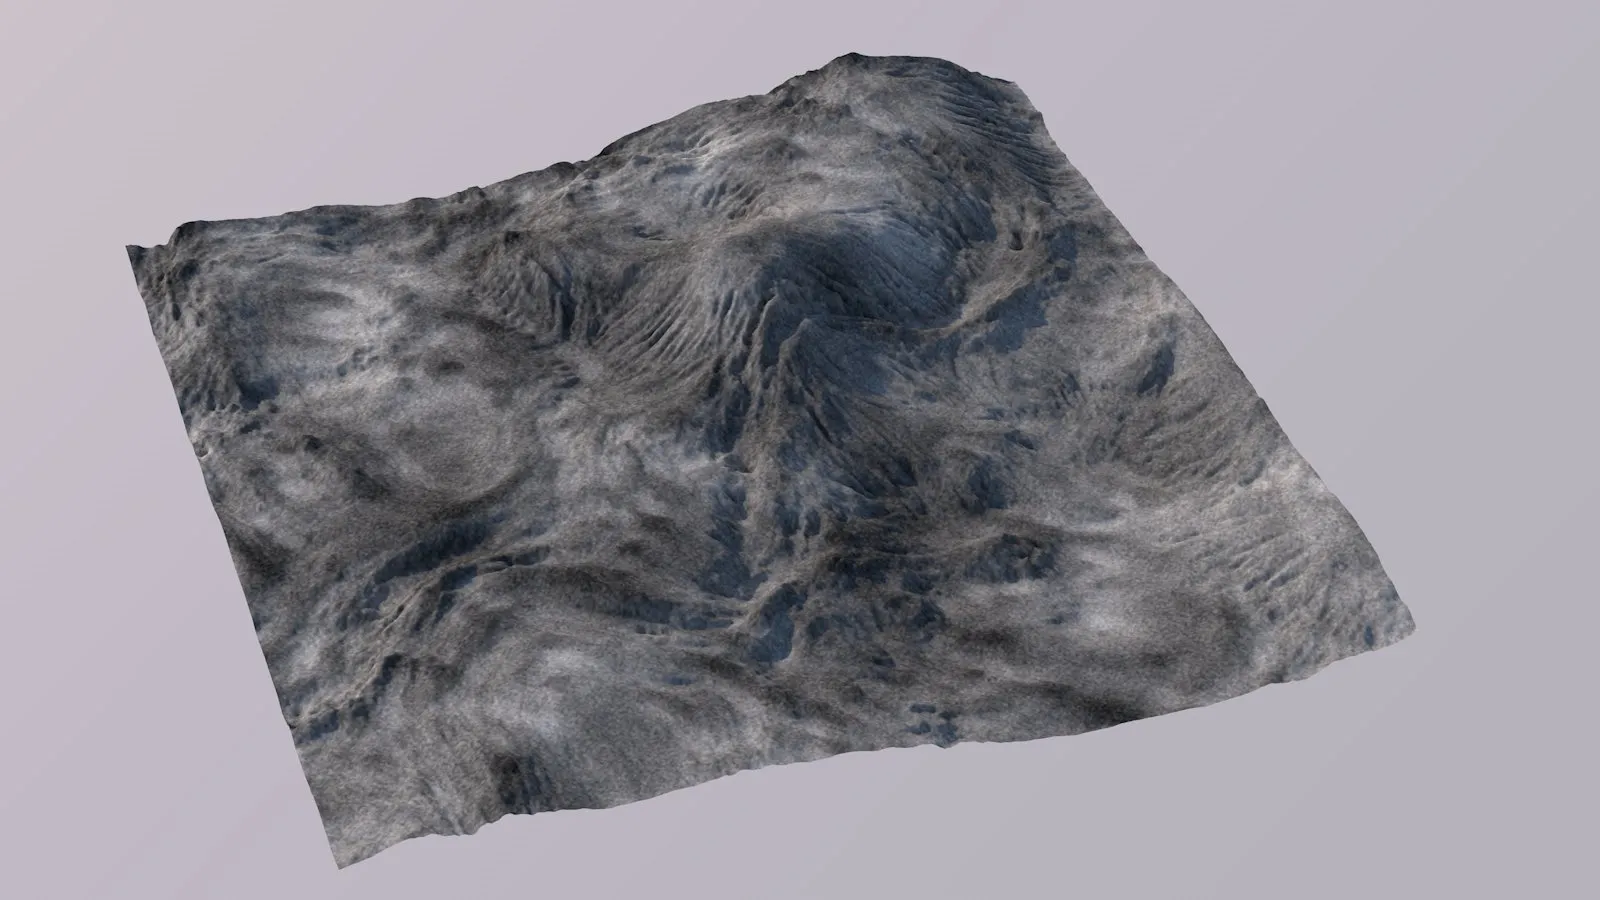
Normalize.
This will normalize the texture, then scale and offset its values in a way that the darkest and brightest texels span over the full dynamic range.
Shaping
Section titled “Shaping”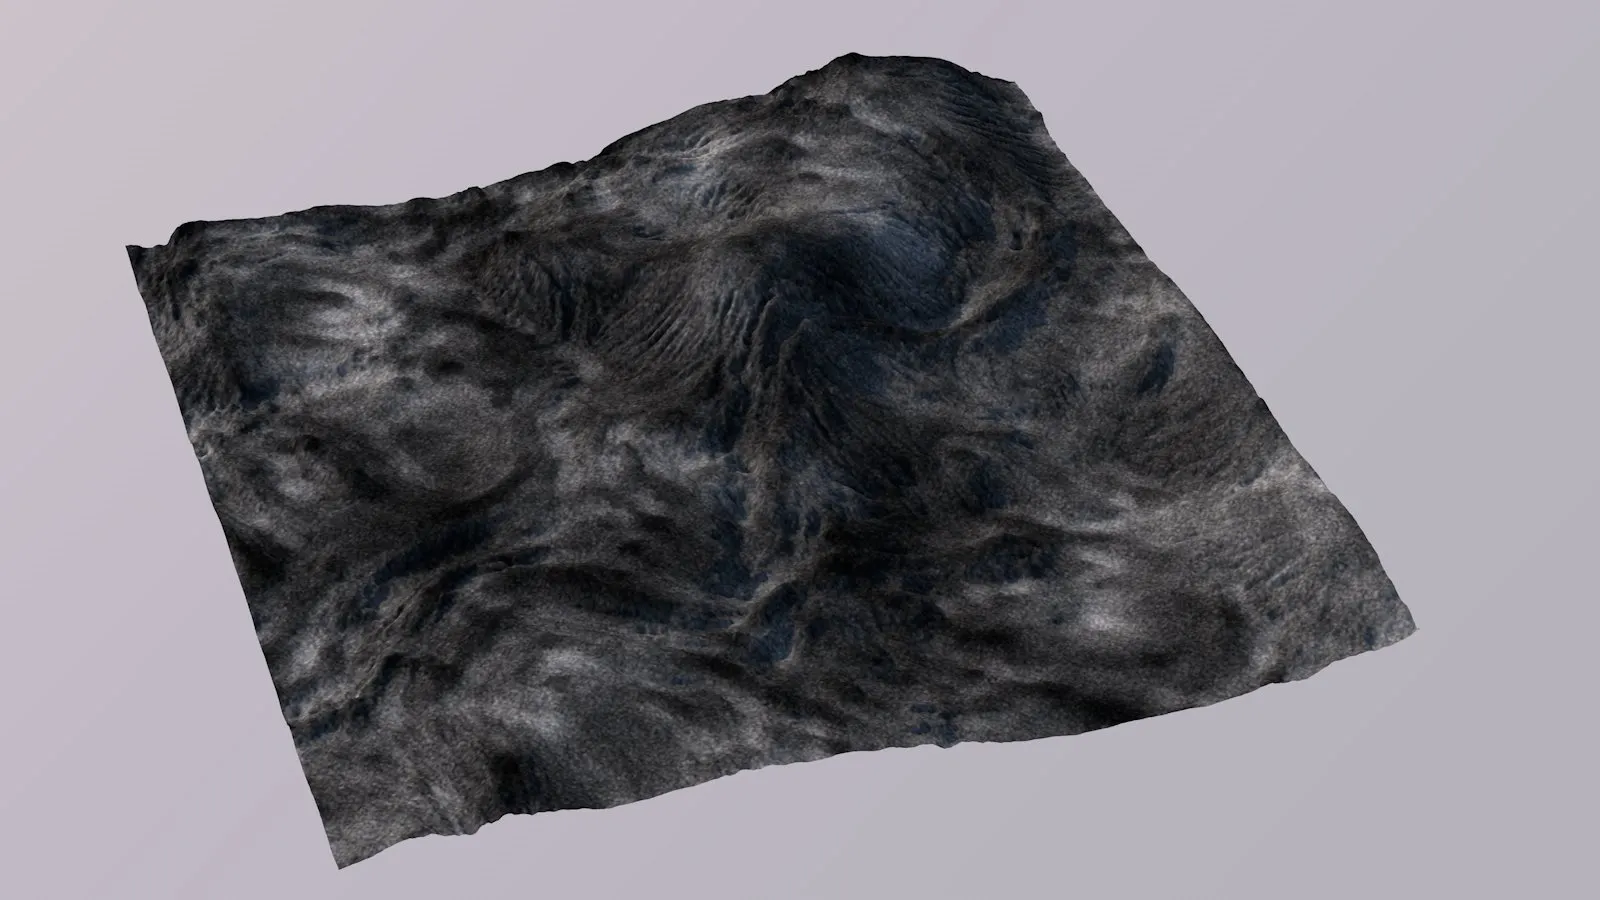
Shaping, with positive values.
Shaping, with negative values.
Applies a variable power curve to the terrain.
Positive values will make the texture brighter without changing its darkest and brightest areas, negative values will make it darker (again, without changing darkest and brightest areas).
Applying this to a terrain heightmap, shaping would result in canyonizing/glaciating effects.
Threshold
Section titled “Threshold”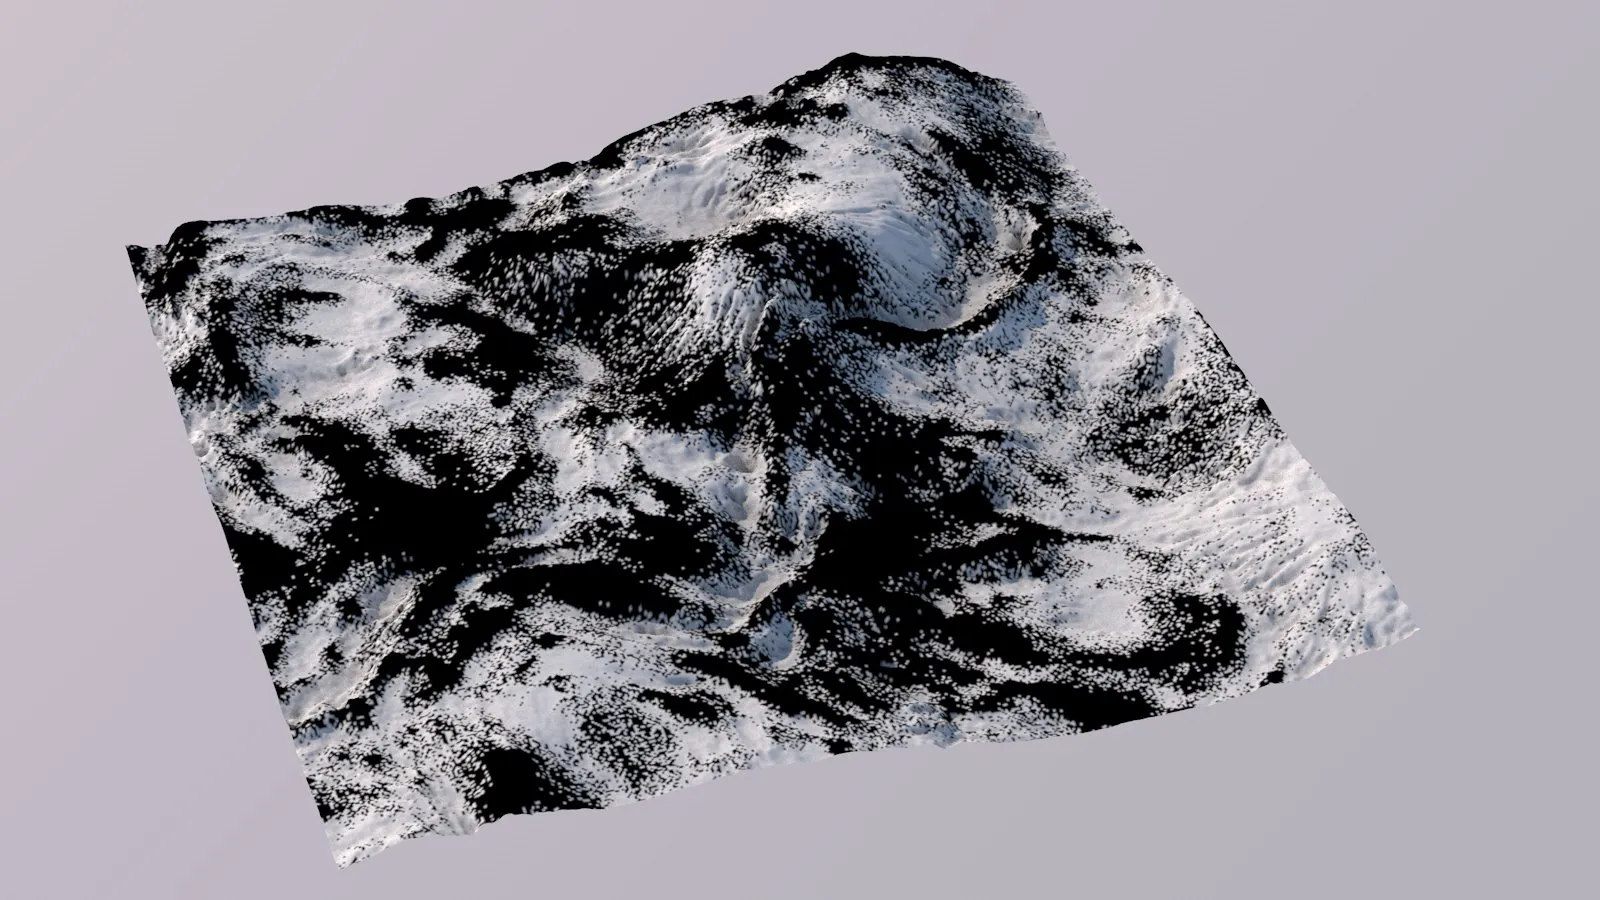
Threshold.
This will round each color channel either up to 1.0 or down to 0.0, depending on the color channel’s value.
A threshold can be defined.
This is very useful for hard masks, e.g. when you don’t want the colors of a layer to mix with the underlying layer’s colors (e.g. when adding snow).
Caching
Section titled “Caching”Complex texture setups may take time to compute.
To keep texture build times low, the Advanced Terrain Shader uses a 2-level caching approach:
- Each layer (texture or mask) will cache its last computed output. On the next texture rebuild, if this layer’s data has not changed, the cached output will be reused, instead of rebuilding that layer. Only layer compositing/blending will be performed again.
- The Advanced Terrain Shader also keeps a copy of its last texture. If nothing about the shader’s data has changed, this texture will be reused, instead of rebuilding any layers.
To reduce file size, terrain texture caches are not saved stored in the .c4d file.
Hence, opening a scene and changing anything about the terrain material will trigger a complete rebuild of the terrain texture.
After this, caching will kick in.
Redshift Texture Baking Quality
Section titled “Redshift Texture Baking Quality”With Cinema 4D 2024, Redshift is the default renderer.
Very quickly, it becomes apparent, that standard C4D shaders are being baked to a texture, in order to be rendered with Redshift.
The default baking resolution is very poor: Only 128x128 pixels.
To increase the default resolution, refer to the screenshot, below.
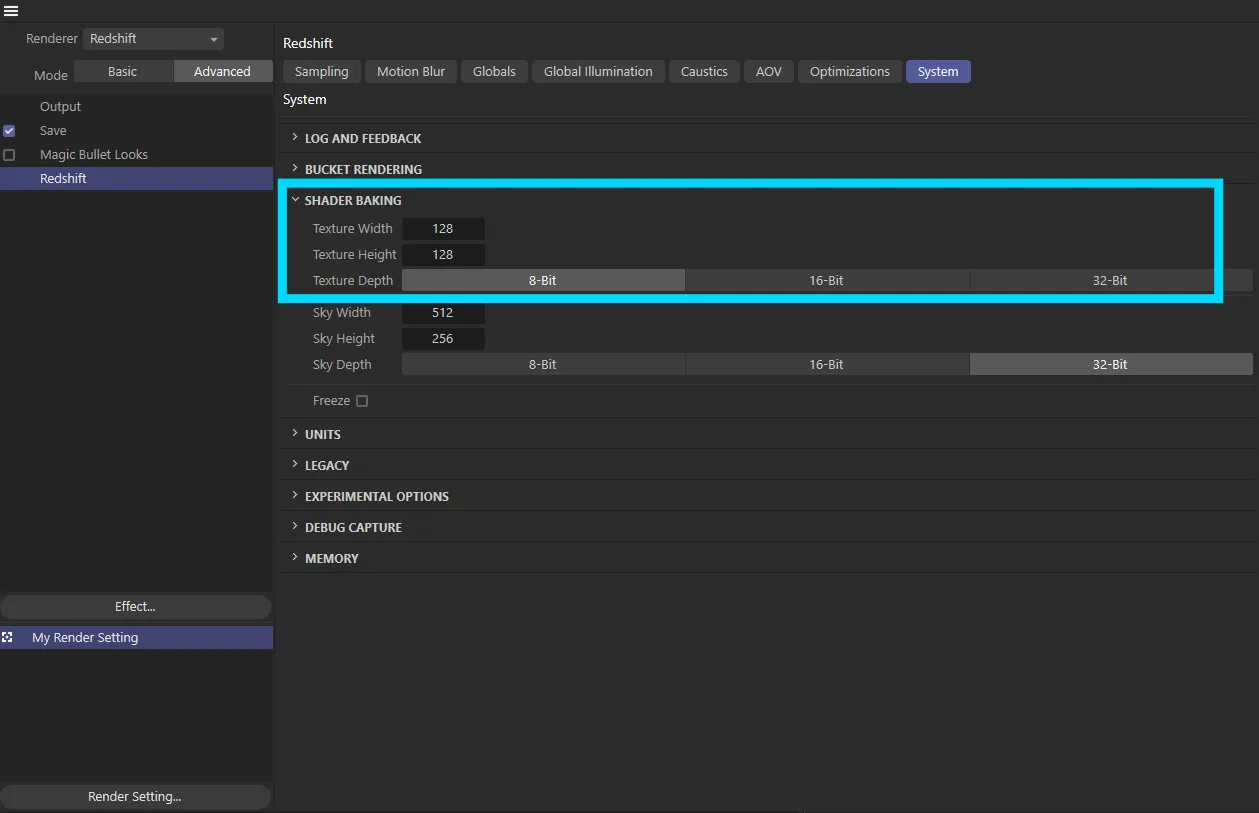
Where to find the default texture baking settings for Redshift.
Copyright © 2026 INSYDIUM LTD. All rights reserved.