xpWetMapShader
The xpWetMapShader is used to shade a ‘wet map’ on any object.
Apply a material with this shader to any object on which you wish to shade a wet map.
You will also need to generate the wet map itself by adding an xpWetMap tag (page linked below).
The shader will then color the object according to how ‘wet’ it is.
xpWetMap
Shader Properties
Section titled “Shader Properties”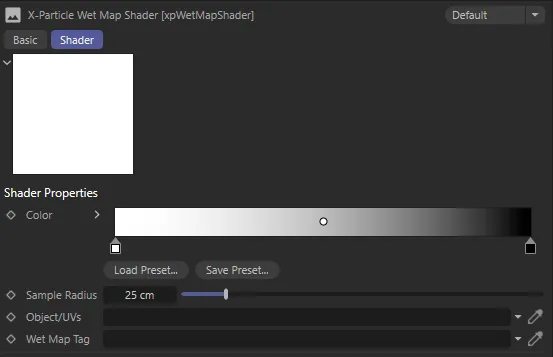
xpWetMapShader menu settings.
This is the color of the shader output (0 - zero - % wet on the left of the gradient, 100% wet on the right).
The more particles that hit the object the shader is applied to, the ‘wetter’ it is.
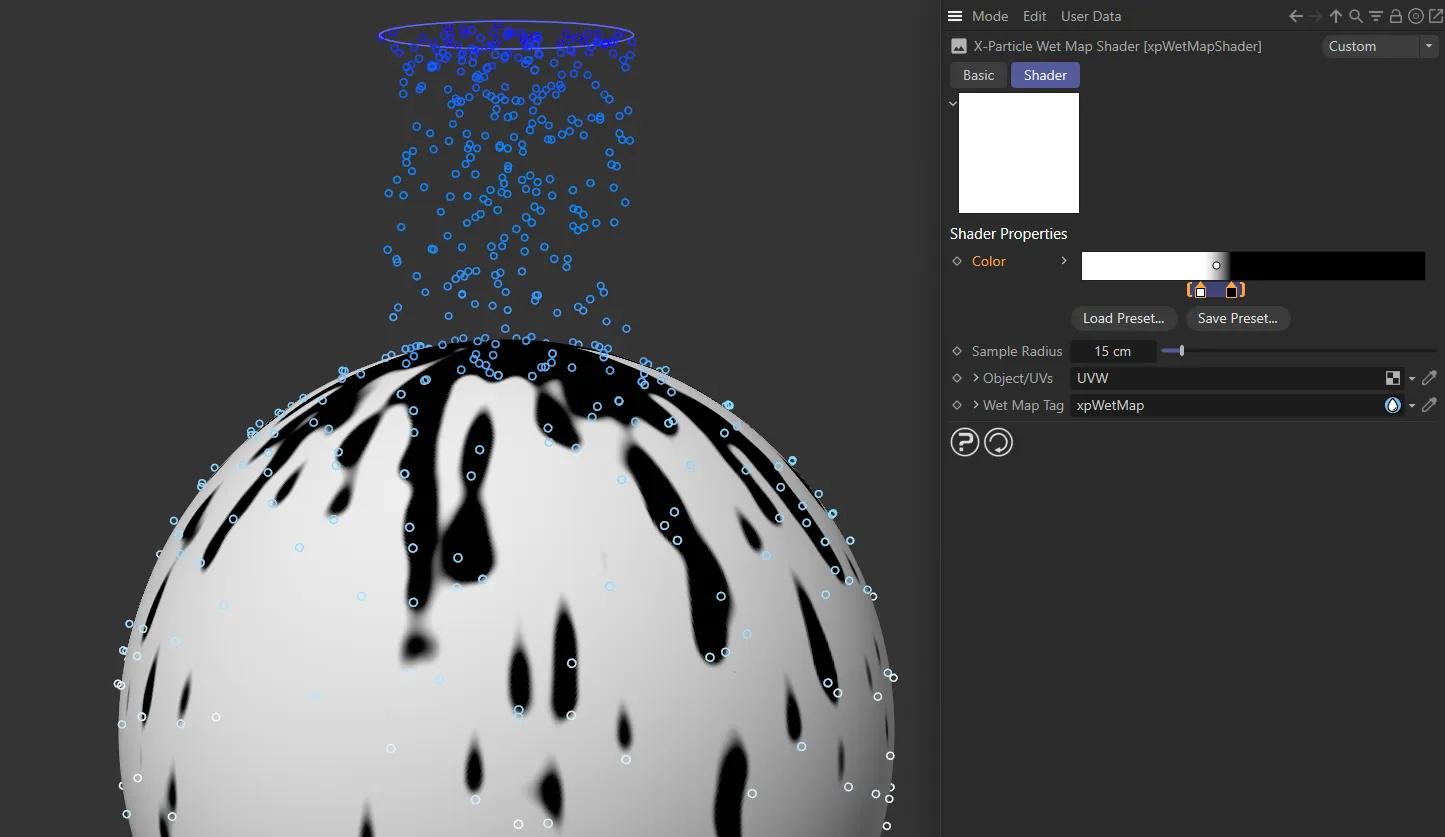
Here, a white and black Color gradient has knots crammed towards the middle, so that the falloff is hard.

This Color gradient changes from black to blue, then to white, with a softer falloff.
Sample Radius
Section titled “Sample Radius”This is the sampling size from the shading point to the surrounding wet map.
A larger radius will increasing the smoothing out of the sampling of the wet map.

A Sample Radius of 5cm is set here. This gives small, slim streaks with limited smoothness.
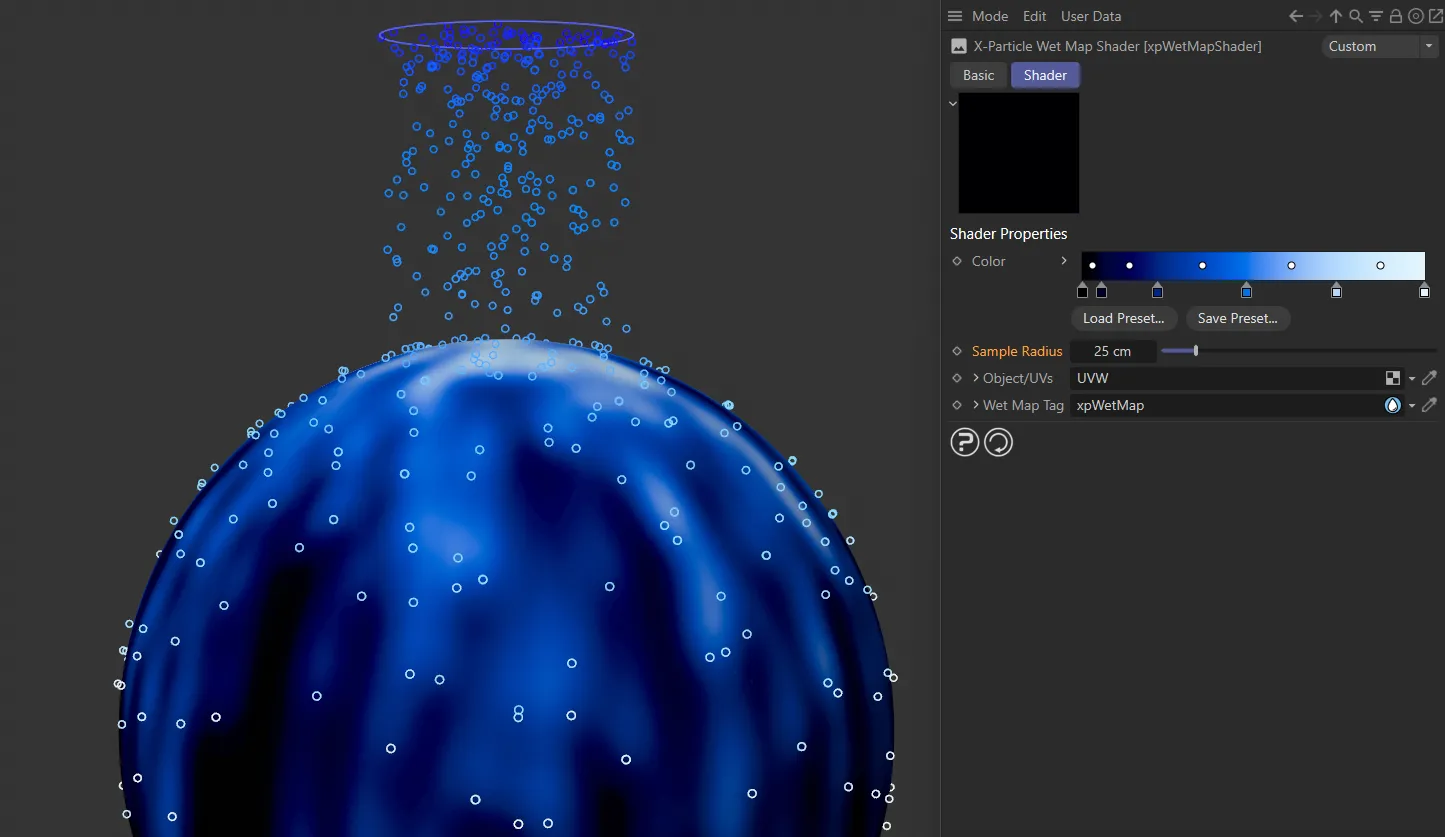
In this second image, the Sample Radius is increased to 25cm.
Object/UVs
Section titled “Object/UVs”Drag a polygon object, that has a wet map into this field, or a UV tag from such an object and the shader will sample the wet map from UV input.
This is needed when the shader isn’t used for rendering, for example as a shader link in an emitter or other plugins.
Wet Map Tag
Section titled “Wet Map Tag”An object can have multiple wet map tags, but normally only the first is used by the shader.
You can tell the shader which to use by dragging it into this field.
Copyright © 2026 INSYDIUM LTD. All rights reserved.