xpJoin
xpJoin takes a list of input objects and joins them into one object.
That object can be used in an emitter or other areas where you need to use a single object, such as collisions, or in the xpVertexMap object.
To use xpJoin, either drag the objects to be joined into the Objects list, or make them child objects of the xpJoin object, or a mixture of both.
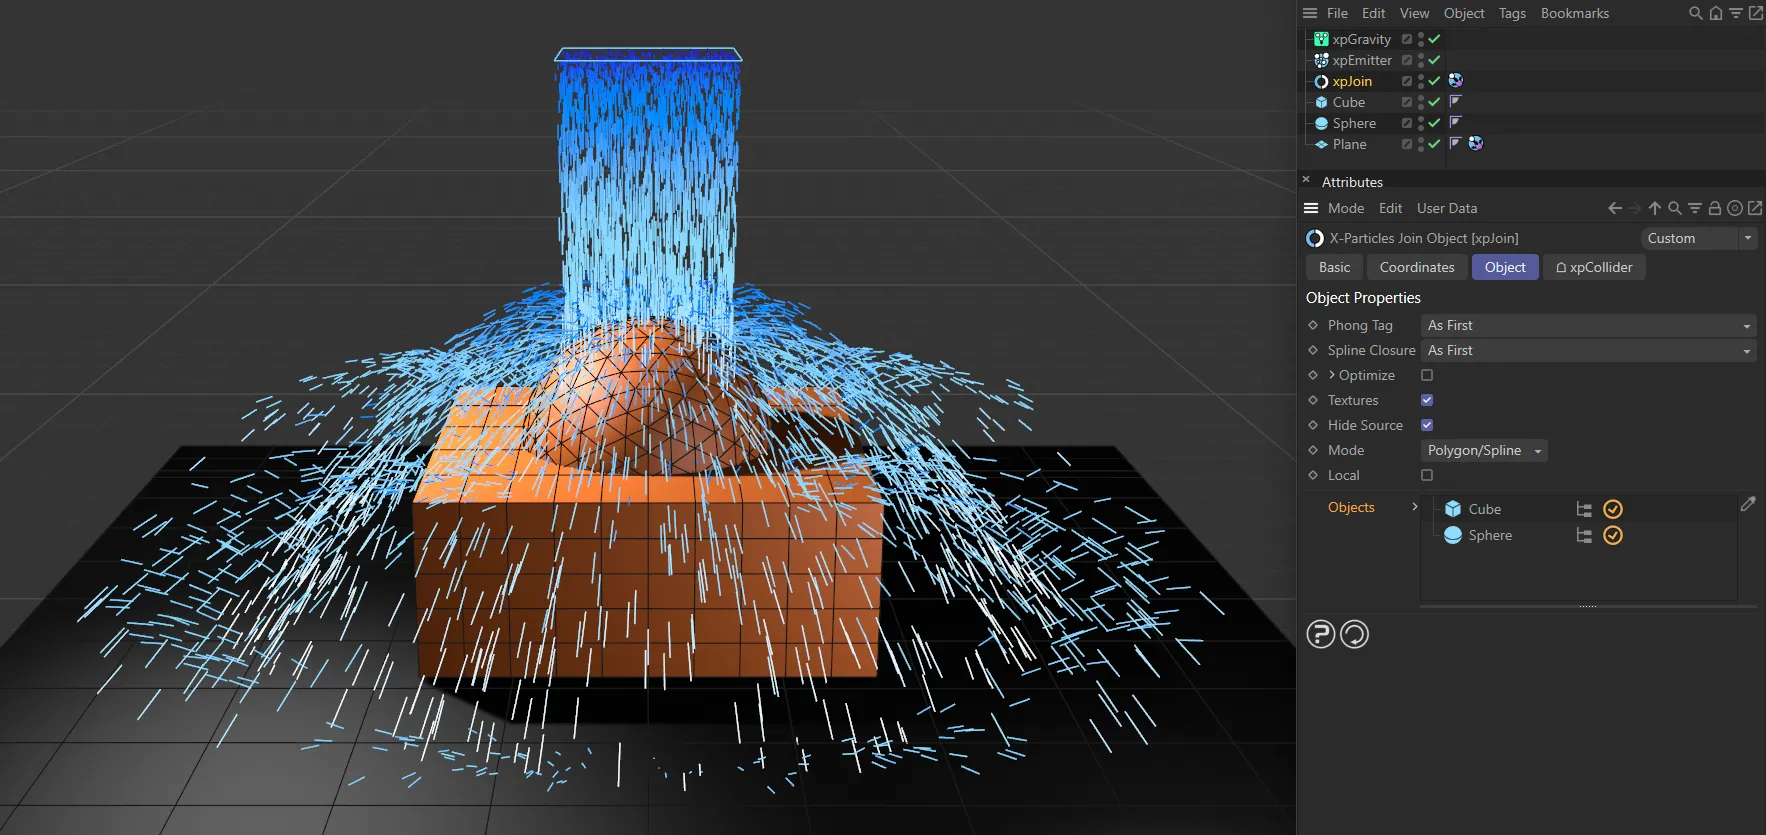
In this scene, both the Sphere and the Cube have been dropped into the Objects list joining them. An xpCollider tag is attached to xpJoin, so that particles collide with both the Sphere and the Cube.
Object Properties
Section titled “Object Properties”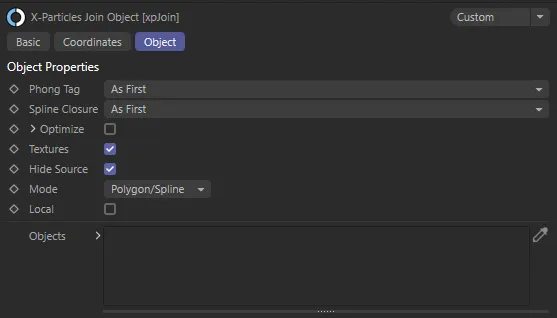
xpJoin, Object tab menu settings.
Phong Tag
Section titled “Phong Tag”As First, by default, the xpJoin can add a Phong Tag to the generated object if desired.
The alternative options are: As Last, Edges and Custom.
As First
Section titled “As First”If the first object in the list has a Phong Tag, that will be copied to the joined object.
If it does not, the joined object will not have a Phong Tag.
As Last
Section titled “As Last”This is identical to As First, except the tag from the last object in the list is used.
With this option, broken phong edges will be used.
Custom
Section titled “Custom”This option makes the three standard settings for a phong tag available so that you can add a tag with the customised settings.
Angle Limit, Phong Angle, Use Edge Breaks
Section titled “Angle Limit, Phong Angle, Use Edge Breaks”These are exactly the same as the settings in Cinema 4D for the Phong Tag.
Please refer to the Cinema 4D documentation for details.
Spline Closure
Section titled “Spline Closure”As First, by default, if the xpJoin joins two splines together, the result is a single spline with two segments.
These segments can either be closed or open and this menu enables you to choose which setting to use; this is used for all segments in the new spline.
The alternative options are: Closed, Open and As Last.
Closed
Section titled “Closed”All the segments are closed.
All the segments are open.
As First
Section titled “As First”If the first spline in the object list is open, all the segments in the joined spline will be open; if it is closed, all segments will be closed.
As Last
Section titled “As Last”Exactly the same as As First, except that the state of the last spline in the list is used instead.
Optimize
Section titled “Optimize”If this box is checked, the generated object will be optimized using the same algorithm as the Cinema 4D Optimize command.
If you click the little arrow next to the setting, you will see additional controls for the optimization process.
These are exactly the same as the controls in Cinema 4D’s Optimize dialog box; please refer to the Cinema 4D documentation for details.
Polygons, Unused Points, Points, Tolerance
Section titled “Polygons, Unused Points, Points, Tolerance”These are exactly the same as the controls in Cinema 4D’s Optimize dialog box; please refer to the Cinema 4D documentation for details.
Textures
Section titled “Textures”If checked, the joined object will keep the textures applied to each of the objects which were joined together.
If unchecked the joined object can have its own texture by applying a texture to the xpJoin object.
Hide Source
Section titled “Hide Source”Enabled, by default, xpJoin this hides the original mesh, so that only the newly created and joined mesh is visible.
When disabled, both the original mesh and newly created mesh are visible, unless made invisible in the Objects Manager.
Set as Polygon/Spline, by default, giving control over what is being joined.
The alternative options are Polygon and Spline.
Polygon/Spline
Section titled “Polygon/Spline”Both polygons and splines can be joined.
Polygon
Section titled “Polygon”Only polygons can be joined.
Spline
Section titled “Spline”Only splines can be joined.
Checking this box, to enable Local will mean that any positional or rotational changes made to the xpJoin will also occur to the joined mesh.
If disabled, the xpJoin generated mesh will stay in place of the original objects.
Objects
Section titled “Objects”
The Objects list, containing a Cube (not included) and a Sphere (included).
The objects to be joined can be dragged into this list.
Alternatively, they can be made child objects of the xpJoin object.
This is, for the most part, a matter of personal preference.
You can add any objects here, including polygon objects, splines, and generators such as the MoGraph cloner.
As with the Cinema 4D Connect object, only the same kinds of objects can be joined.
That is, you cannot join a spline to a polygon object.
But, if you have multiple spline and polygon objects in the same xpJoin object, the end result will be a single polygon object plus a single spline object.
However, you won’t be able to use the xpJoin object to emit from those different objects at the same time; the polygon object will always take precedence in such cases.
If you drag objects into this list, as opposed to making them child objects of the xpJoin object, you can also remove them temporarily by clicking the yellow check icon so it becomes a blue line.
This won’t remove the object from the scene but it will no longer be included in the final joined object.
In the above example, the Cube will not be included in the joined object but the Sphere will.
If you then emit from the the xpJoin, object emission would only occur from the cube.
Copyright © 2026 INSYDIUM LTD. All rights reserved.