xpAction
xpAction objects control effects and processes which are carried out on particles or other X-Particles objects.
They are are activated when the conditions in a Question object are satisfied or when triggered in other ways, such as a collision.
The type of action (what effect or process the object will actually do once triggered) is chosen from a list within the object tab.
You can add an Action object to the scene in several ways:
-
by selecting a System object and in that object selecting an action from the drop-down menus in the Actions section; this will add an Action object to the scene, but will not link it to any Question object;
-
by doing the same thing from the NoneActions folder, which is a child of the System object;
-
by clicking the Add Action button in a Question object; this will add an Action object to the scene and will automatically link it to that Question object;
-
by selecting the Action menu entry from the Utilities sub-menu of the X-Particles menu in Cinema 4D; this will add an Action object to the scene but you will have to link it to a Question or other object yourself, if required;
-
by clicking an Add Action button, which is present in several modifiers and other objects.
When you have created an Action object you can set various parameters in it.
One action - the Editor Display Only action - is always available, even if you select another action type.
With this, you can alter the particle display in the editor, which can be helpful to see which particles are being affected by the action and when they are affected (you can see when an action occurs, by changing the particle color, for example).
You can change the action at any time, by first choosing the general type of action from the Action Type menu and then choosing the desired action from the secondary menu below.
Object tab
Section titled “Object tab”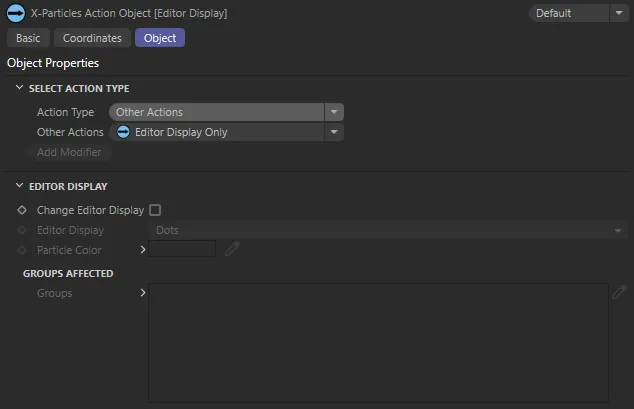
Default Interface for xpAction (with Action Type set as Other Actions).
Select Action Type
Section titled “Select Action Type”From here you can add all Action types to your scene.
Action Type
Section titled “Action Type”Set as Other Actions, by default, this drop-down menu has four other options: Object Actions, Control Modifier Actions, Direct Actions and Dynamic Actions.
Each setting will alter the Interface and parameter options available.
Object Actions
Section titled “Object Actions”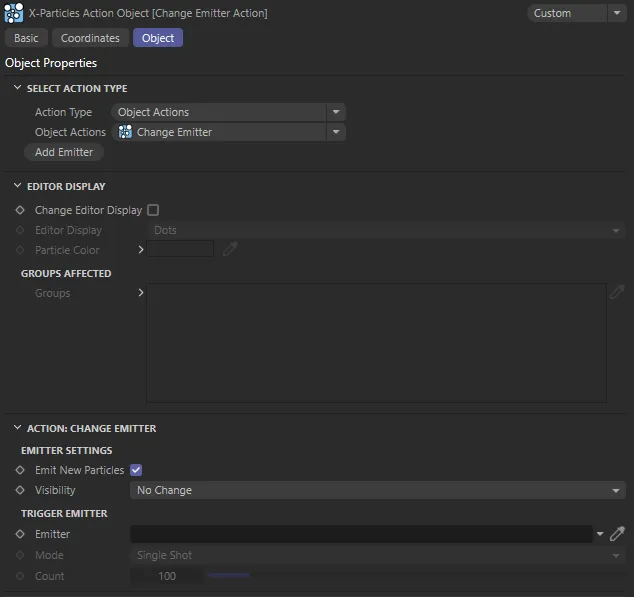
Interface with Action Type set as Object Actions and parameters available for the Change Emitter setting.
Object Actions
Section titled “Object Actions”Set as Change Emitter, by default, these actions affect X-Particles objects to change the object settings.
They may also change certain particle data.
The other options are: Change Generator and Change Trails.
As soon as you make a selection, there will be a change to reflect this in the Objects Manager.
In addition, each Object Actions setting has their own parameters, explained in full in their individual pages.
In this animation, Object Actions is set to Change Generator. Once the particles have travelled over 100cm, the xpGenerator changes the object it generates.
Animation demonstrating Object Actions set to Change Trails. xpTrail is dropped into the Trail Object to Change window with both Shrink Trails and Kill Particle When Trial Zero Length are enabled. As a result, if particles have collided with another object their trails shrink and then the particles are killed.
Add Emitter
Section titled “Add Emitter”Only available with Object Actions set to Change Emitter, pushing this button will add an xpEmitter to your scene and launch this xpEmitter object.
You will now see that your xpAction object has changed to Change Emitter Action in the Objects Manager.
Control Modifier Actions
Section titled “Control Modifier Actions”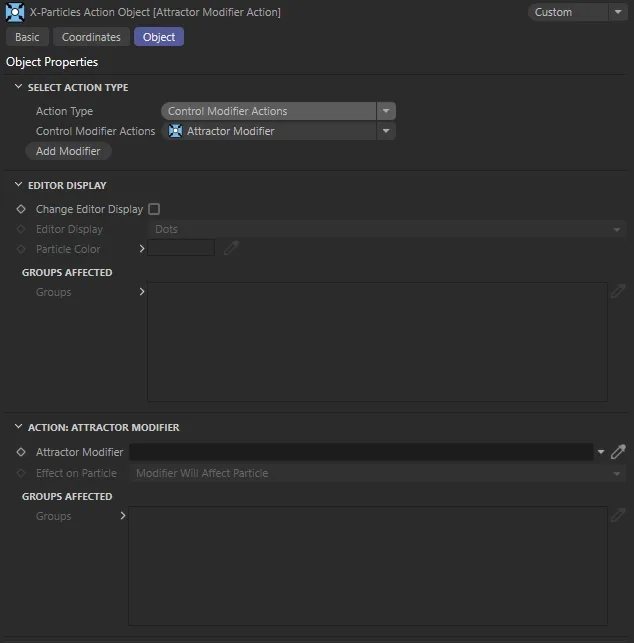
Interface with Action Type set as Control Modifier Actions and parameters available for the Attractor Modifier setting.
Control Modifier Actions
Section titled “Control Modifier Actions”Set as Attractor Modifier, by default, these actions control a modifier, usually only to the extent of activating or deactivating it for a particular particle.
As soon as you make a selection, there will be a change to reflect this in the Objects Manager.
The modifiers are each explained in full in their individual pages.
This animation shows Control Modifier Actions set to Push Apart Modifier. As a result, particles that have travelled over 250cm it are affected by the xpPushApart modifier.
Add Modifier
Section titled “Add Modifier”Pushing this button will automatically add the modifier selected in Control Modifier Actions to your scene and launch this.
This modifier will also now be present in your Objects Manager, with a half green, half blue icon.
This automatically happens when a modifier mode is set to Action Controlled, which is automatically set when a modifier is introduced with the Add Modifier button in an xpAction Object.
Additionally, you will now see that your xpAction object has changed to reflect the Modifier Action selected, in the Objects Manager.
Direct Actions
Section titled “Direct Actions”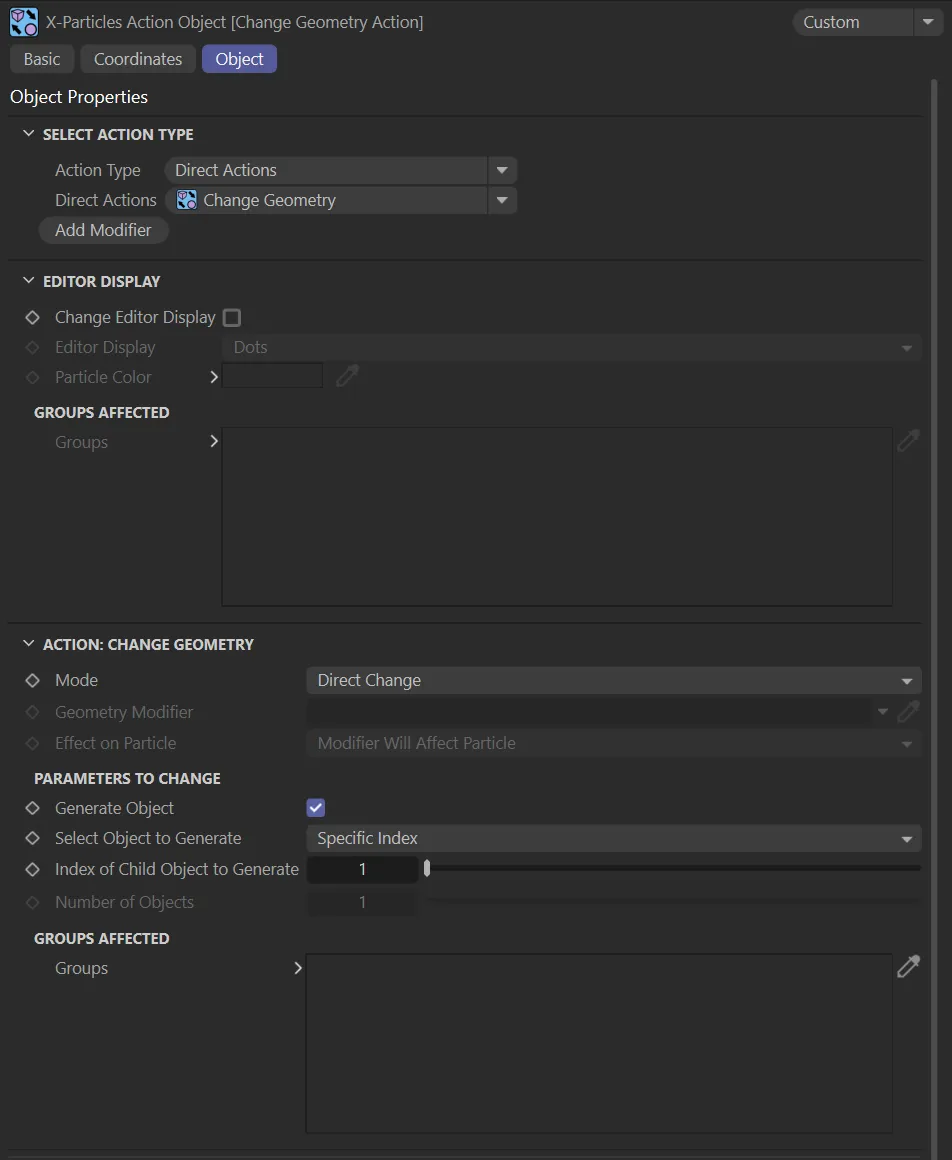
Interface with Action Type set as Direct Actions and parameters available for the Change Geometry setting.
Direct Actions
Section titled “Direct Actions”Set as Change Geometry, by default, these actions have a dual role.
They can change particle data directly, such as the speed or radius, but they can also control an associated modifier in the same way as the Control Modifier Actions.
As soon as you make a selection, there will be a change to reflect this in the Objects Manager.
The Direct Actions are each explained in full in their individual pages.
In this animation, the Direct Action setting is Change Group. Particle Group 2 has been dropped into the New Group field of Parameters to Change and different settings are enabled to change the particles’ speed, editor display, radius and color once the particles reach the age of 90 frames.
Add Modifier
Section titled “Add Modifier”Pushing this button will automatically add the modifier selected in Direct Actions to your scene and launch this.
This modifier will also now be present in your Objects Manager, with a half green, half blue icon.
This automatically happens when a modifier mode is set to Action Controlled, which is automatically set when a modifier is introduced with the Add Modifier button in an xpAction Object.
Additionally, you will now see that your xpAction object has changed to reflect the Direct Action selected, in the Objects Manager.
Dynamics Actions
Section titled “Dynamics Actions”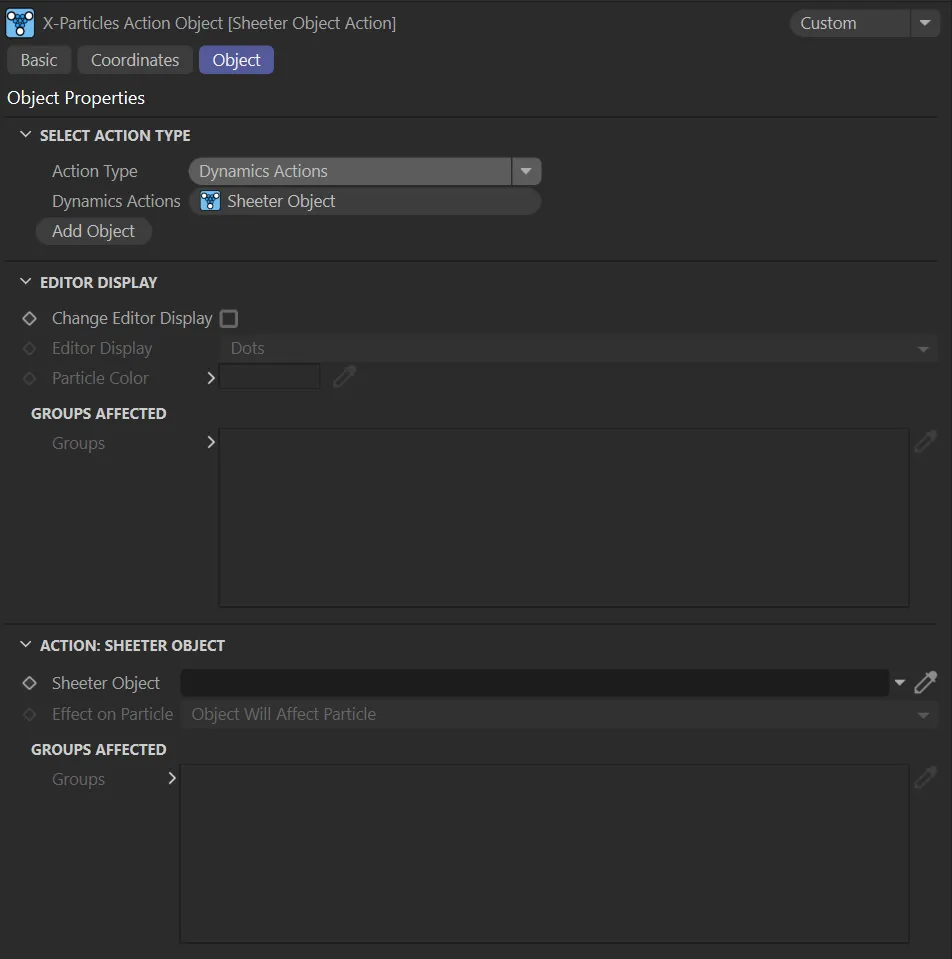
Interface with Action Type set as Dynamics Actions and parameters available for the Sheeter Object setting.
Dynamics Actions
Section titled “Dynamics Actions”Set as Sheeter Object, the only Dynamics Action option available, this is an action to control X-Particles Dynamics objects.
As soon as you make a selection, there will be a change to reflect this in the Objects Manager.
Instructions on usage is explained in full in the xpSheeter individual page.
Add Object
Section titled “Add Object”Pushing this button will automatically add the Sheeter object to your scene and launch this.
This will also now be present in your Objects Manager, with a half green, half blue icon.
This automatically happens when a modifier mode is set to Action Controlled, which is automatically set when a modifier is introduced with the Add Modifier button in an xpAction Object.
Additionally, you will now see that your xpAction object has changed to reflect the Sheeter object selected, in the Objects Manager.
Other Actions
Section titled “Other Actions”This is the default interface, as displayed at the top of this manual.
Other Actions
Section titled “Other Actions”Set as Editor Display Only, the other options are: Output to Console, Stop Following Spline, Unlink TP and Unstick from Source.
As soon as you make a selection, there will be a change to reflect this in the Objects Manager.
Add Modifier
Section titled “Add Modifier”Only available with the Other Actions settings of Stop Following Spline and Unlink TP, pushing this button will automatically add the modifier to your scene and launch this.
This will also now be present in your Objects Manager (with a half green, half blue icon in the case of xpUnlinkTP).
Additionally, you will now see that your xpAction object has changed to reflect the modifier object selected, in the Objects Manager.
Editor Display
Section titled “Editor Display”Available with every Action Type setting, in addition to any other action type you select.
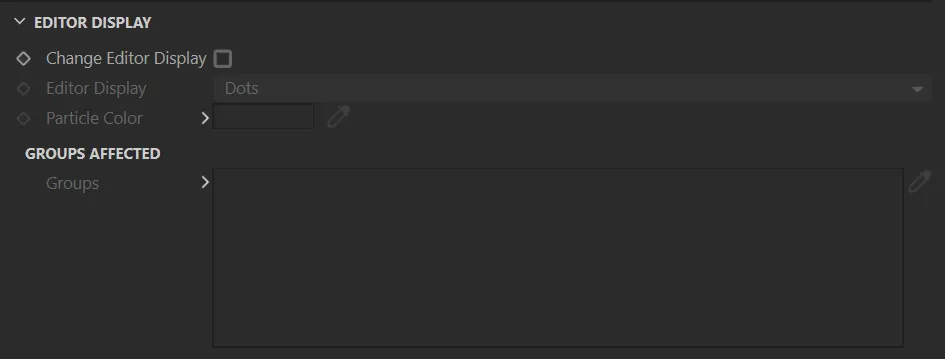
Editor Display parameter options.
This enables you to change the particle shape and the particle color, in the same way as in the emitter’s Display tab.
Normally, this only causes changes to the display of particles in the editor and does not change anything at render time.
However, if you render particles with the X-Particles Material and choose Use Particle Color in that material then the particle color is used and, if you use the Display Render generator to render the particle shape, then the shape will appear in the render, as well as in the viewport.
By changing the color, shape, etc. of the particles, you can see if and/or when an action should be taking place.
If you don’t see the change in the editor that you expect, either the Question object which triggers this action is not being passed, or the action is disabled.
Change Editor Display
Section titled “Change Editor Display”Enable this to change the particle type and color.
This animation shows the activation of the Change Editor Display parameter, with the Editor Display being altered to Arrow so that once particles reach the speed of 100cm their display changes.
Editor Display
Section titled “Editor Display”The particle display type in the editor - Dots, Lines, etc.
Particle Color
Section titled “Particle Color”The new particle color.
Groups Affected
Section titled “Groups Affected”Drag the particle Group object(s) you want to be affected by the modifier into the Groups Affected list.
If the list contains at least one group, groups not in the list will not be affected.
If no groups are in the list, all groups are affected.
Additional Parameter Settings
Section titled “Additional Parameter Settings”The additional parameter options available at the foot of the Attributes Manager will reflect the Action Type chosen and subsequent selection.
Instructions on their usage is explained in full in their individual pages.
Copyright © 2026 INSYDIUM LTD. All rights reserved.