xpCache Tag
The Cache Tag holds the cached data for an X-Particles object.
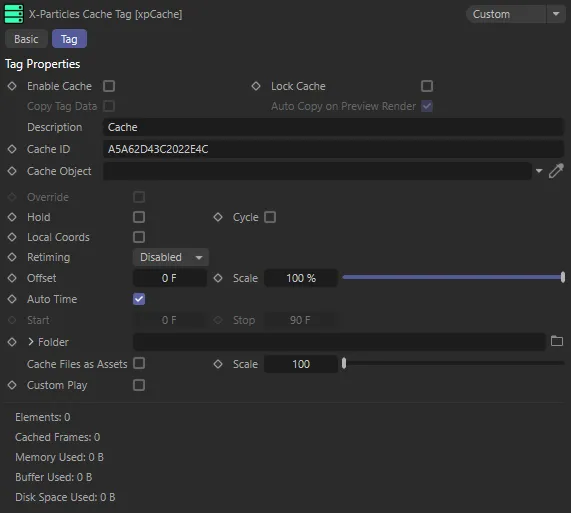
Interface for the xpCache Tag.
Enable Cache
Section titled “Enable Cache”If an object is cached, its cached data will be used during playback, if this is checked.
To prevent use of the cached data without deleting it, uncheck this box.
If you have multiple cache tags on an object, the object will use the first cache tag which is enabled.
This allows you to switch between different caches very easily by checking or unchecking this box in the appropriate tags.
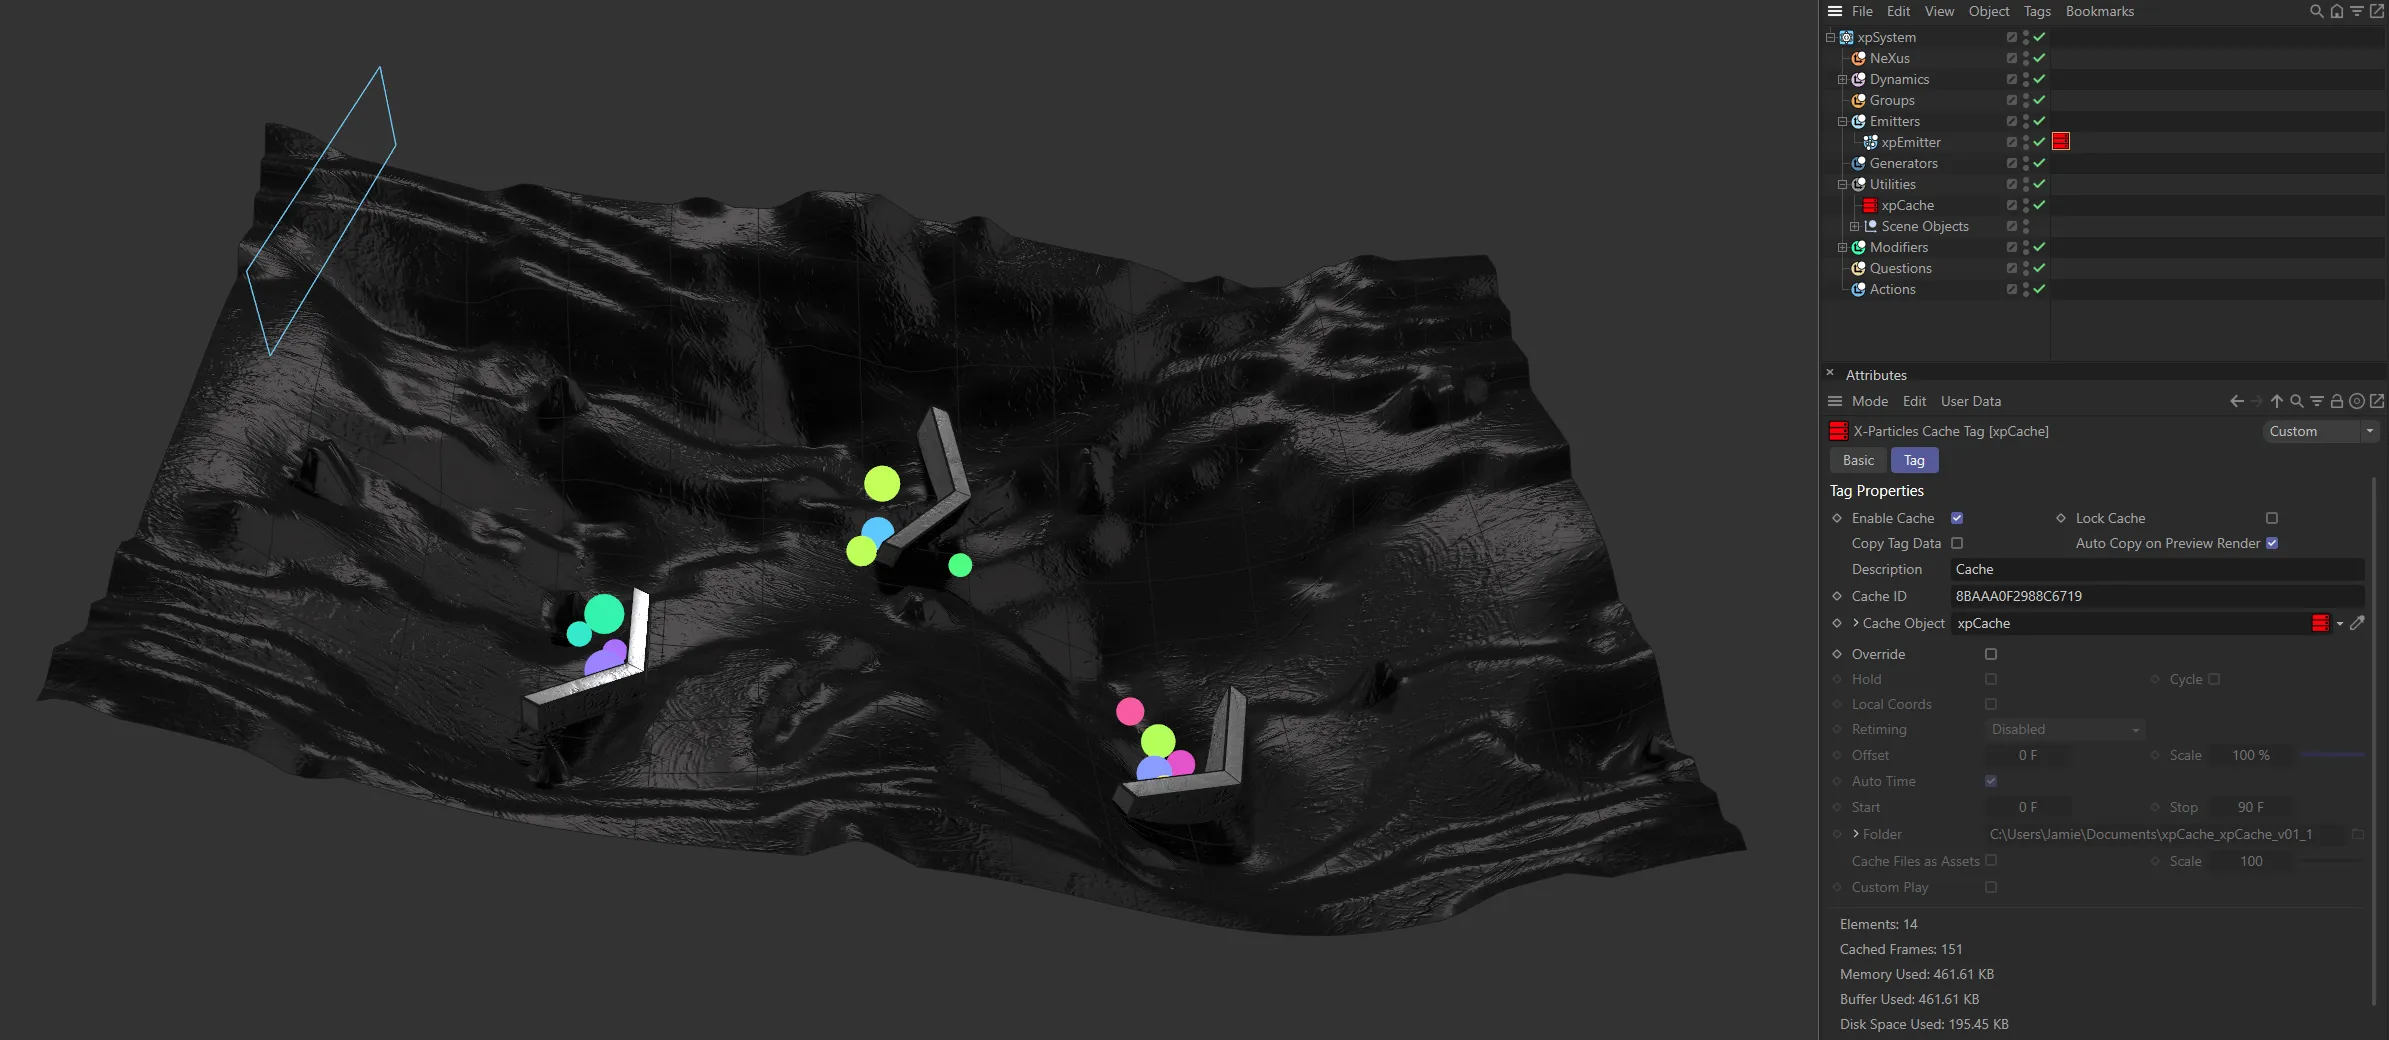
xpCache Tag attached to the xpEmitter and the corresponding settings available.
Lock Cache
Section titled “Lock Cache”Enabling this will ‘lock’ the cache on the object the tag is attached to.
This means is that if you now rebuild the cache, the object will not be re-cached; the existing cache will be preserved.
This will be enabled automatically if the ‘padlock’ icon in the xpCache object’s list of cached objects is a blue, closed padlock.
Copy Tag Data
Section titled “Copy Tag Data”This is an important parameter if you are saving the cache to external files and have turned on Cache Files as Assets in the xpCache object for use with Team Render.
It is also advised, if you are rendering a cached scene using the hardware or software renderers.
In the first case, if this is not enabled, the data held by the tag data will not be copied by Team Render and the render will fail with an error message.
In the second case, when rendering a scene to the picture viewer, the entire document is first cloned (by Cinema 4D) and a message is sent to X-Particles to copy its own data to the new document.
However, that message is not sent when using the hardware or software renderers, so the data is not copied and there is nothing to render.
This is not enabled by default because generators would be constantly copying all their cache tag data every frame, slowing them down considerably.
Therefore, you should normally leave this box unchecked, unless you encounter one of the two situations listed above.
Auto Copy on Preview Render
Section titled “Auto Copy on Preview Render”The Copy Tag Data parameter described above is recommended to be left unchecked but is required to be checked if you do a preview render using the hardware or software renderer.
To save you having to turn the Copy Tag Data option on and off, Auto Copy on Preview Render will cause the data to be copied if a preview render is carried out.
It is recommended that you leave this enabled so that you can always do a preview render.
Description
Section titled “Description”To distinguish between multiple caches, so you can switch between them, you can enter a description of the cache in this field.
Cache ID
Section titled “Cache ID”On assigning the xpCache tag to an item, it will be given a unique ID code.
Cache Object
Section titled “Cache Object”The xpCache object linked to this tag.
The xpCache object which created the cache will be automatically placed in here when the cache is built.
Override
Section titled “Override”Enabling this parameter gives access to the remaining settings.
These are the same as the corresponding settings in the xpCache object, but if Override is enabled, the tag settings will override those in the xpCache object.
Inclusion
Section titled “Inclusion”If Override is enabled, the Inclusion tab (accessed via the drop-down arrow) becomes available.
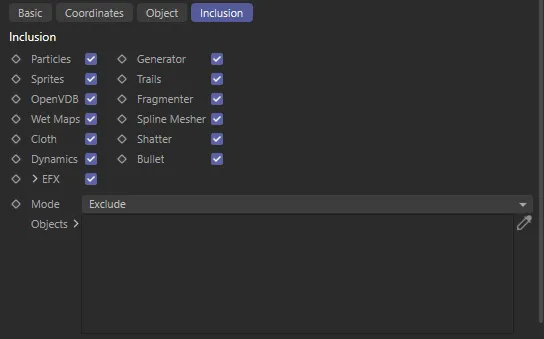
Inclusion tab additional parameter options.
These settings are identical to those found in the xpCache object.
All other settings
Section titled “All other settings”These are identical to the settings with the same name in the xpCache object.
Please see the xpCache manual for a detailed explanation.
Copyright © 2026 INSYDIUM LTD. All rights reserved.