Stamen
Clicking on Stamen in the Flower Parts drop-down menu will add it to the Flower Layers list.
When Stamen is highlighted in this list, the following attributes will all be accessible.
Main tab
Section titled “Main tab”Allows you to increase or decrease the stamen count.
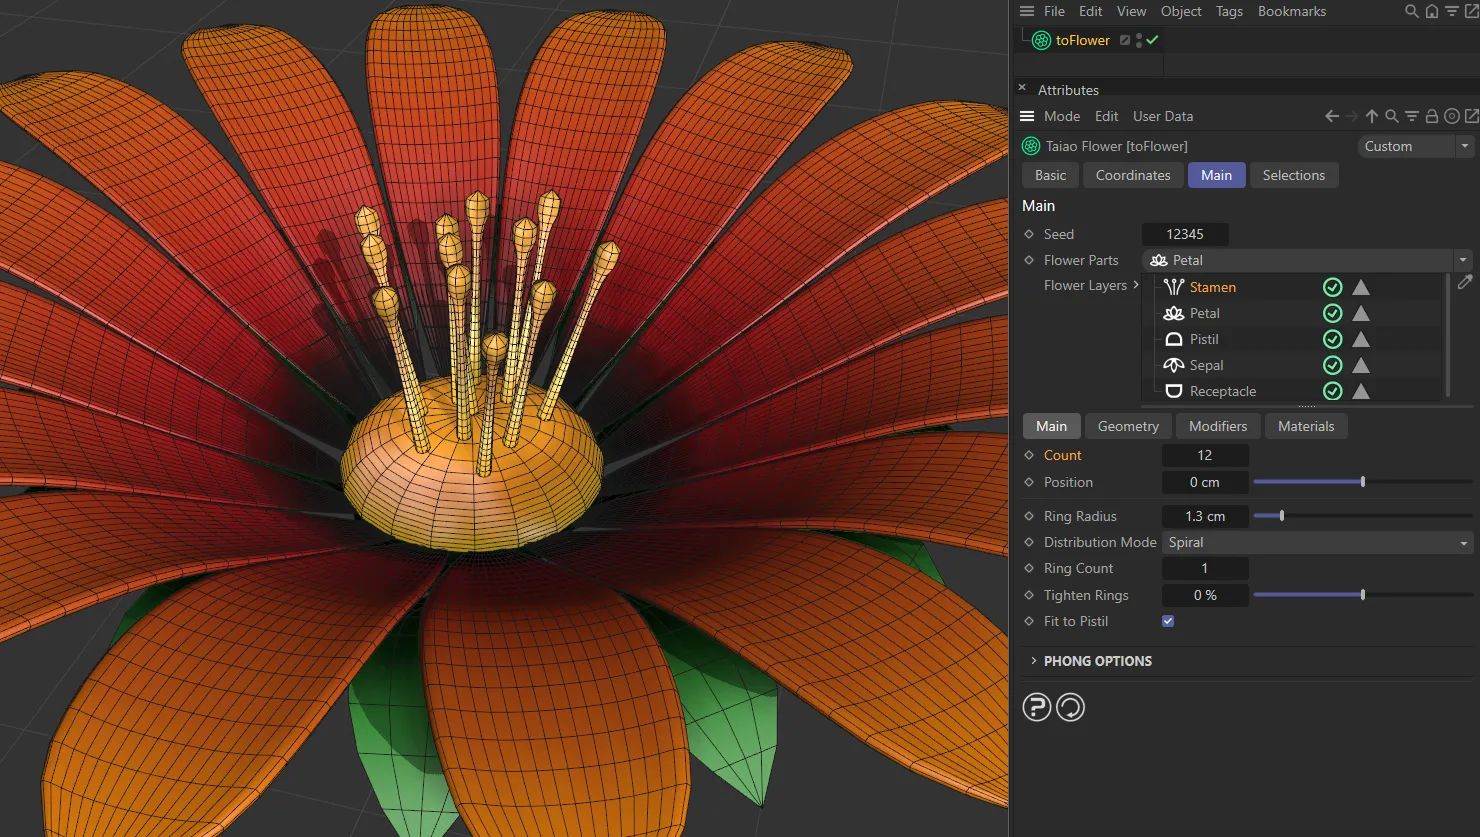
This image shows a stamen Count of 12.
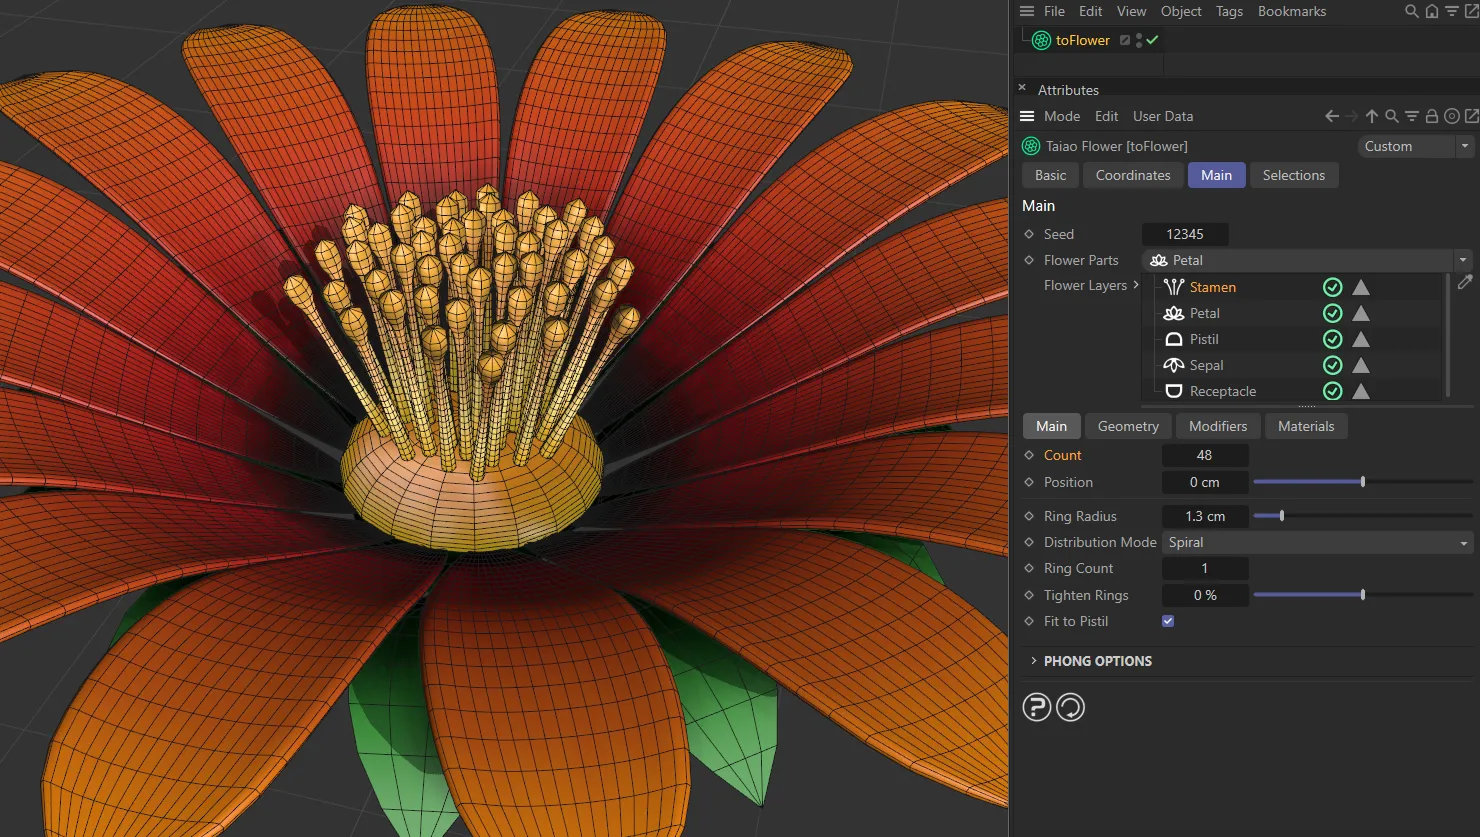
Count raised to 48.
Position
Section titled “Position”Offset up or down, to adjust the position.
Ring Radius
Section titled “Ring Radius”You can make the ring radius wider or narrower, with the slider.
Distribution Mode
Section titled “Distribution Mode”There are two different distribution types: Spiral and Whorled.
Spiral
Section titled “Spiral”The stamen are distributed in the natural Fibonacci spiral.
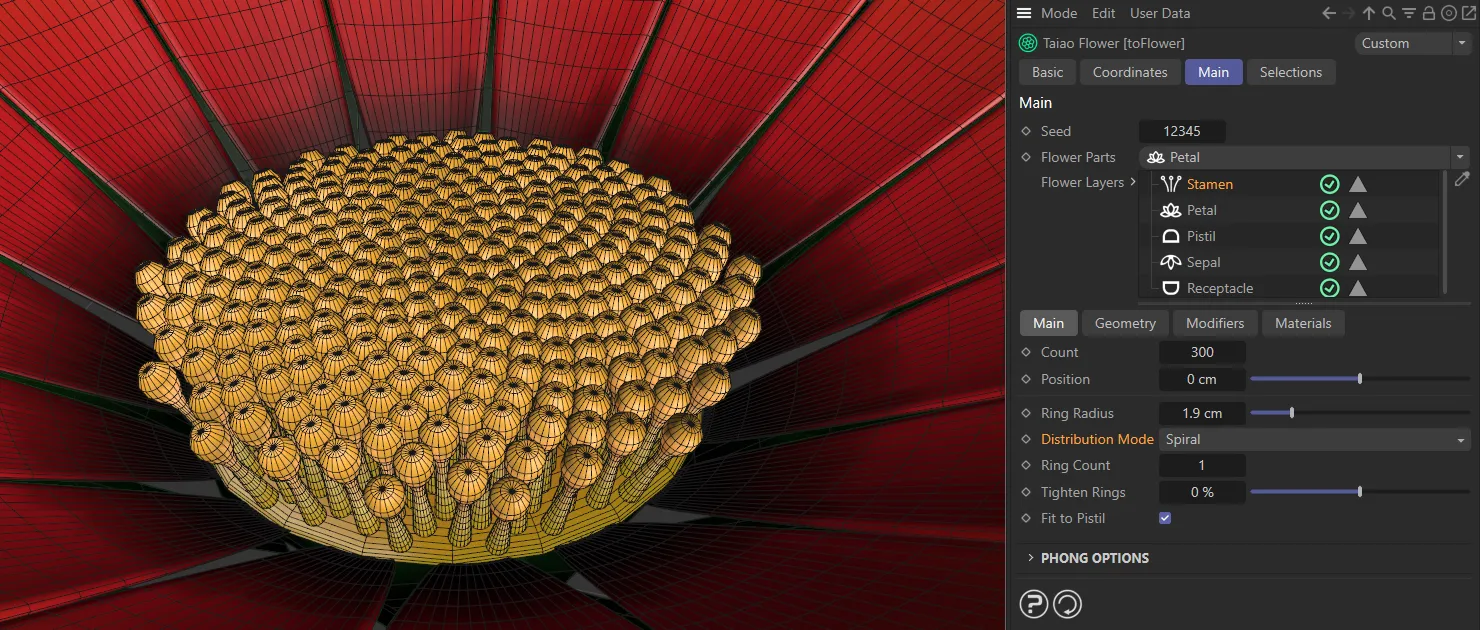
The Distribution Mode of Spiral, with a Count of 300.
Whorled
Section titled “Whorled”Distributes the stamen in rings.
Ring Count
Section titled “Ring Count”This will allow you to decide how many rings of stamen you would like.
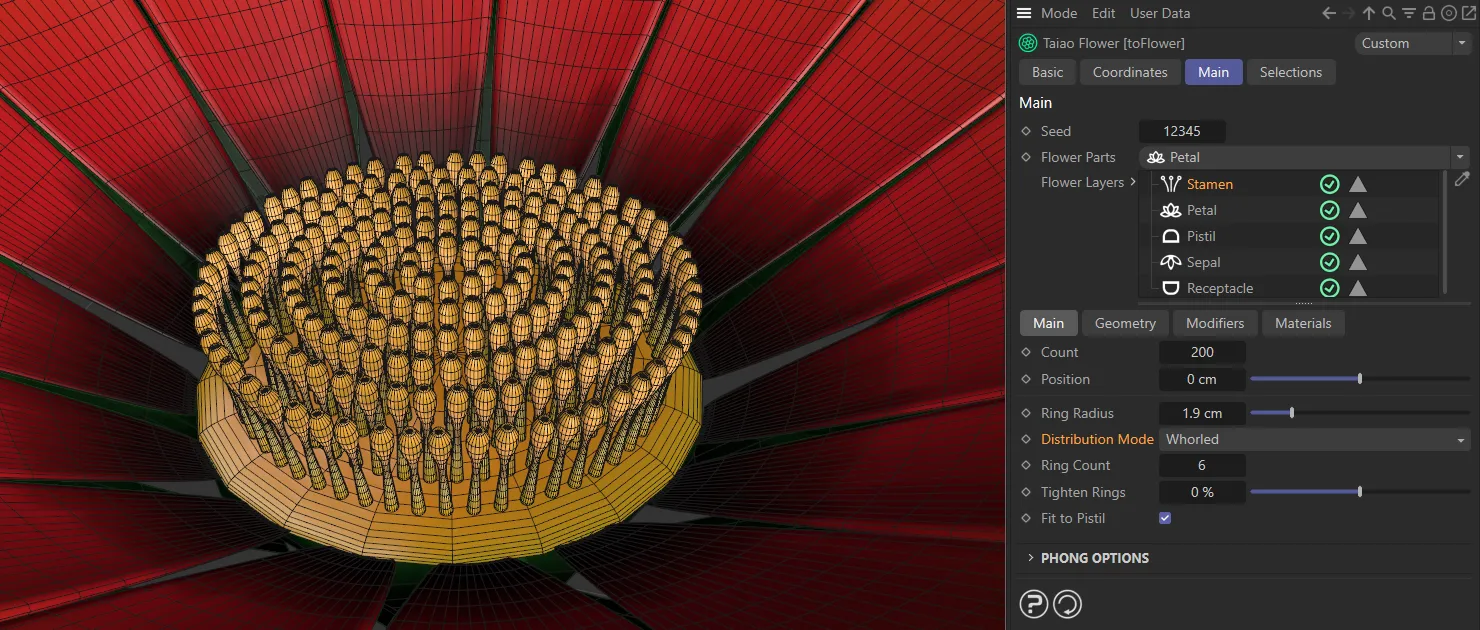
The Whorled Distribution Mode with a Count of 200 and a Ring Count of 6.
Tighten Rings
Section titled “Tighten Rings”Allows you to tighten the concentric rings.
At a negative value, this will result in a relaxing of the rings, moving the inner stamen away from the center.
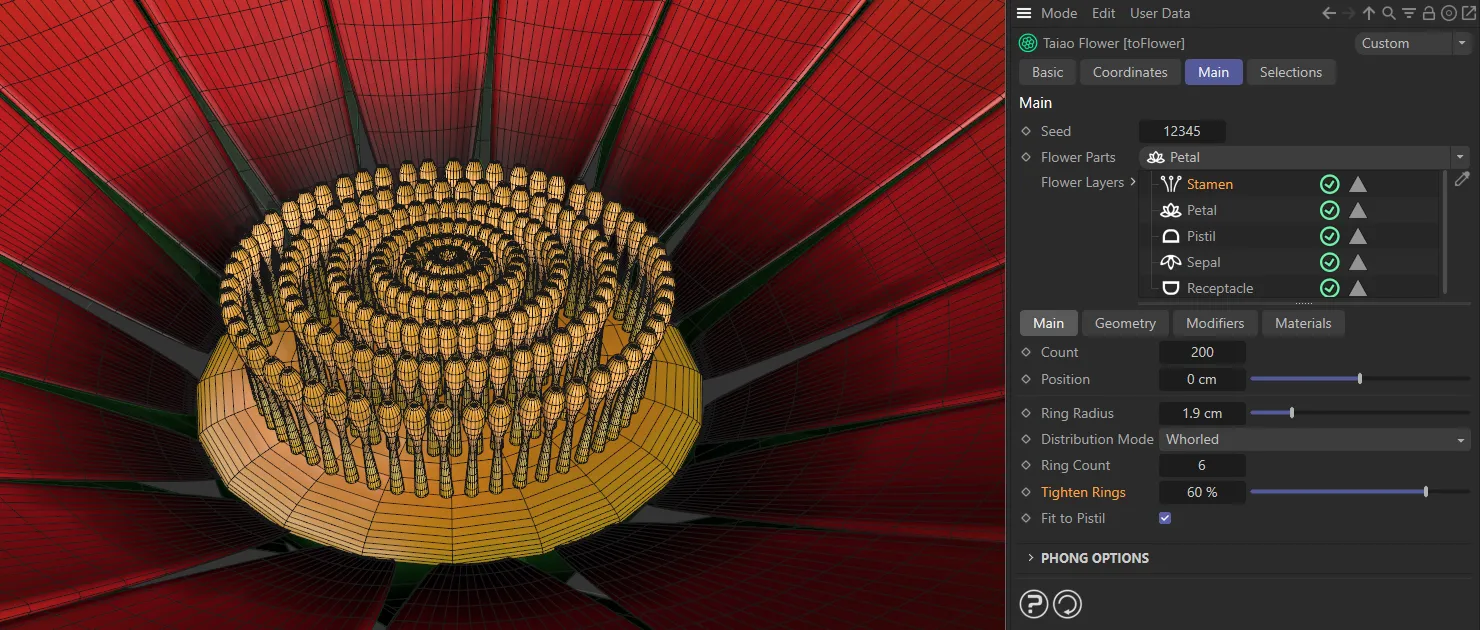
Tighten Rings set at 60%.
Fit to Pistil
Section titled “Fit to Pistil”This is enabled, as a default, attaching the stamen to the pistil.
Disabling it will raise the stamen off the pistil onto an imaginary flat plane.
Phong Options
Section titled “Phong Options”These options allow you to adjust the smooth shading between neighboring polygons.
Smooth shading can be applied across all polygons, or it can be restricted using the Angle Limit and Phong Angle settings. **
Angle Limit
Section titled “Angle Limit”When activated, this will use the Phong Angle value to **restrict where smoothing occurs. **
Phong Angle
Section titled “Phong Angle”You can change this to set the angle limit, up until which the neighboring surfaces will be smoothed.
Phong description here
Geometry tab
Section titled “Geometry tab”Globally increases or decreases the size of the stamen.
Size Variation
Section titled “Size Variation”Varies the sizes of the different stamen, giving the plant a more organic look.
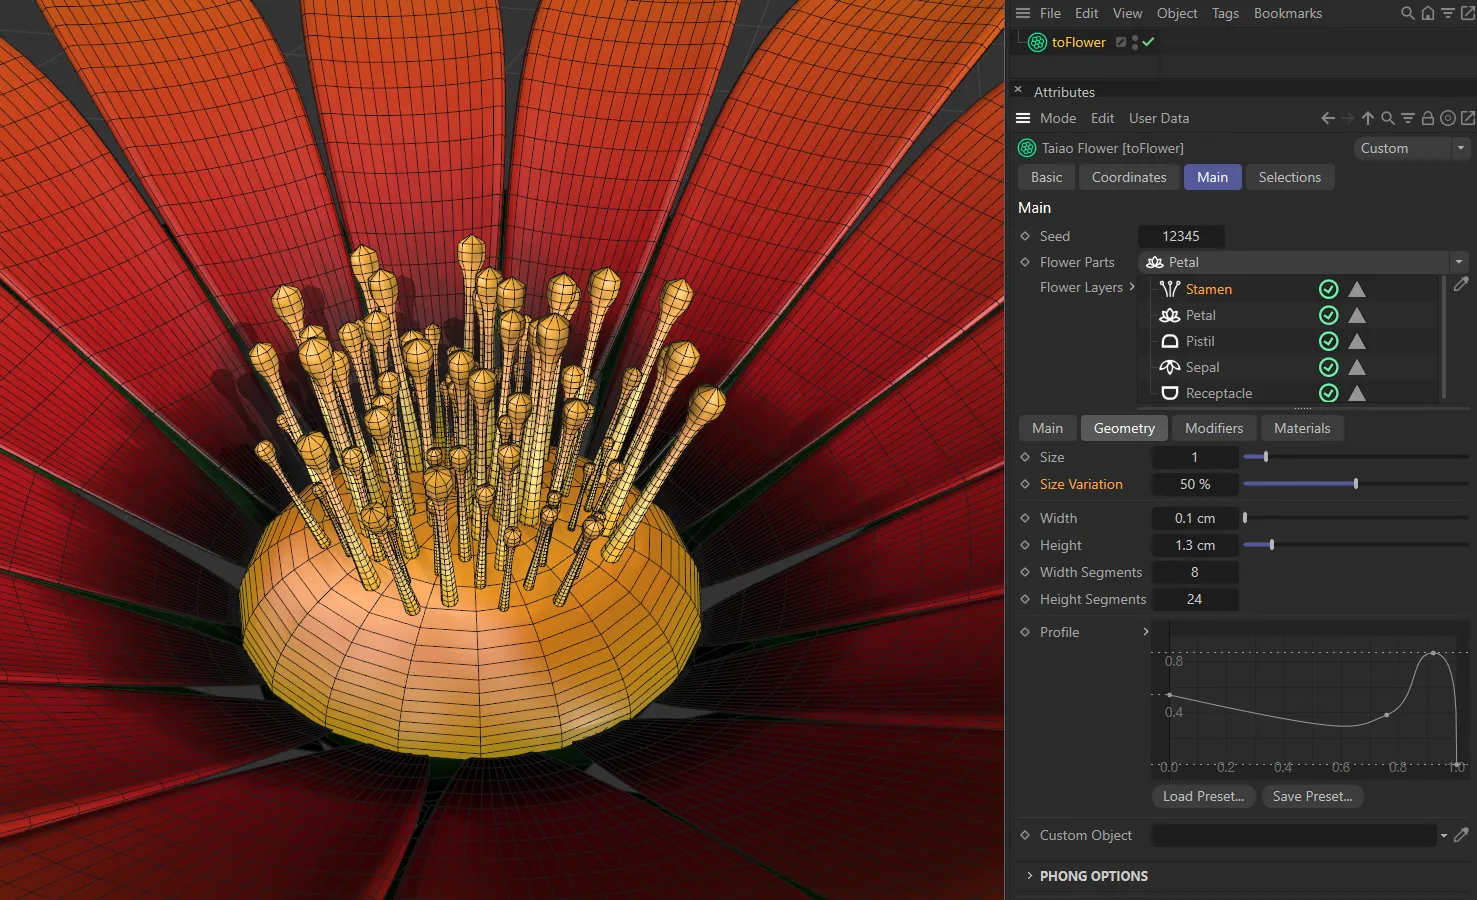
In this image, Size Variation is at 50%.
Globally widens or narrows the radius of the stamen.
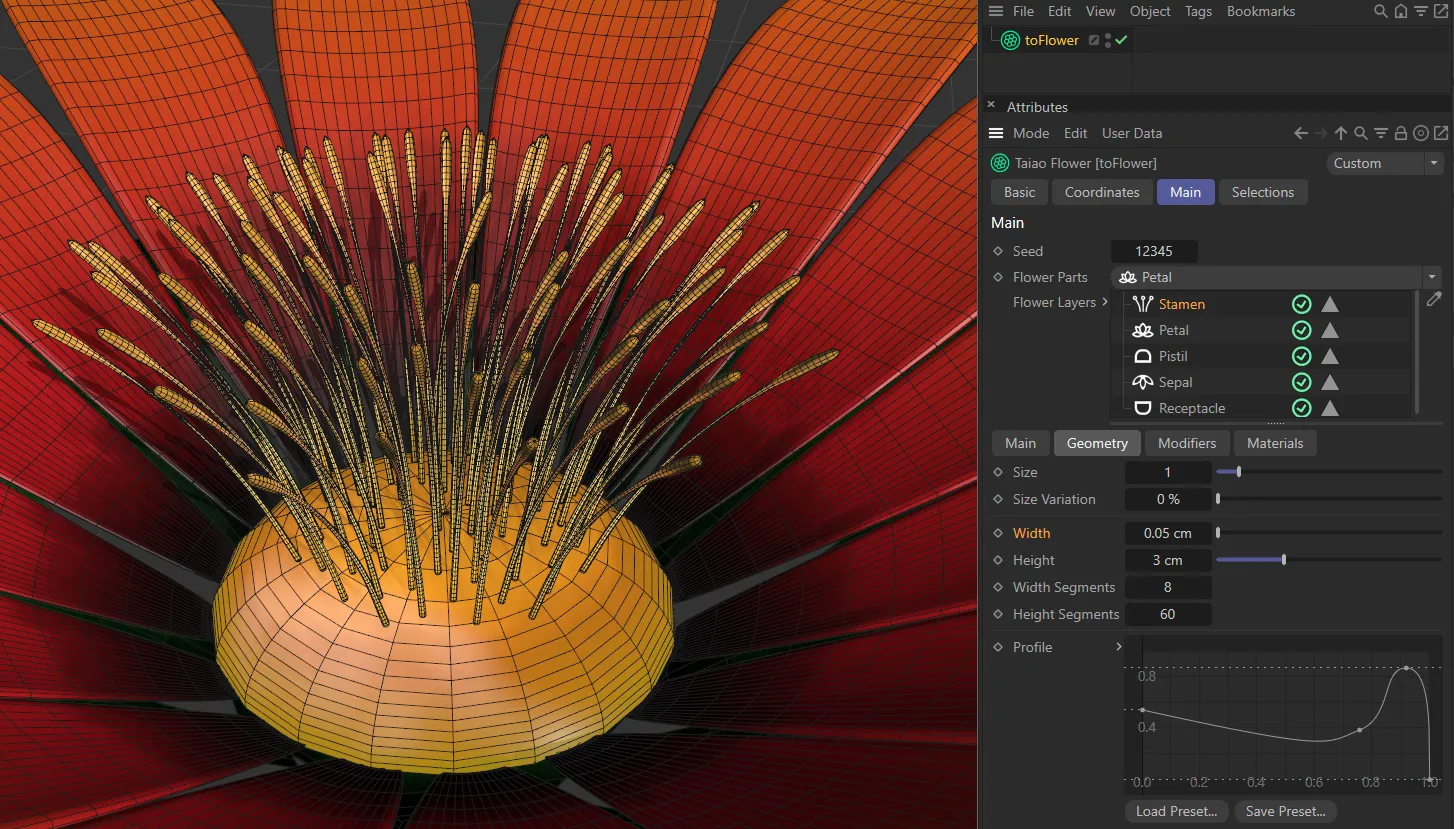
The Width of the stamen is 0.05cm.
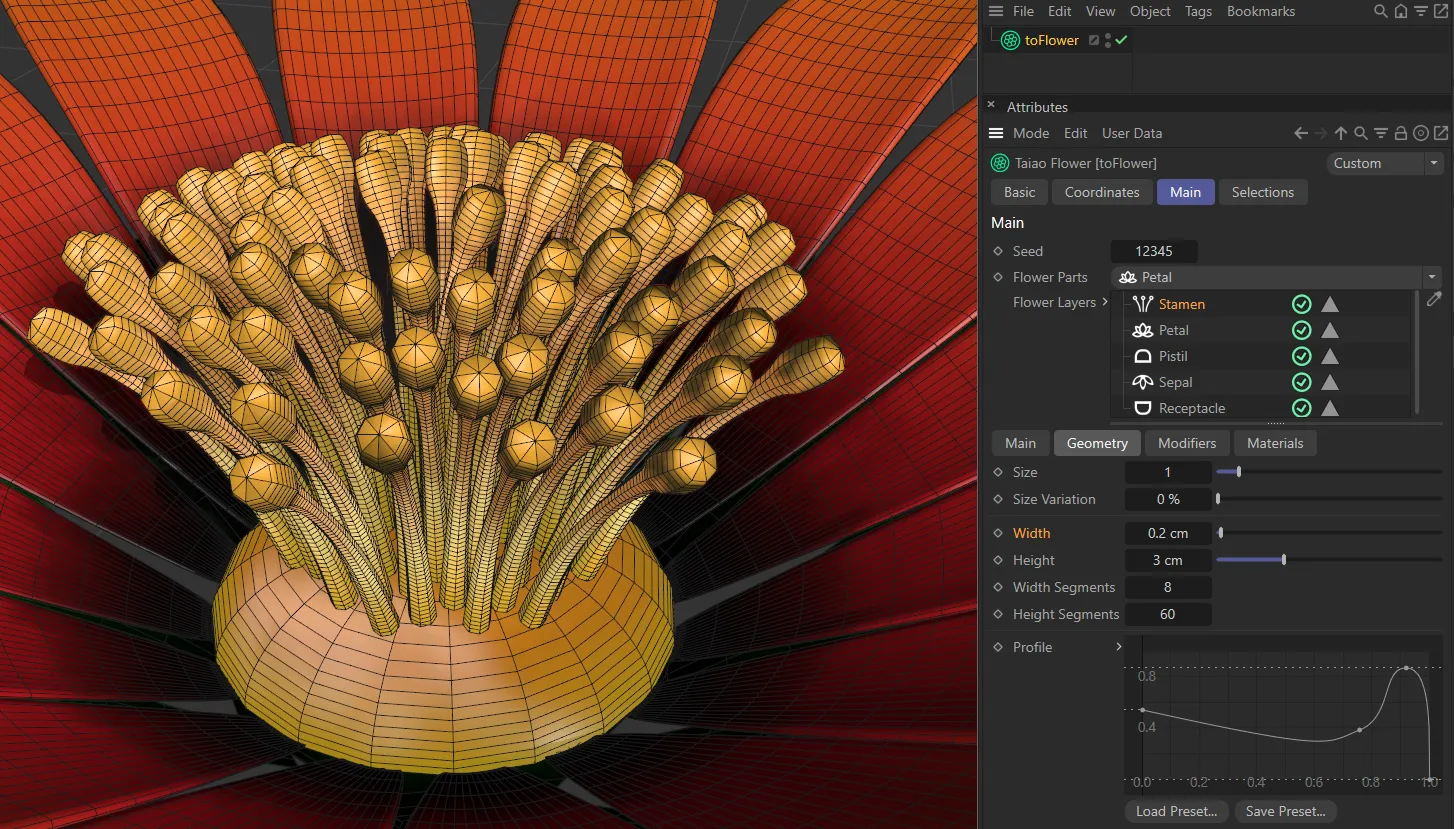
In this second image, the Width is raised to 0.2cm.
Height
Section titled “Height”Again, this will globally alter the height of the stamen.
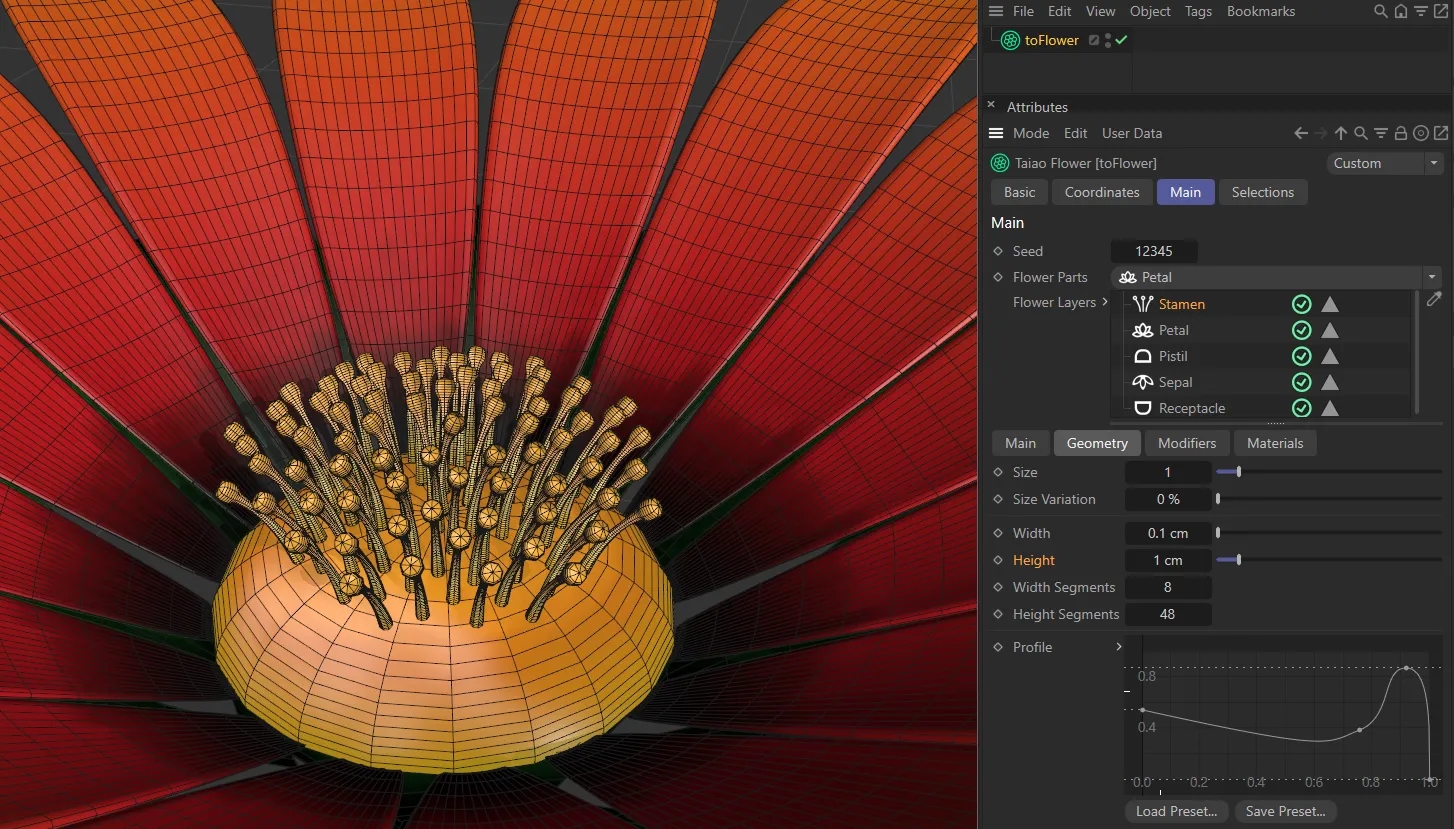
A Height of 1cm.
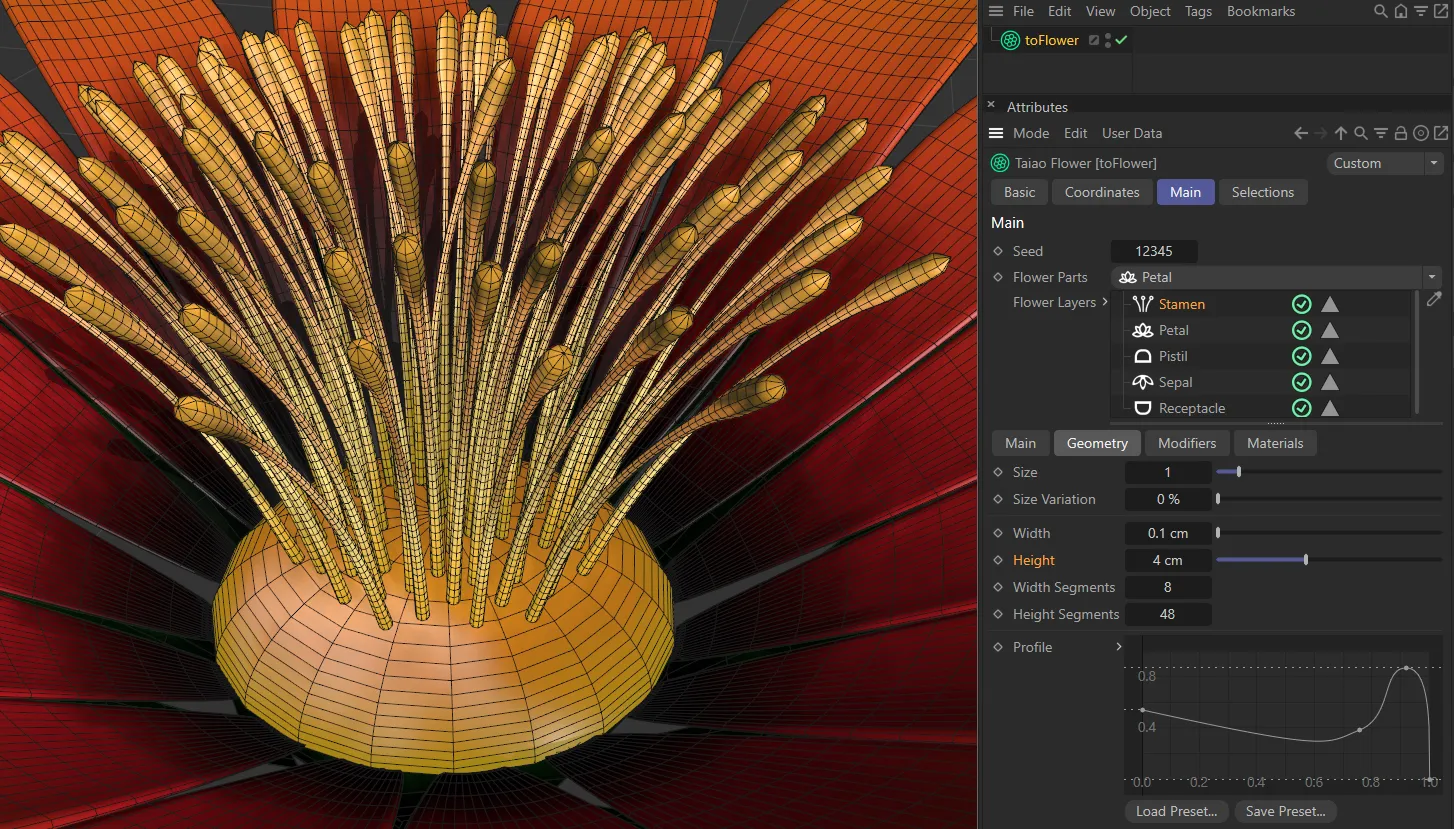
Height raised to 4cm.
Width Segments
Section titled “Width Segments”To increase the geometry, you can add segments to the width of the stamen.
Height Segments
Section titled “Height Segments”You can add or remove height segments also.
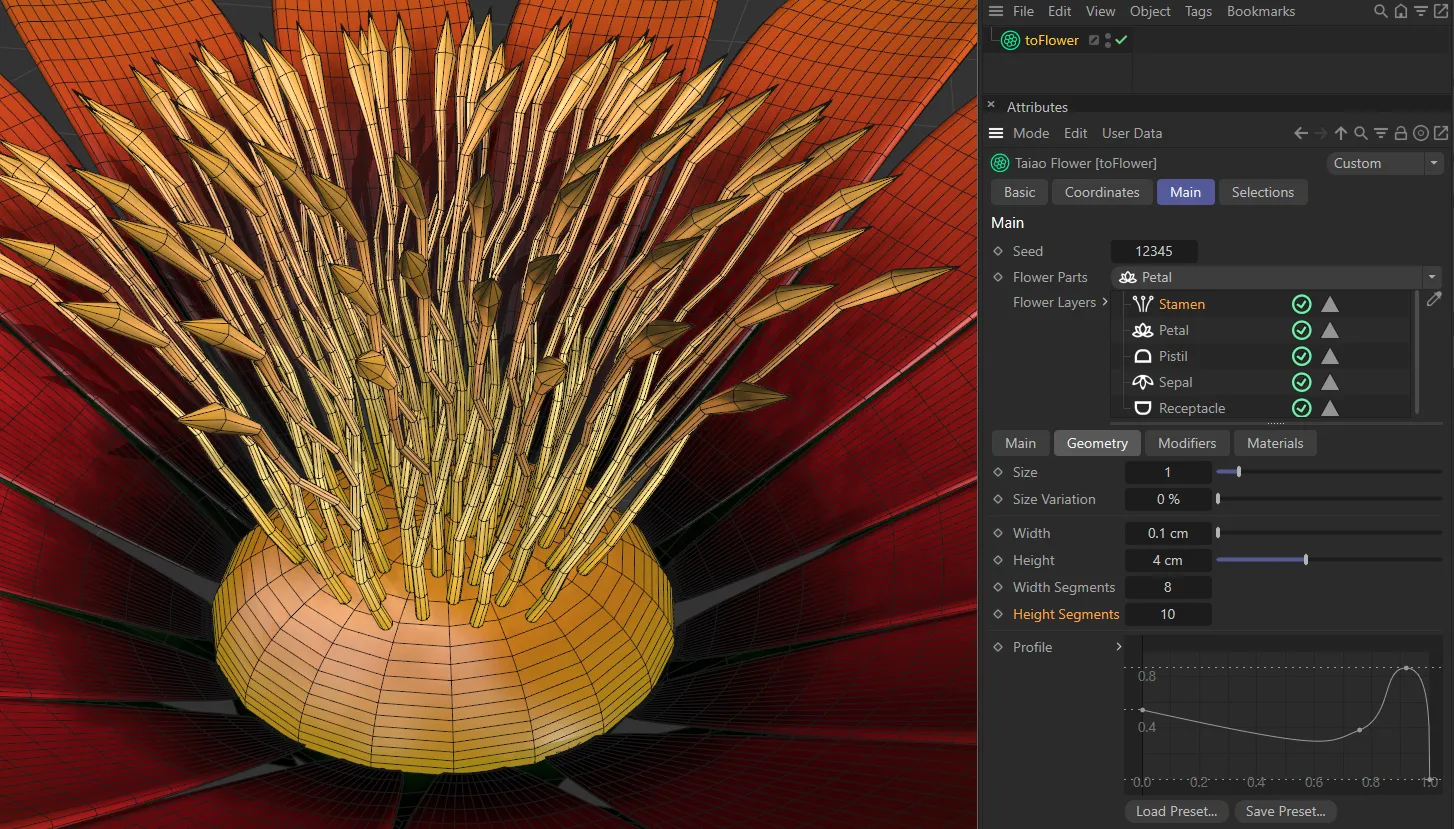
There are 10 Height Segments in the stamen, here.
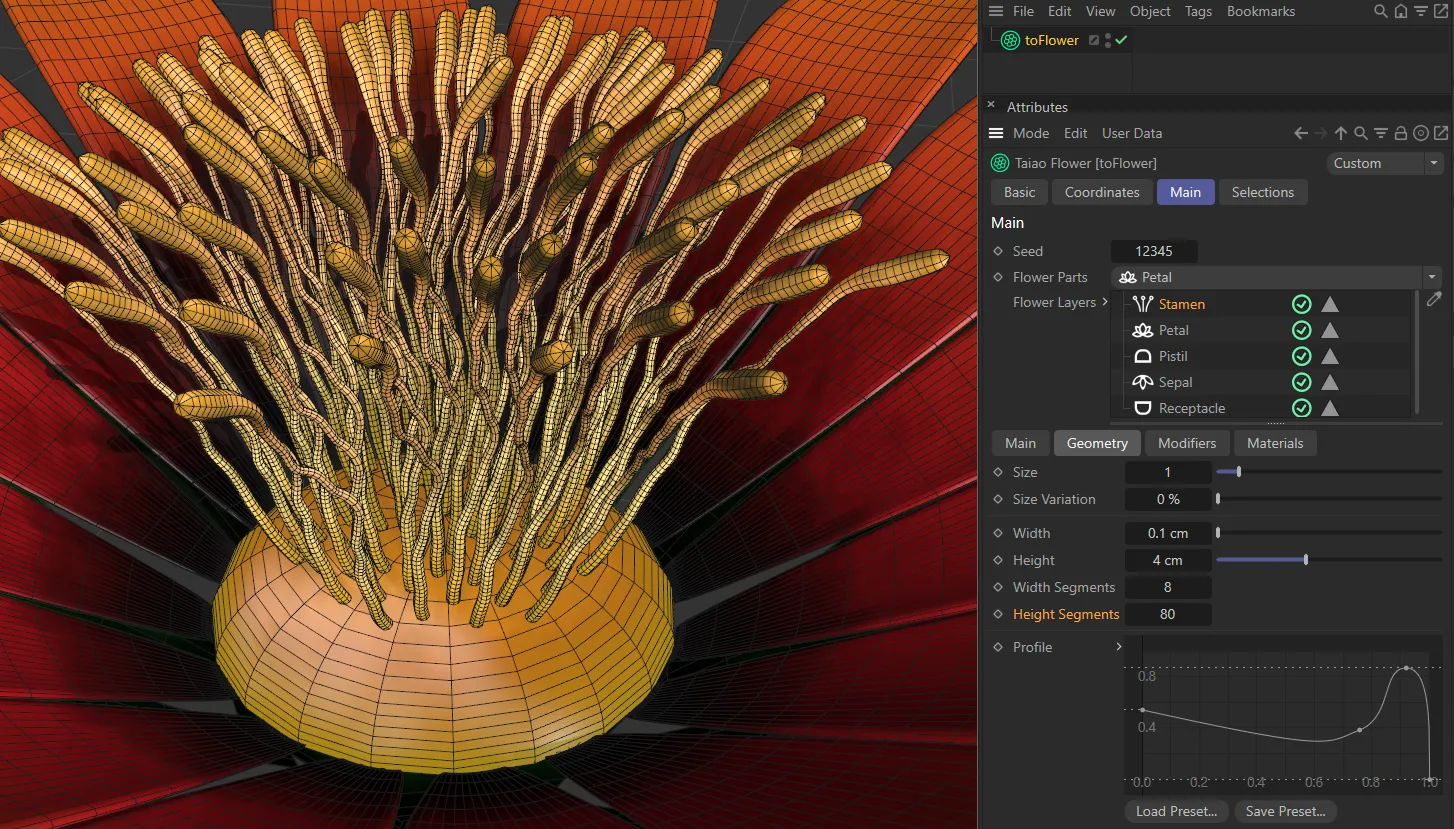
In this second image, there are 80 Height Segments.
Profile
Section titled “Profile”This curve will allow you to change the shape of your stamen.
The X-axis mirrors the length of the stamen and the Y-axis the size.
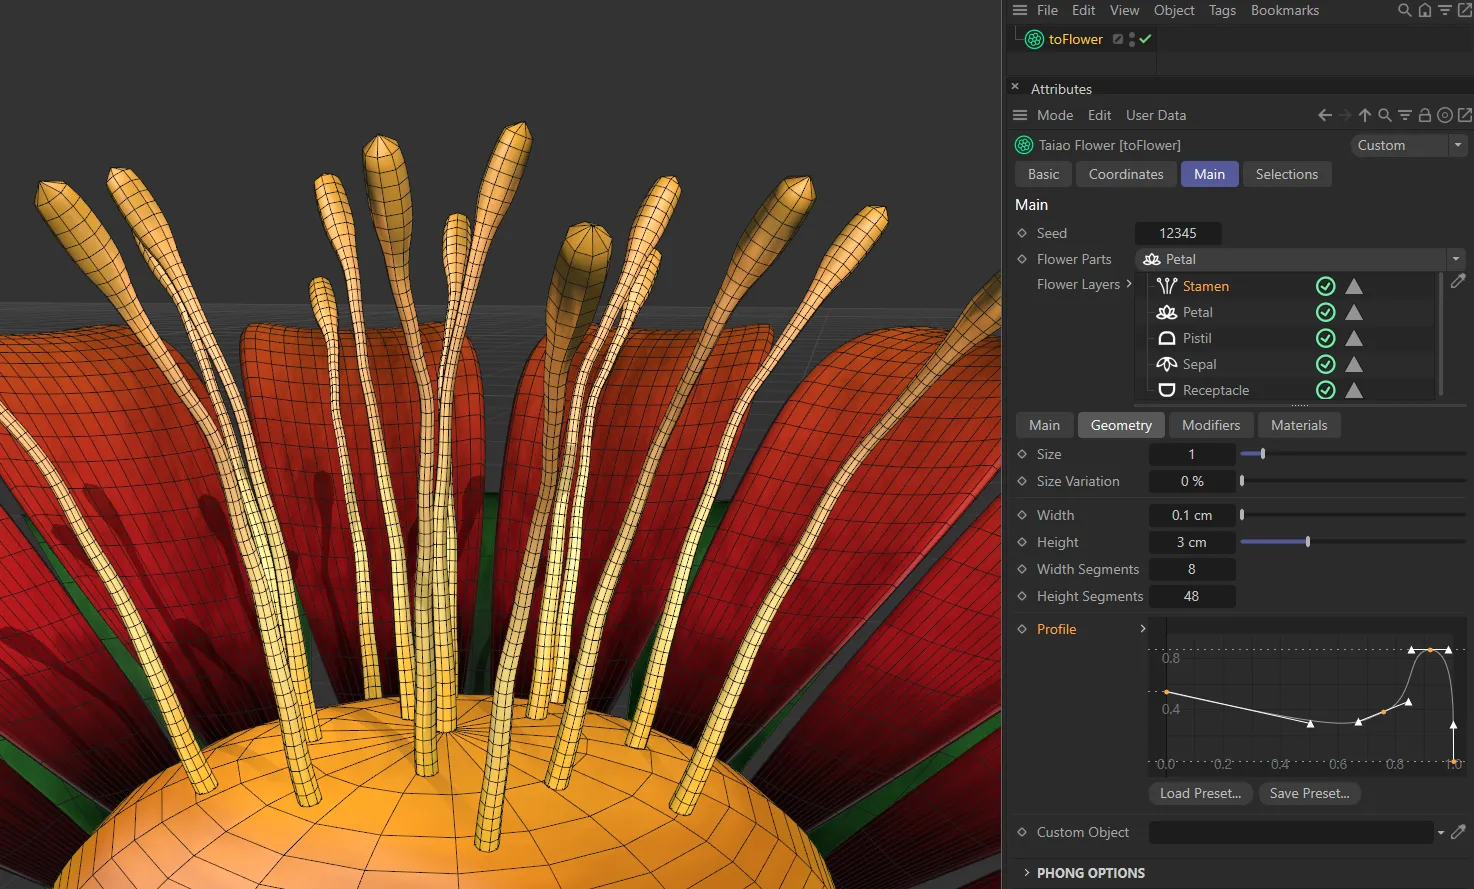
In this image, the Profile spline is shaping the stamen, with a rise towards the end to shape the tip of the stamen.
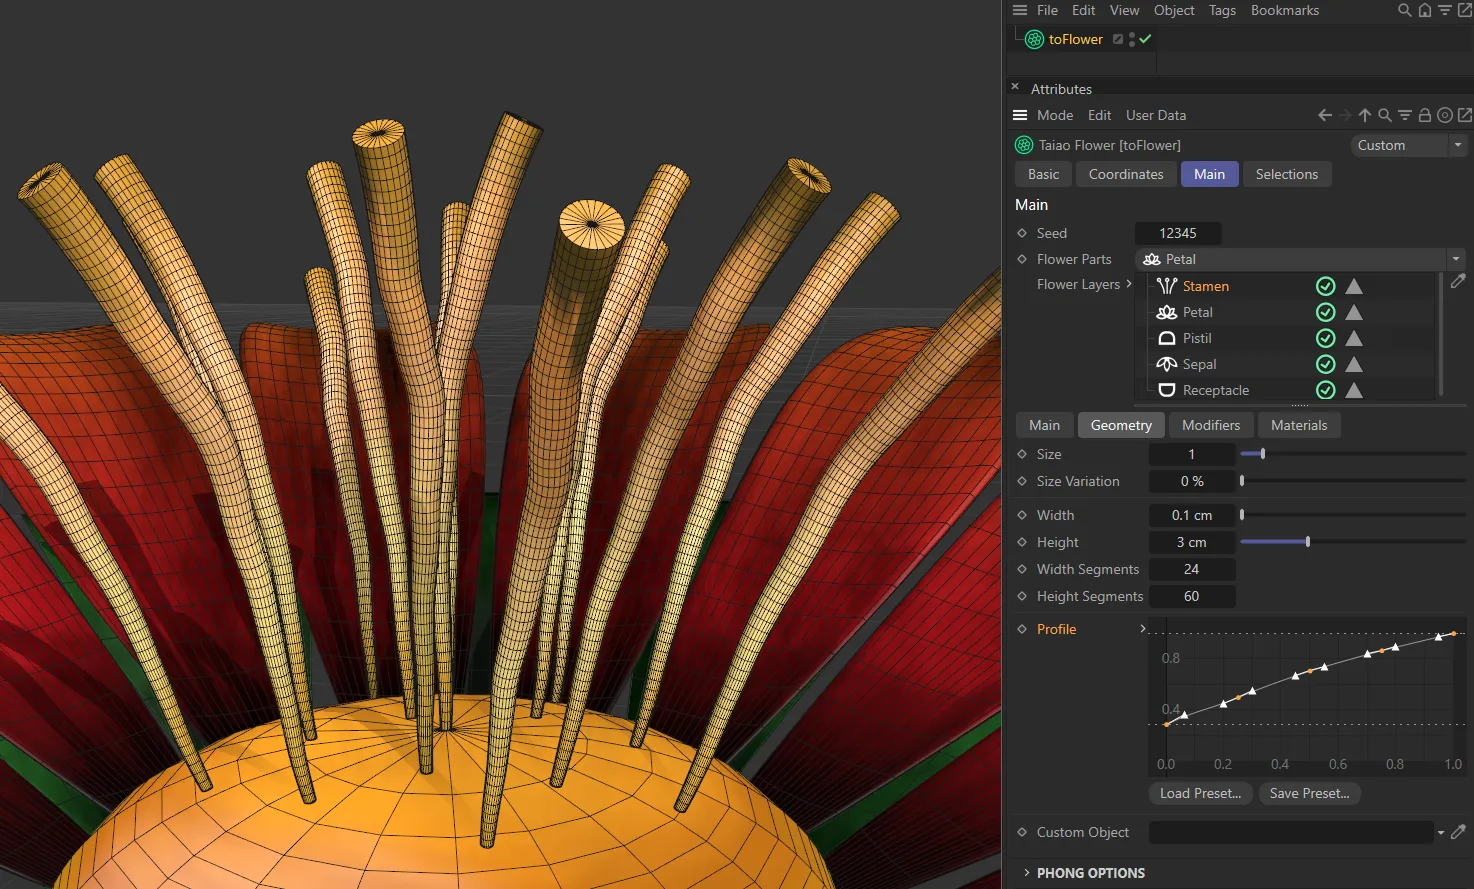
The linear Profile spline, here, gives a steady growth in the stamen’s width.
Custom Object
Section titled “Custom Object”You can import custom objects, by simply dragging them into the Custom Object link field, then alter the different settings, as desired.
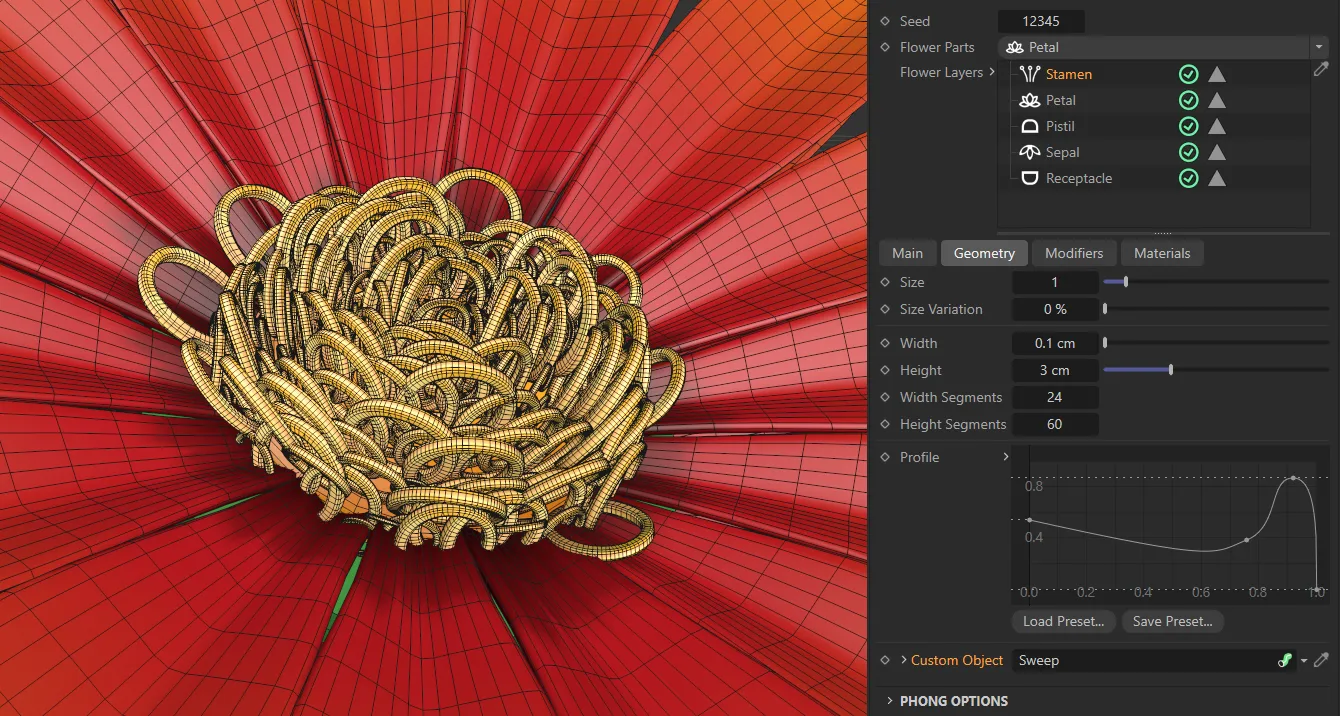
In this image, Letter O has been dropped into the Custom Object link field, to create this stamen.
Modifiers tab
Section titled “Modifiers tab”These settings give you the ability to deform and twist your stamen.
Modifier
Section titled “Modifier”The available Modifier types are: Furling, Deform, Turbulence and Displacer.
Each comes with its own parameter settings.
Modifier Stack
Section titled “Modifier Stack”The hierarchical list of modifiers affecting your plant layer.
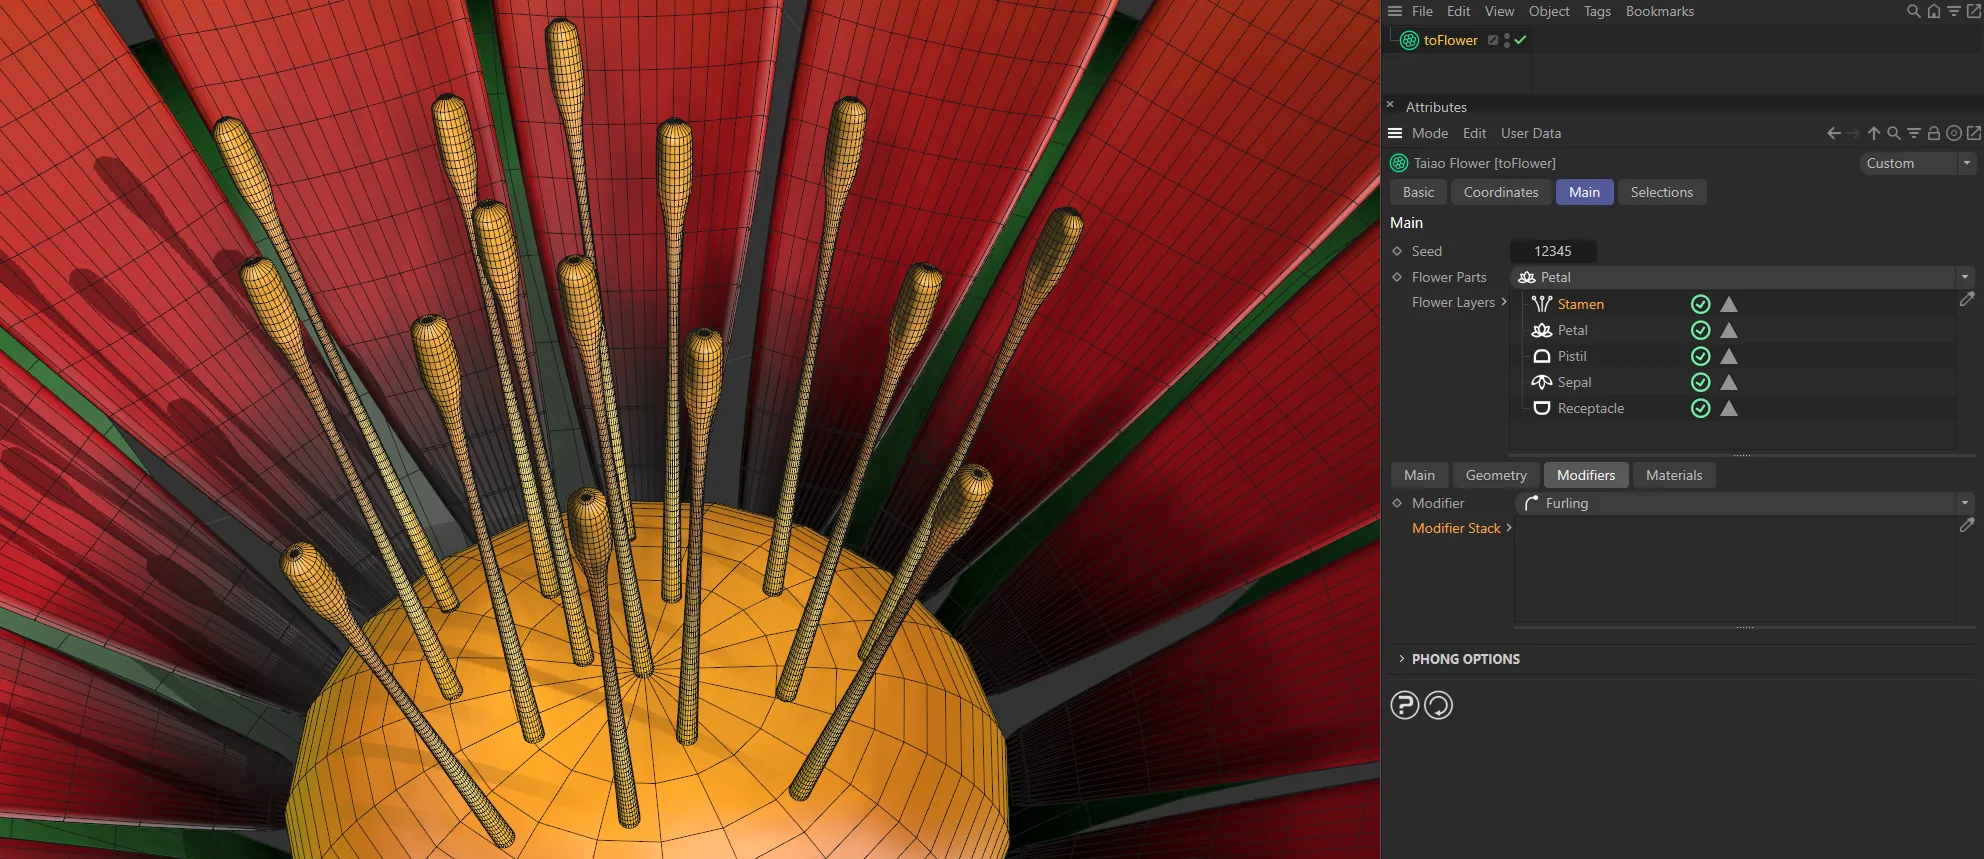
In this first image, there are no modifiers in the Modifier Stack, so none are active.
All four Modifier types are active in the Modifier Stack.
Furling modifier
Section titled “Furling modifier”The Furling settings mimic the natural curling that can occur in plants as they grow.
Increasing this slider will apply an angle in one direction and decreasing it will curl in the other.
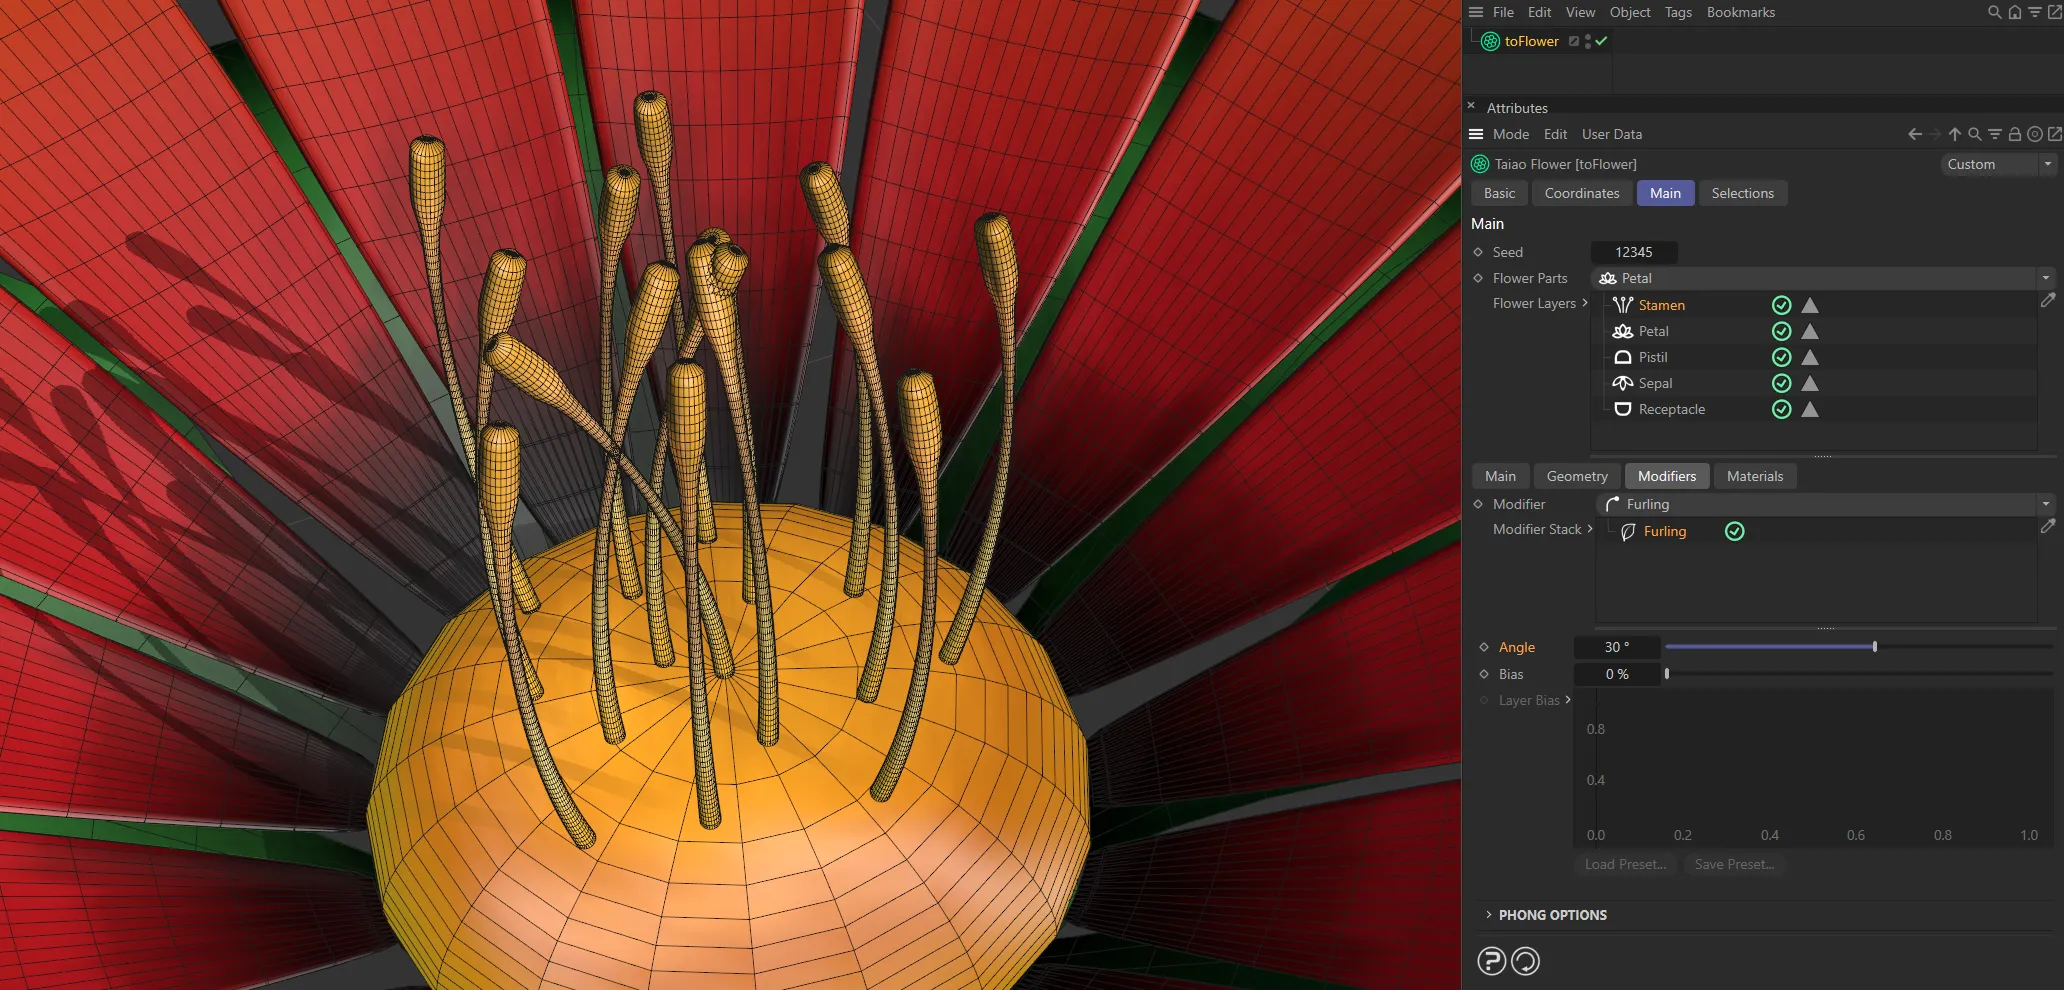
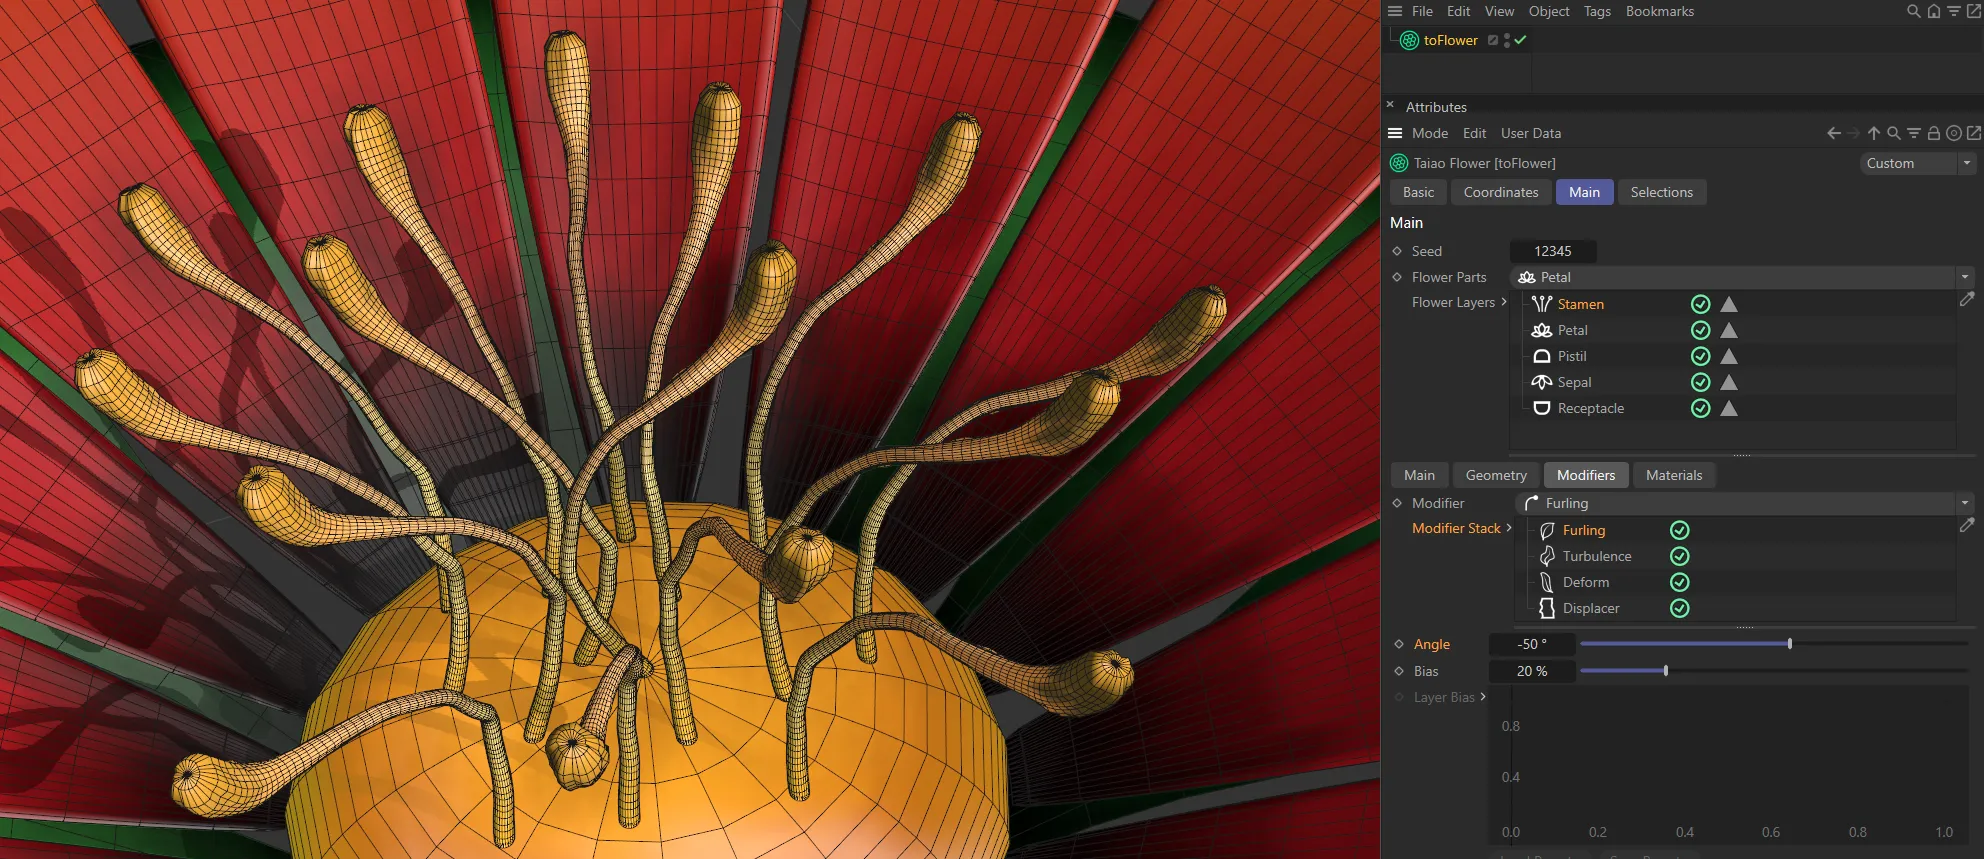
Angle set at 20 degrees.
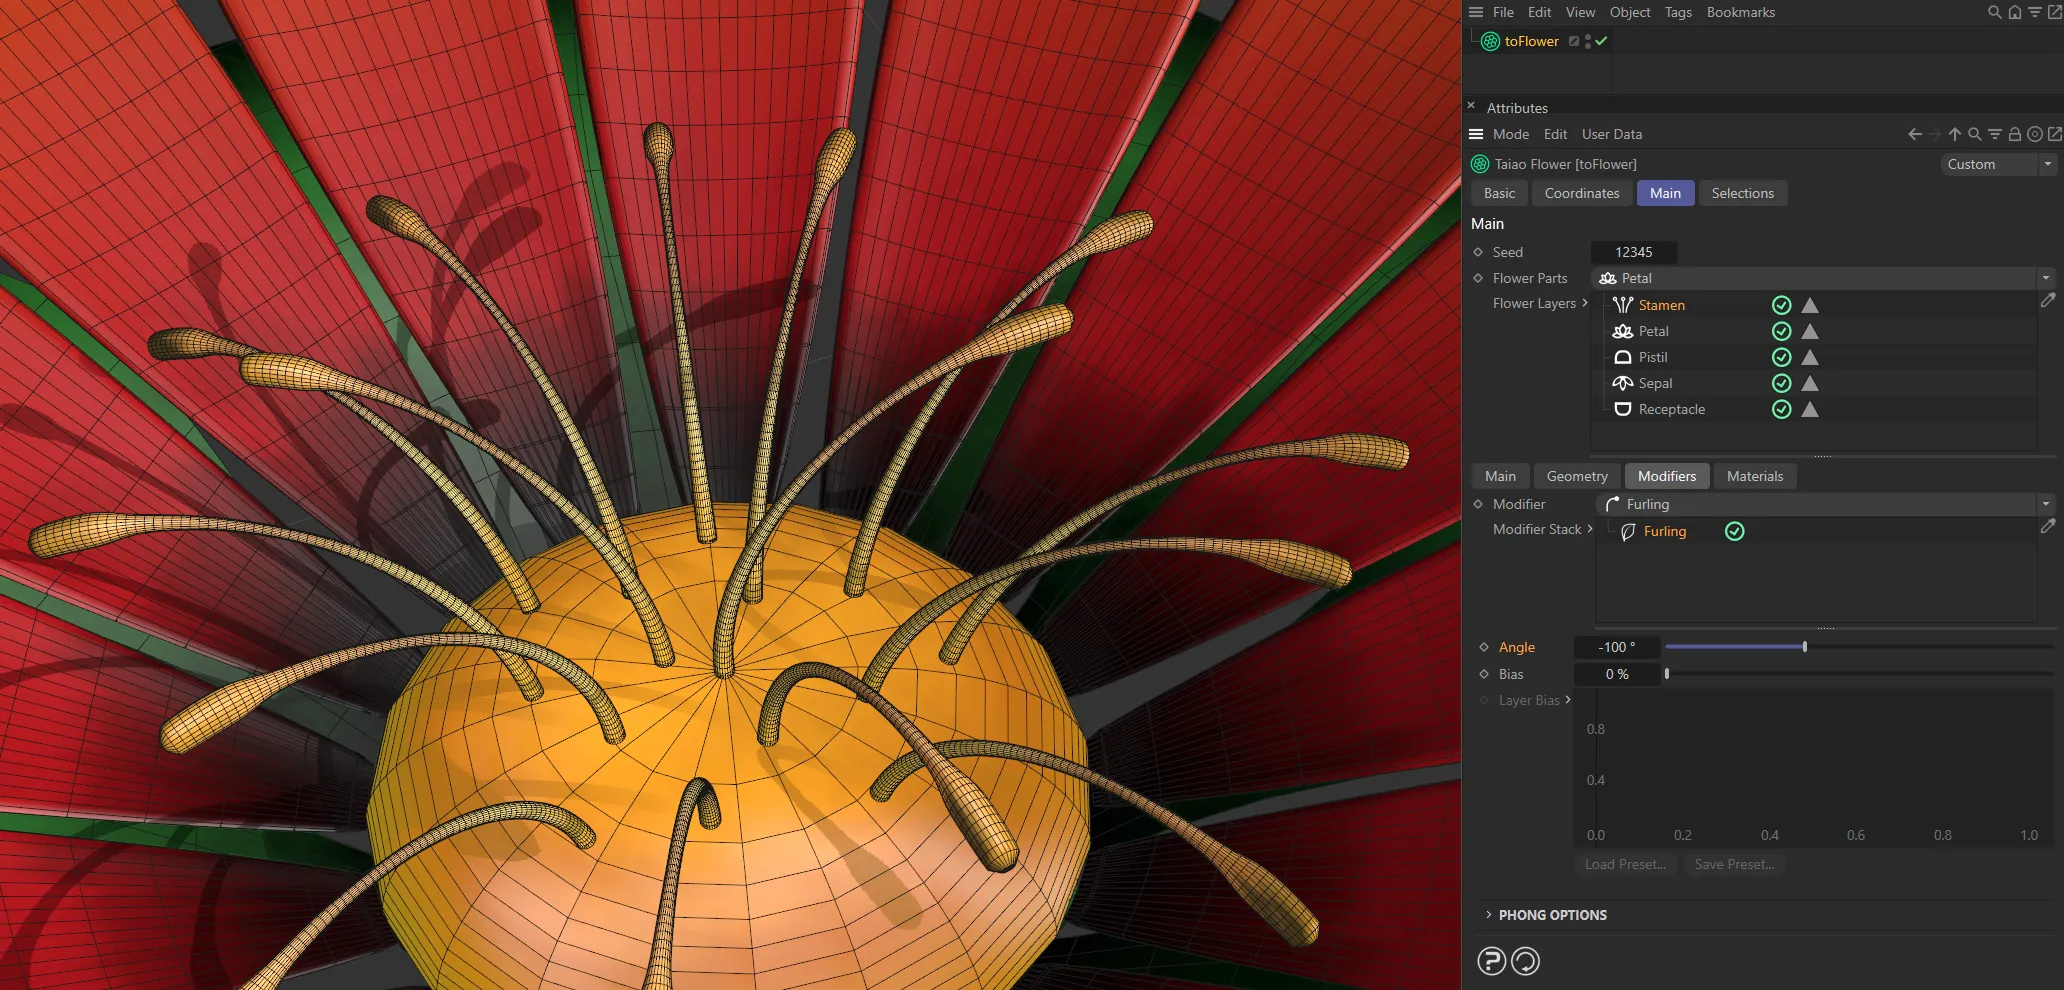
Here, the Angle value is (negative) -100 degrees.
This dictates where, on the stamen, the furling takes place.
At the default setting of 50%, furling occurs from the middle of the stamen, towards the end.
Lowering the setting sets the furling beginning nearer the start of the stamen and raising it has the opposite effect.
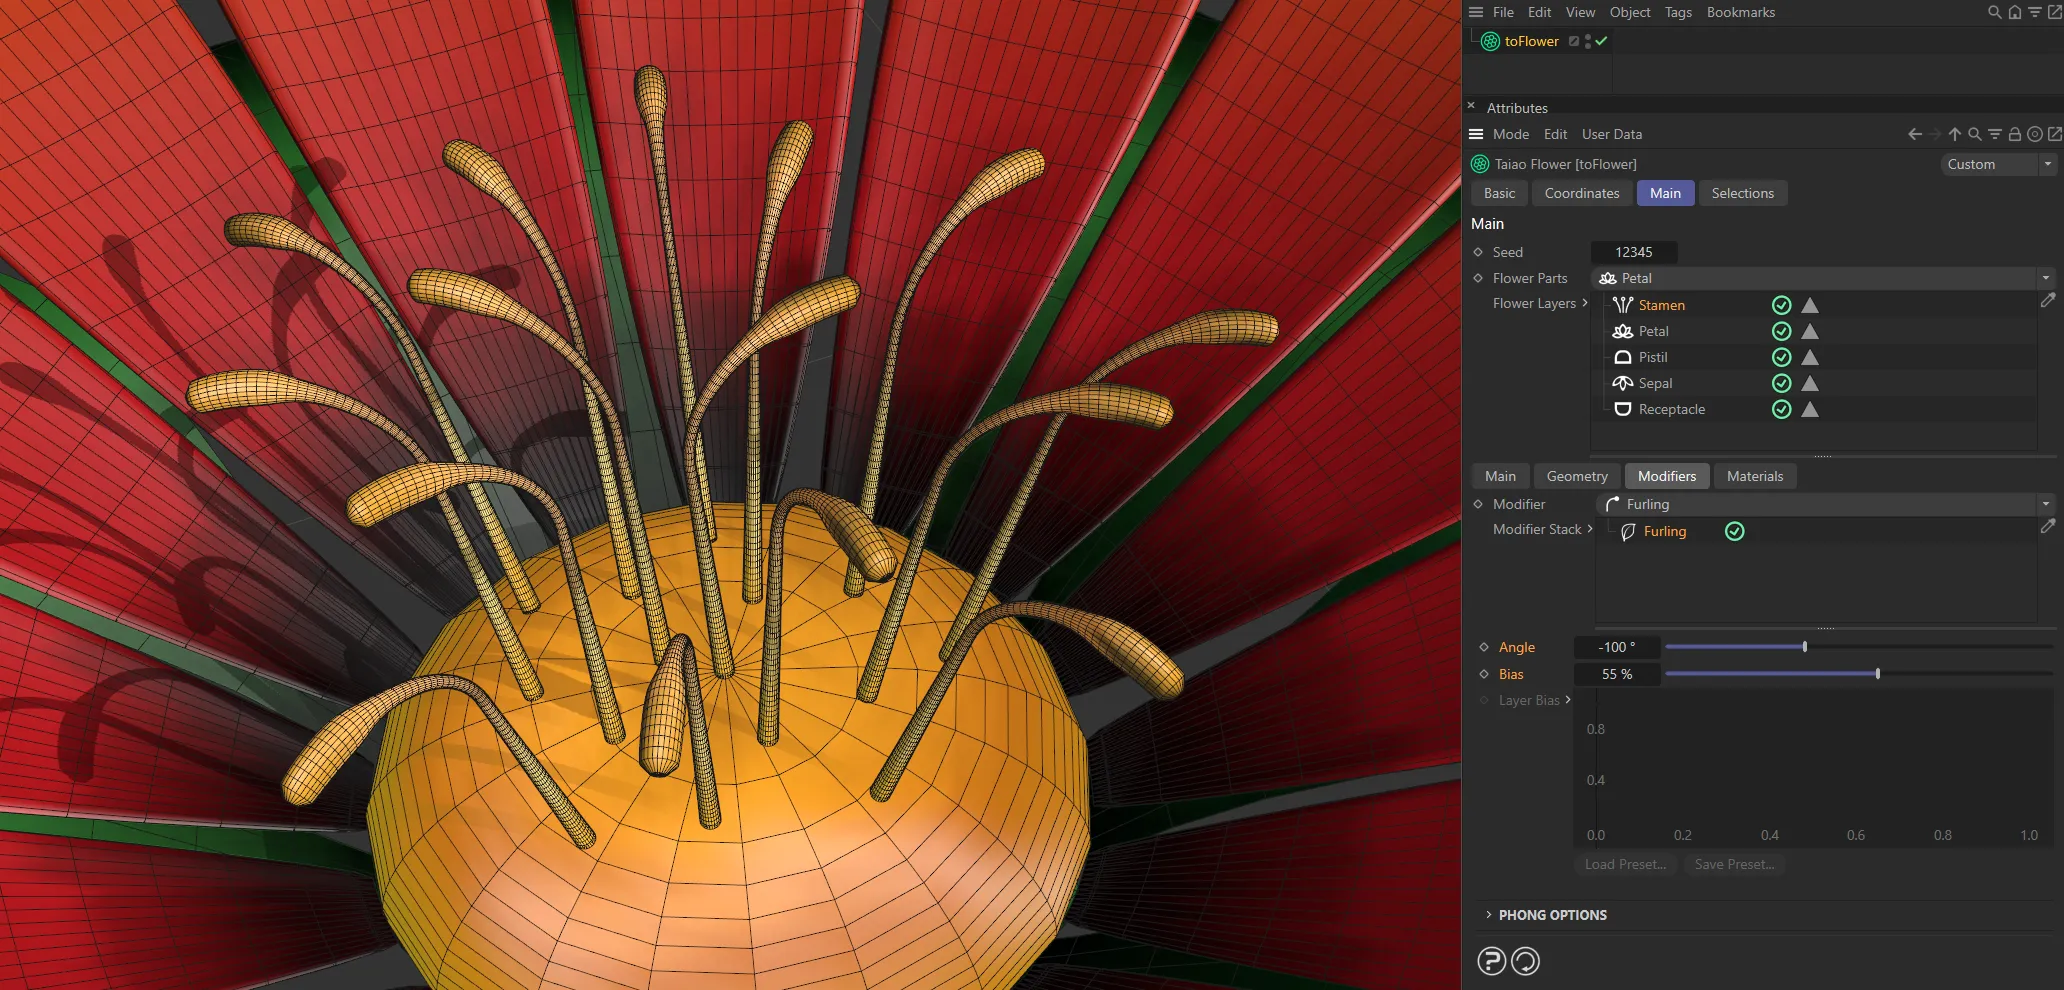
In this image, the Angle is set at (negative) -100 degrees, with a 55% Bias, driving the furling from the middle of the stamen, to the end.
Angle Bias
Section titled “Angle Bias”This setting (added with update 2024.2) simply acts as a multiplier to the existing bend angle along the length of the Stamen layer.
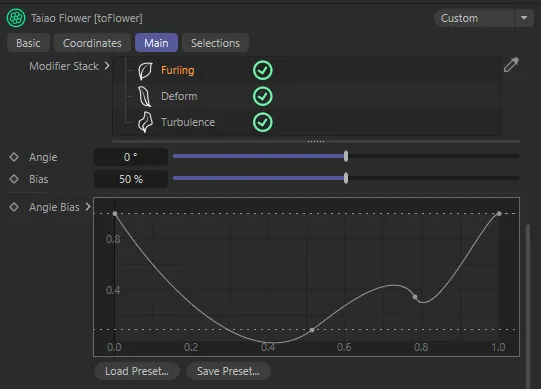
The Angle Bias spline (added with update 2024.2) can be manipulated to shape and customize your stamen.
Layer Bias
Section titled “Layer Bias”Only available in the Distribution Mode of Whorled.
This allows control over how much furling angle there is on a per-ring basis, meaning that outer and inner rings can have different degrees of furling.
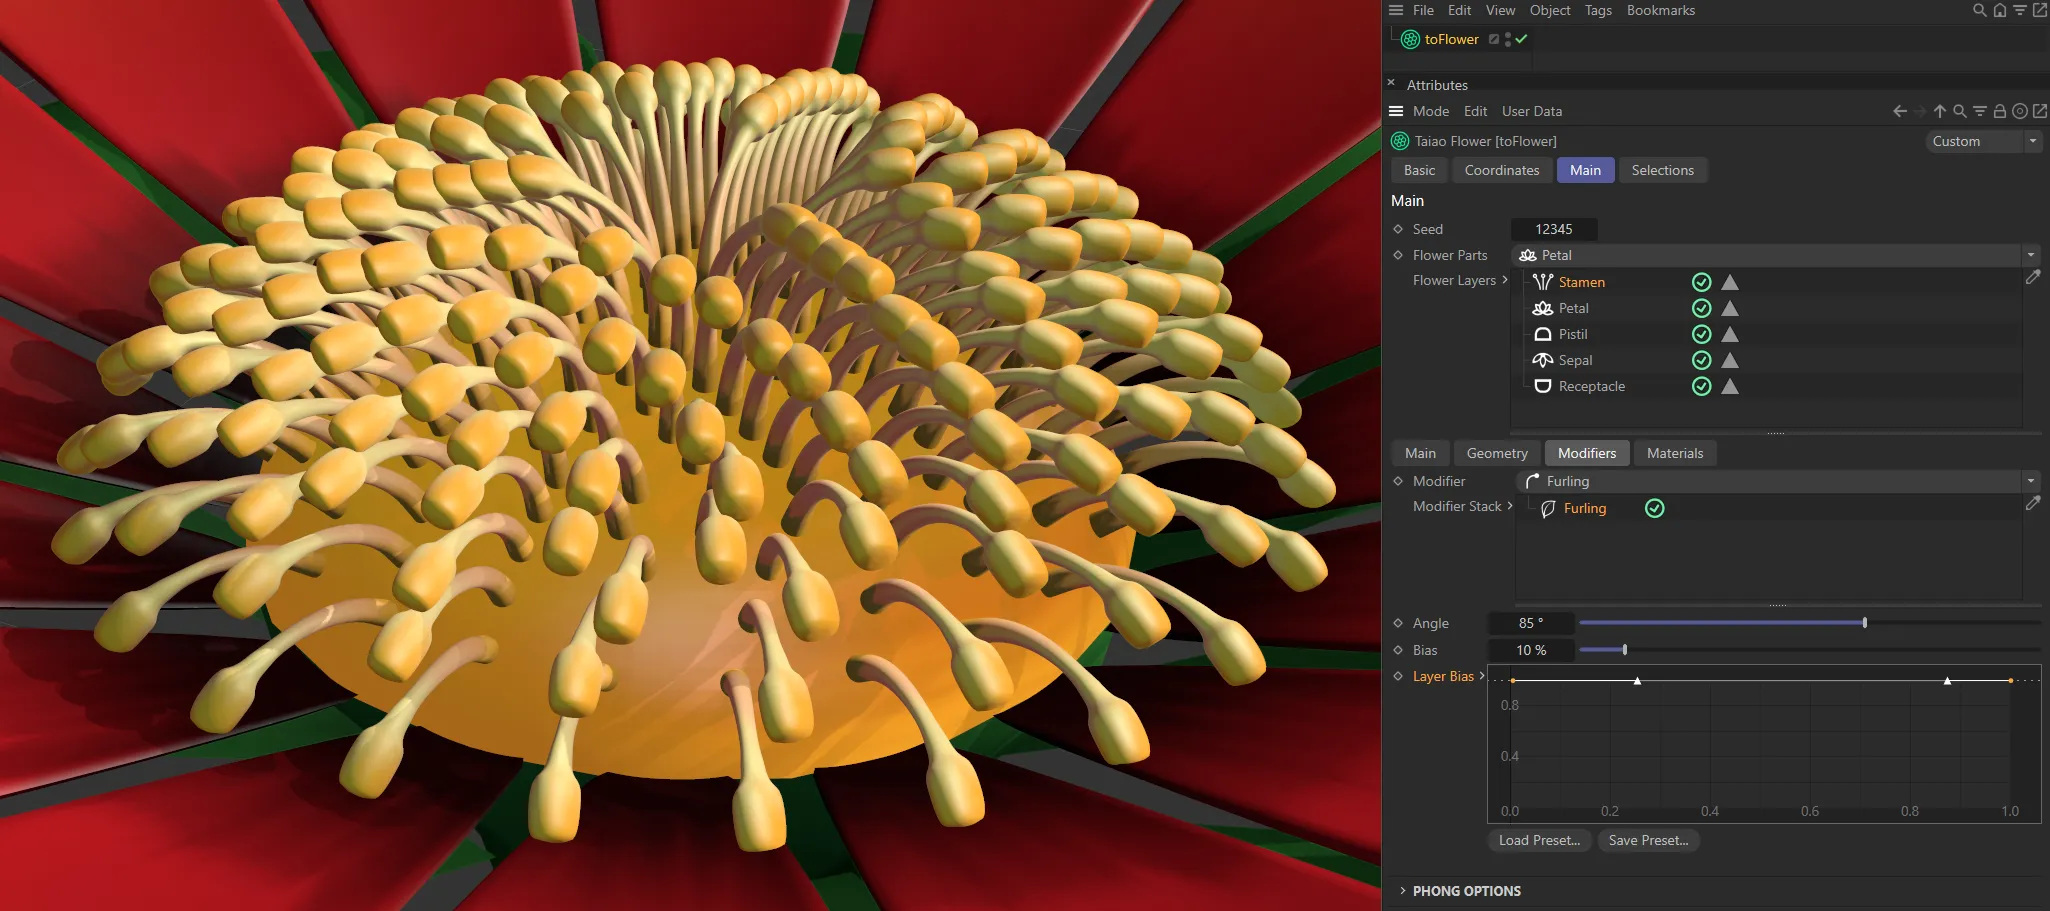
Layer Bias curve with a full strength setting, giving full furling on all rings.
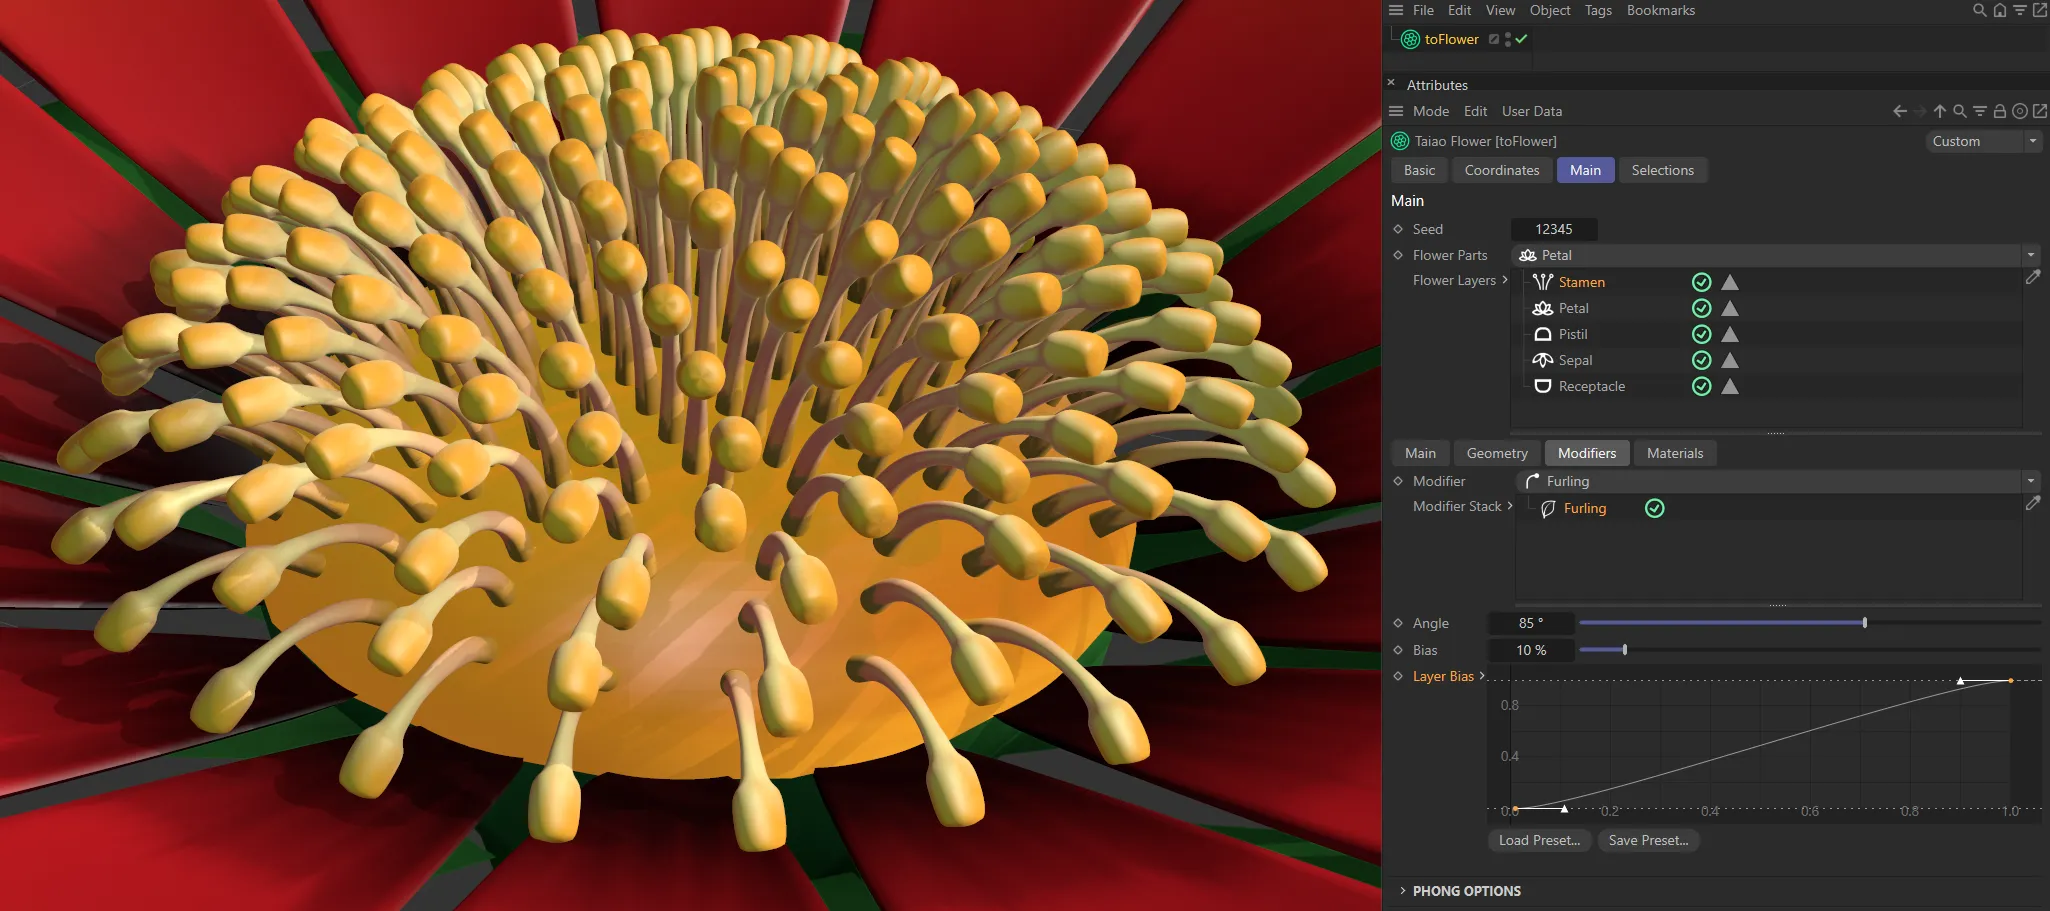
This rising linear Layer Bias setting applies no furling at the center then more and more furling going out through the rings of stamen.
Deform modifier
Section titled “Deform modifier”You can also deform the stamen, along their length in conjunction with the Strength slider.
Strength
Section titled “Strength”This slider controls the amount of deformity in the stamen.
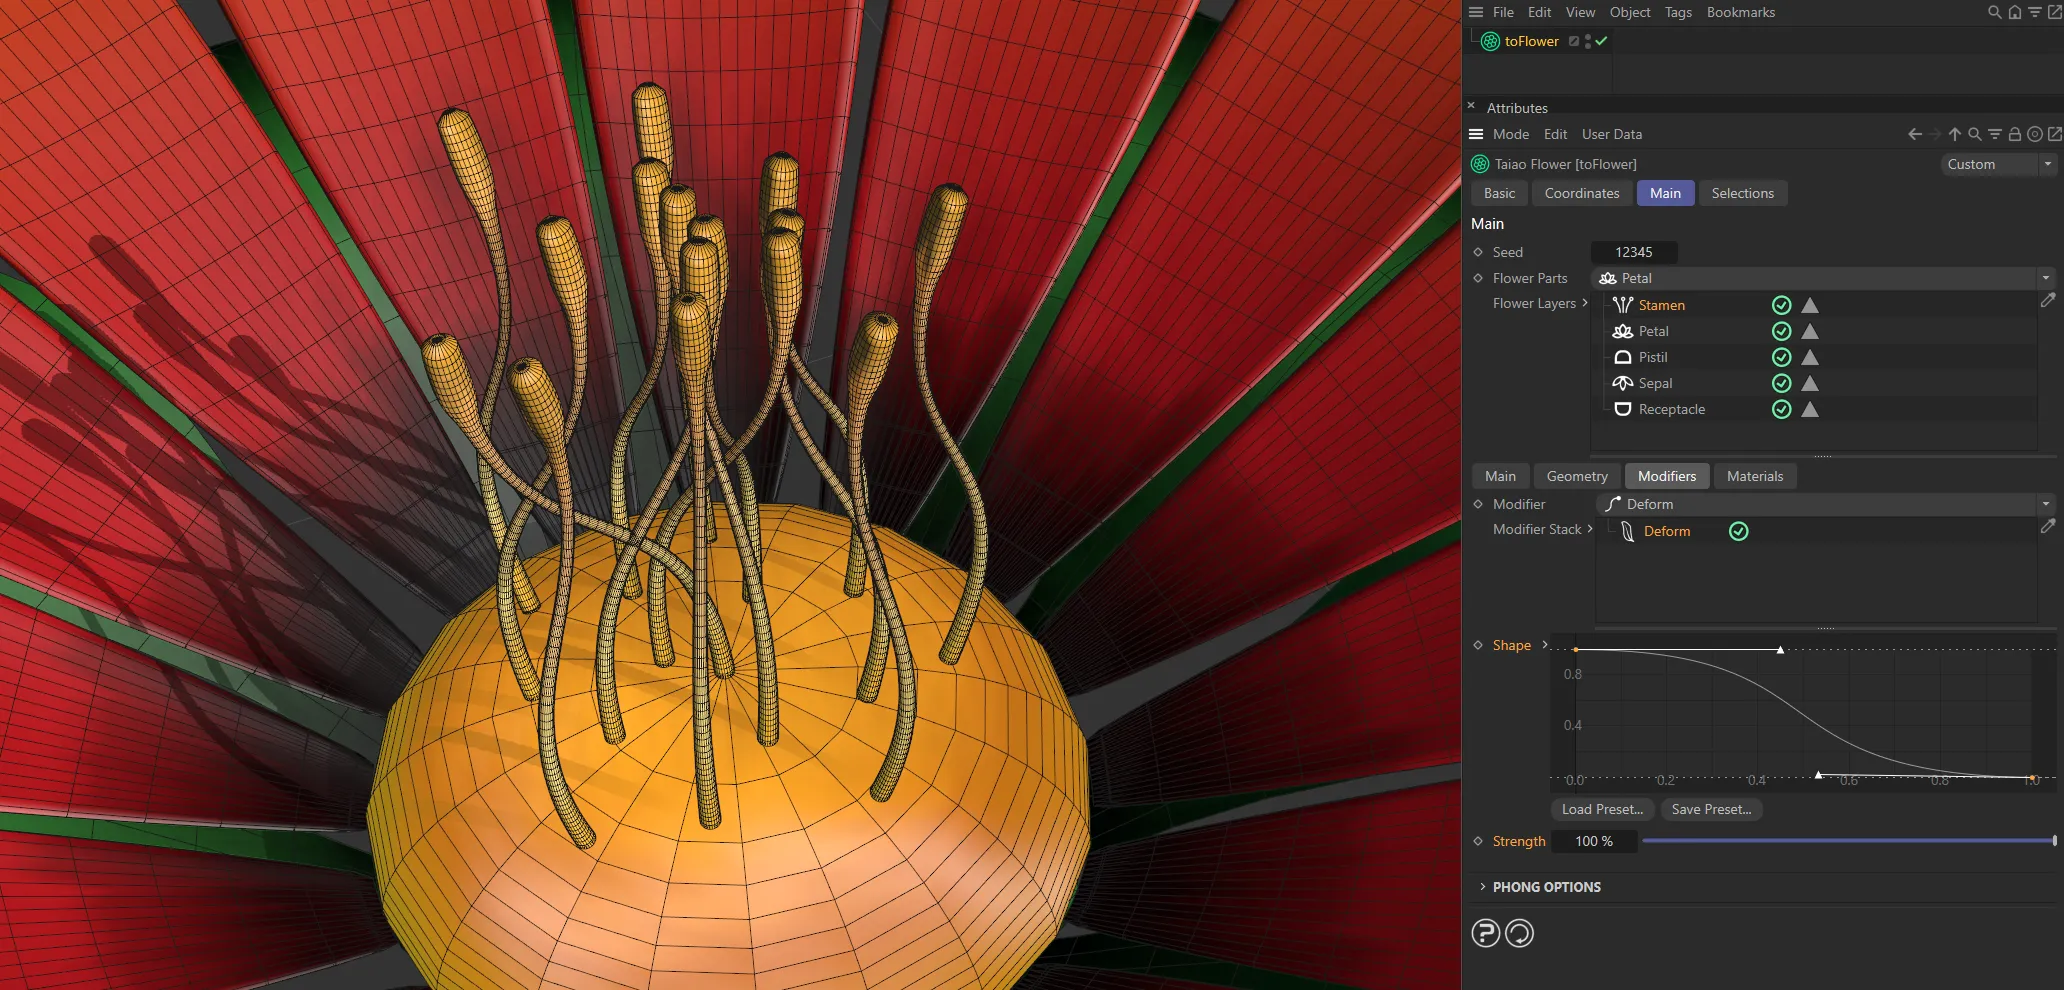
With a downward Shape curve, together with a 100% Strength setting, the stamen are deforming inwards.
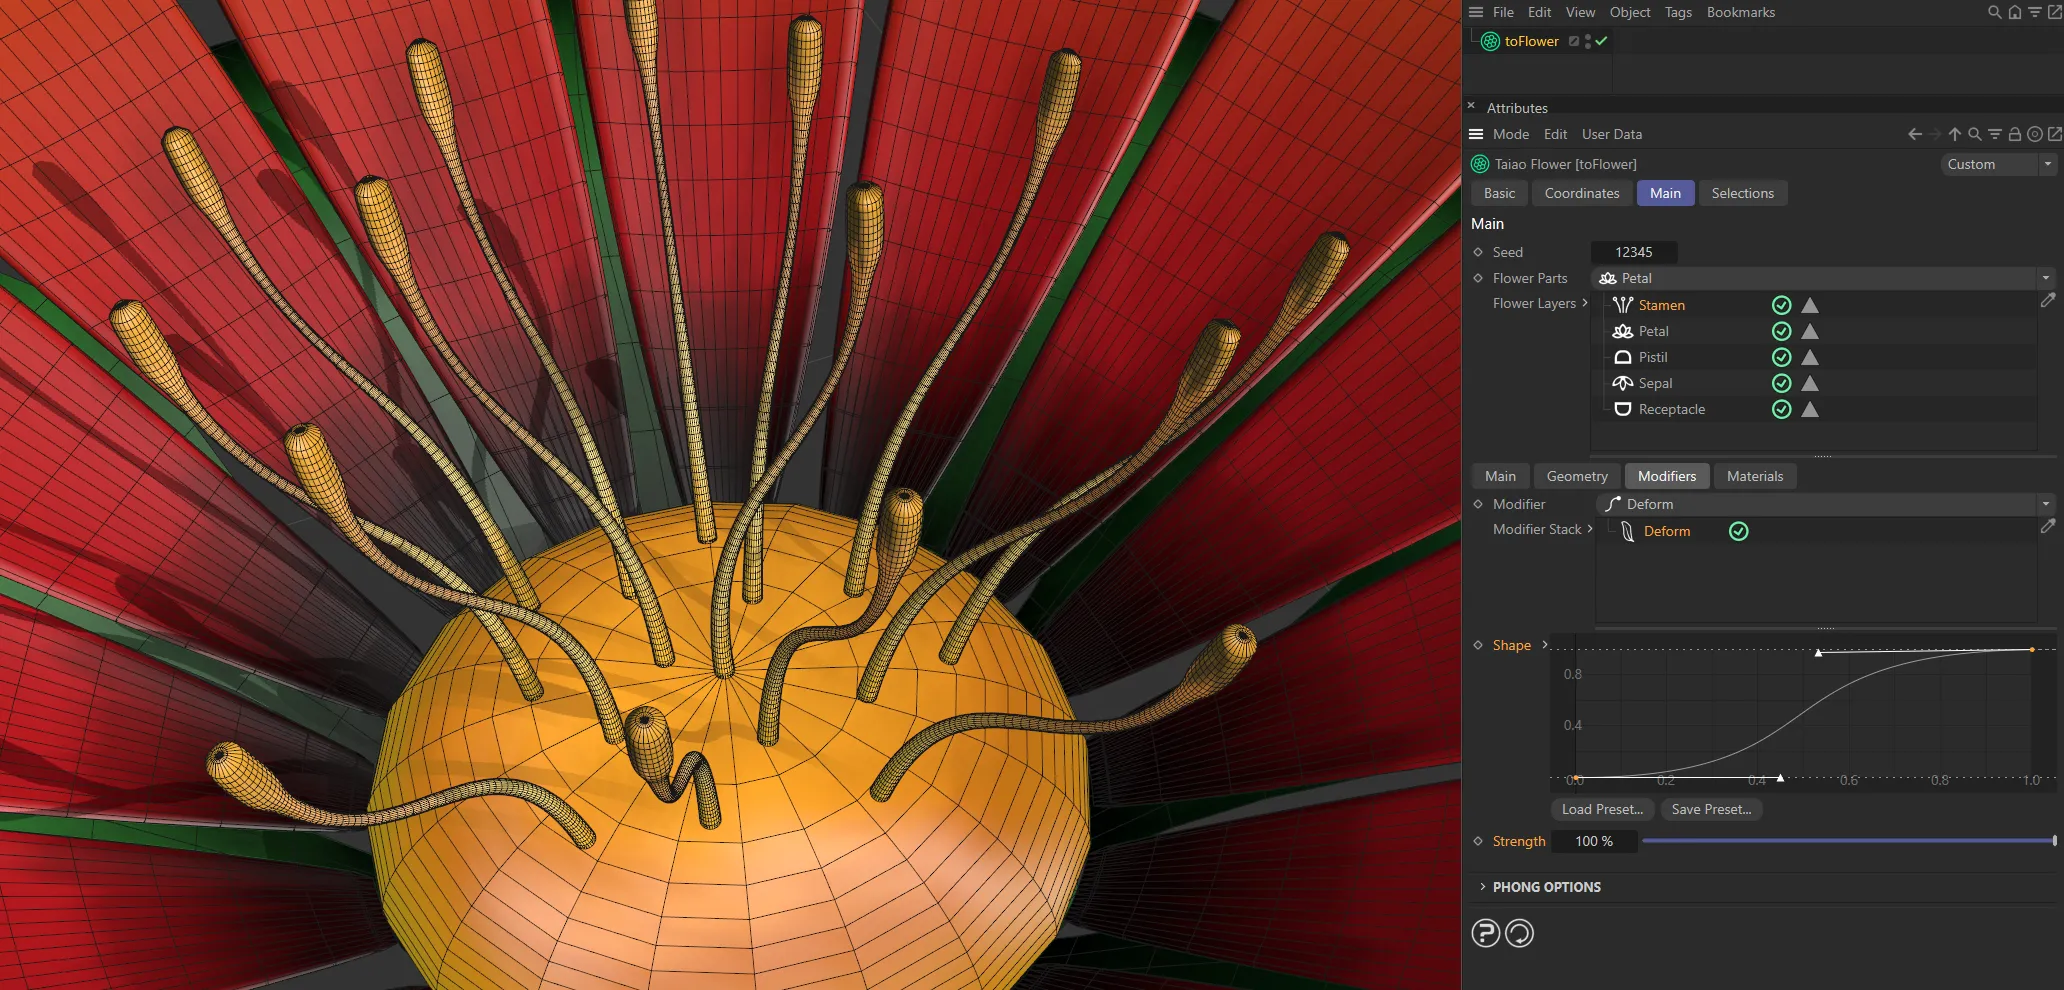
This is the opposite, with an upward Shape curve.
Turbulence modifier
Section titled “Turbulence modifier”Changing this value will give a different, random look, based on the values set.
Vary Seed
Section titled “Vary Seed”Enabling this will give a further variety to the Seed setting.

Vary Seed disabled, giving the same turbulence for each stamen.
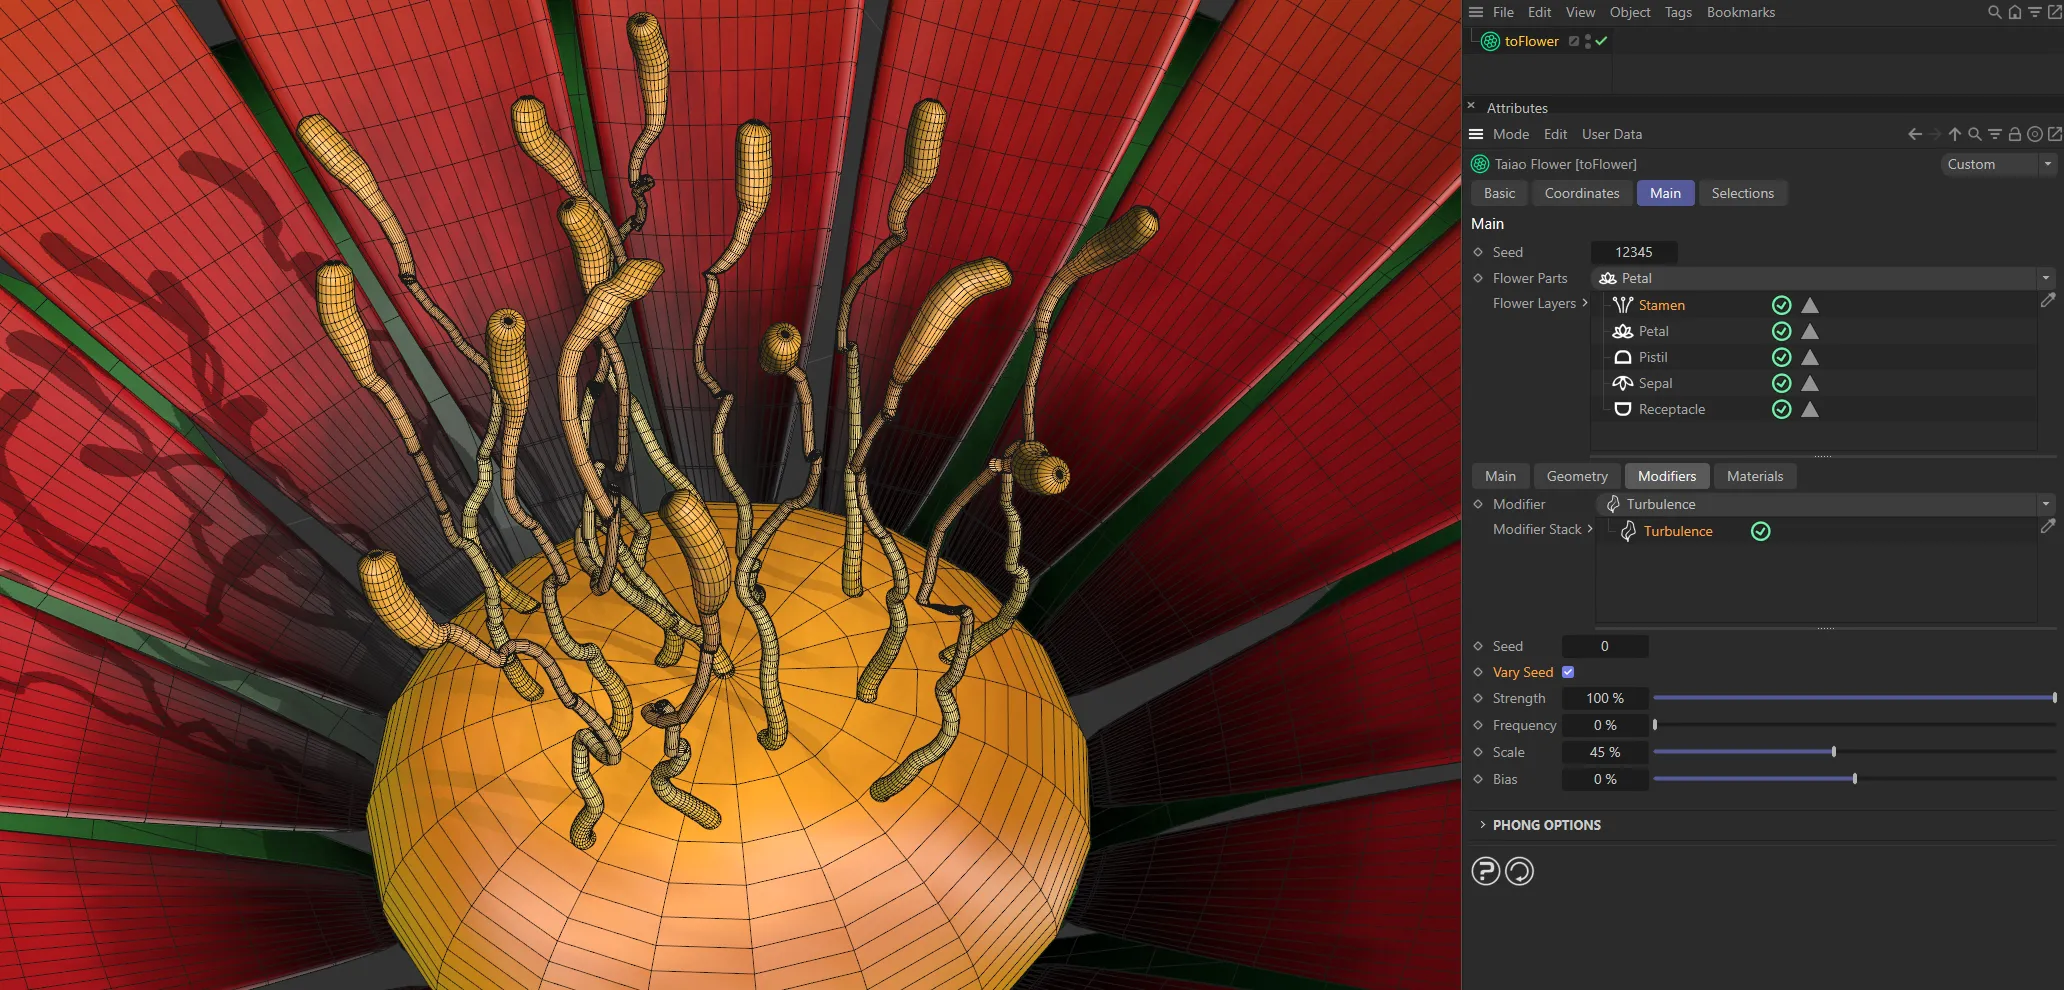
Vary Seed enabled, driving different turbulence in each stamen.
Strength
Section titled “Strength”You can increase this, to your taste, either by using the slider to 100% or manually inputting a higher value to further increase the deformation.
Frequency
Section titled “Frequency”Sets the rate at which the turbulence animates.
This slider increases or decreases the scale of turbulence that you have set, with much more detailed noise deformation at lower value settings.
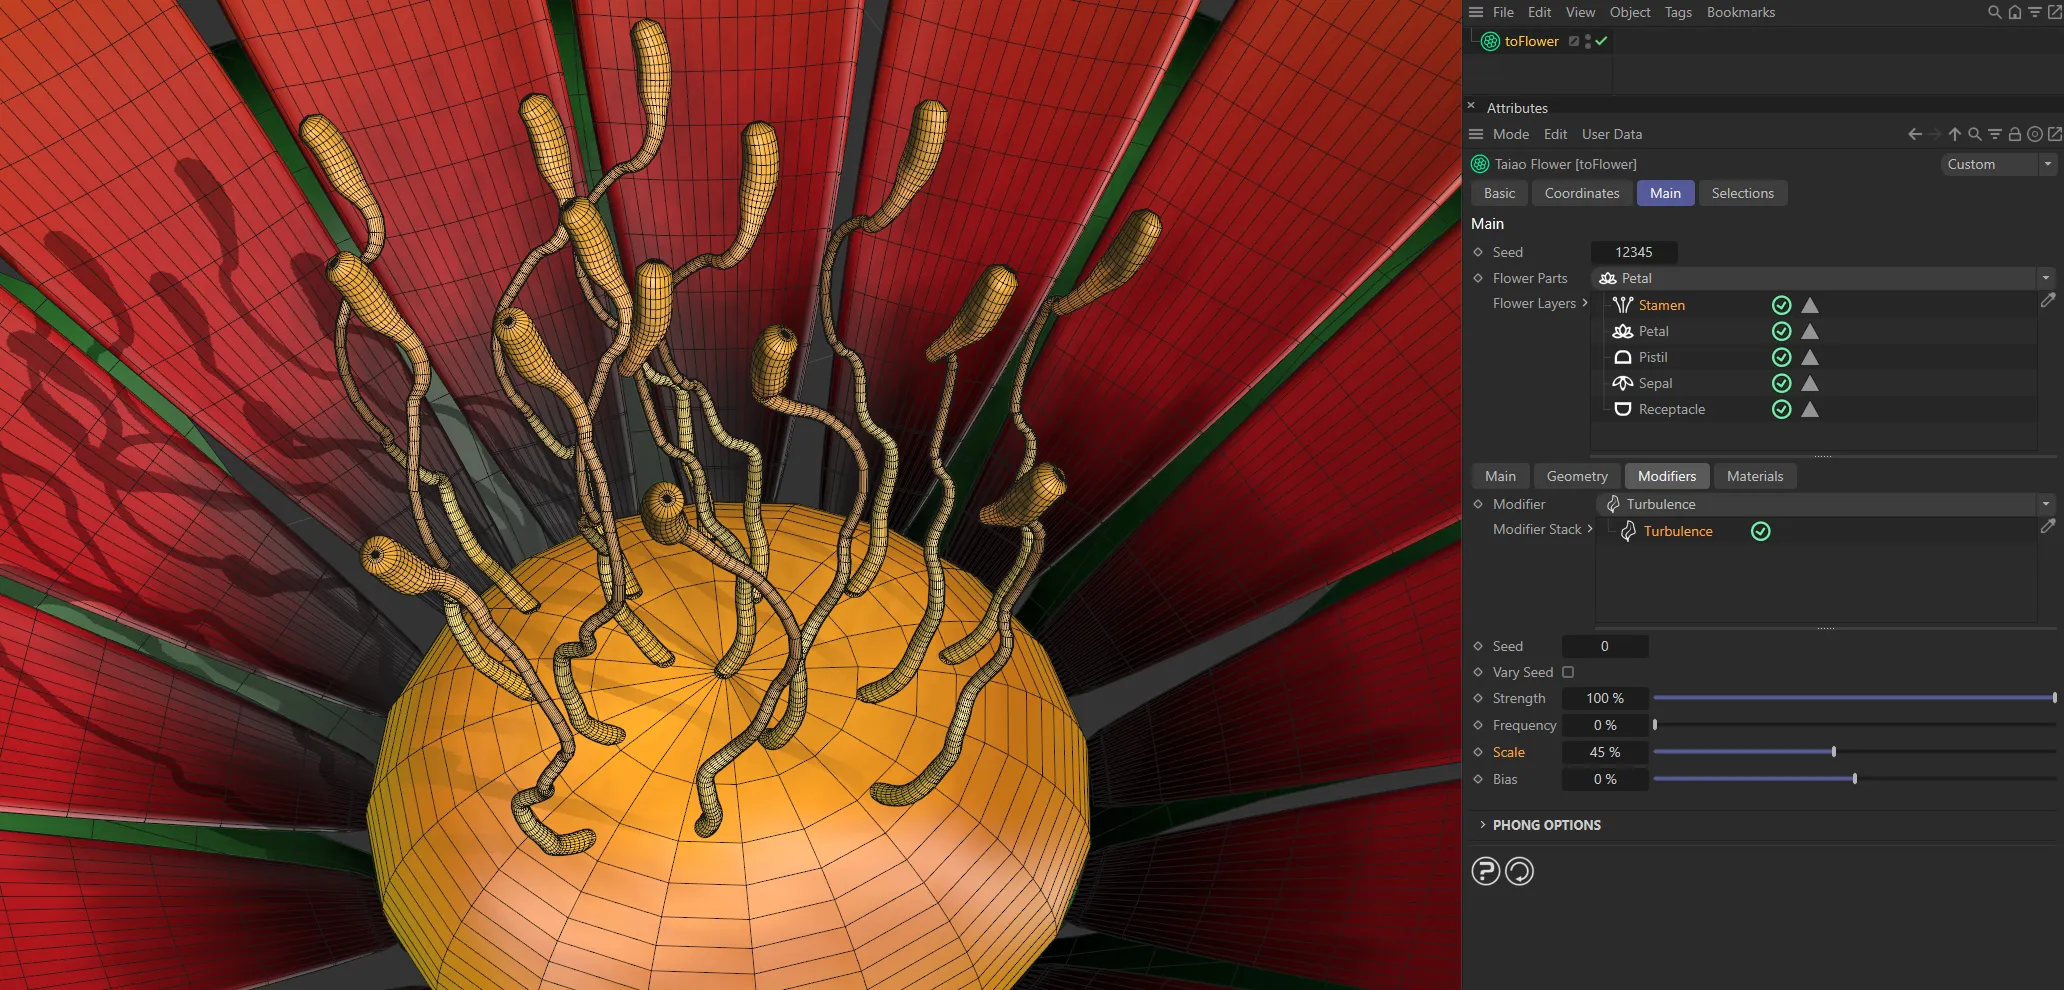
Scale at 45%.
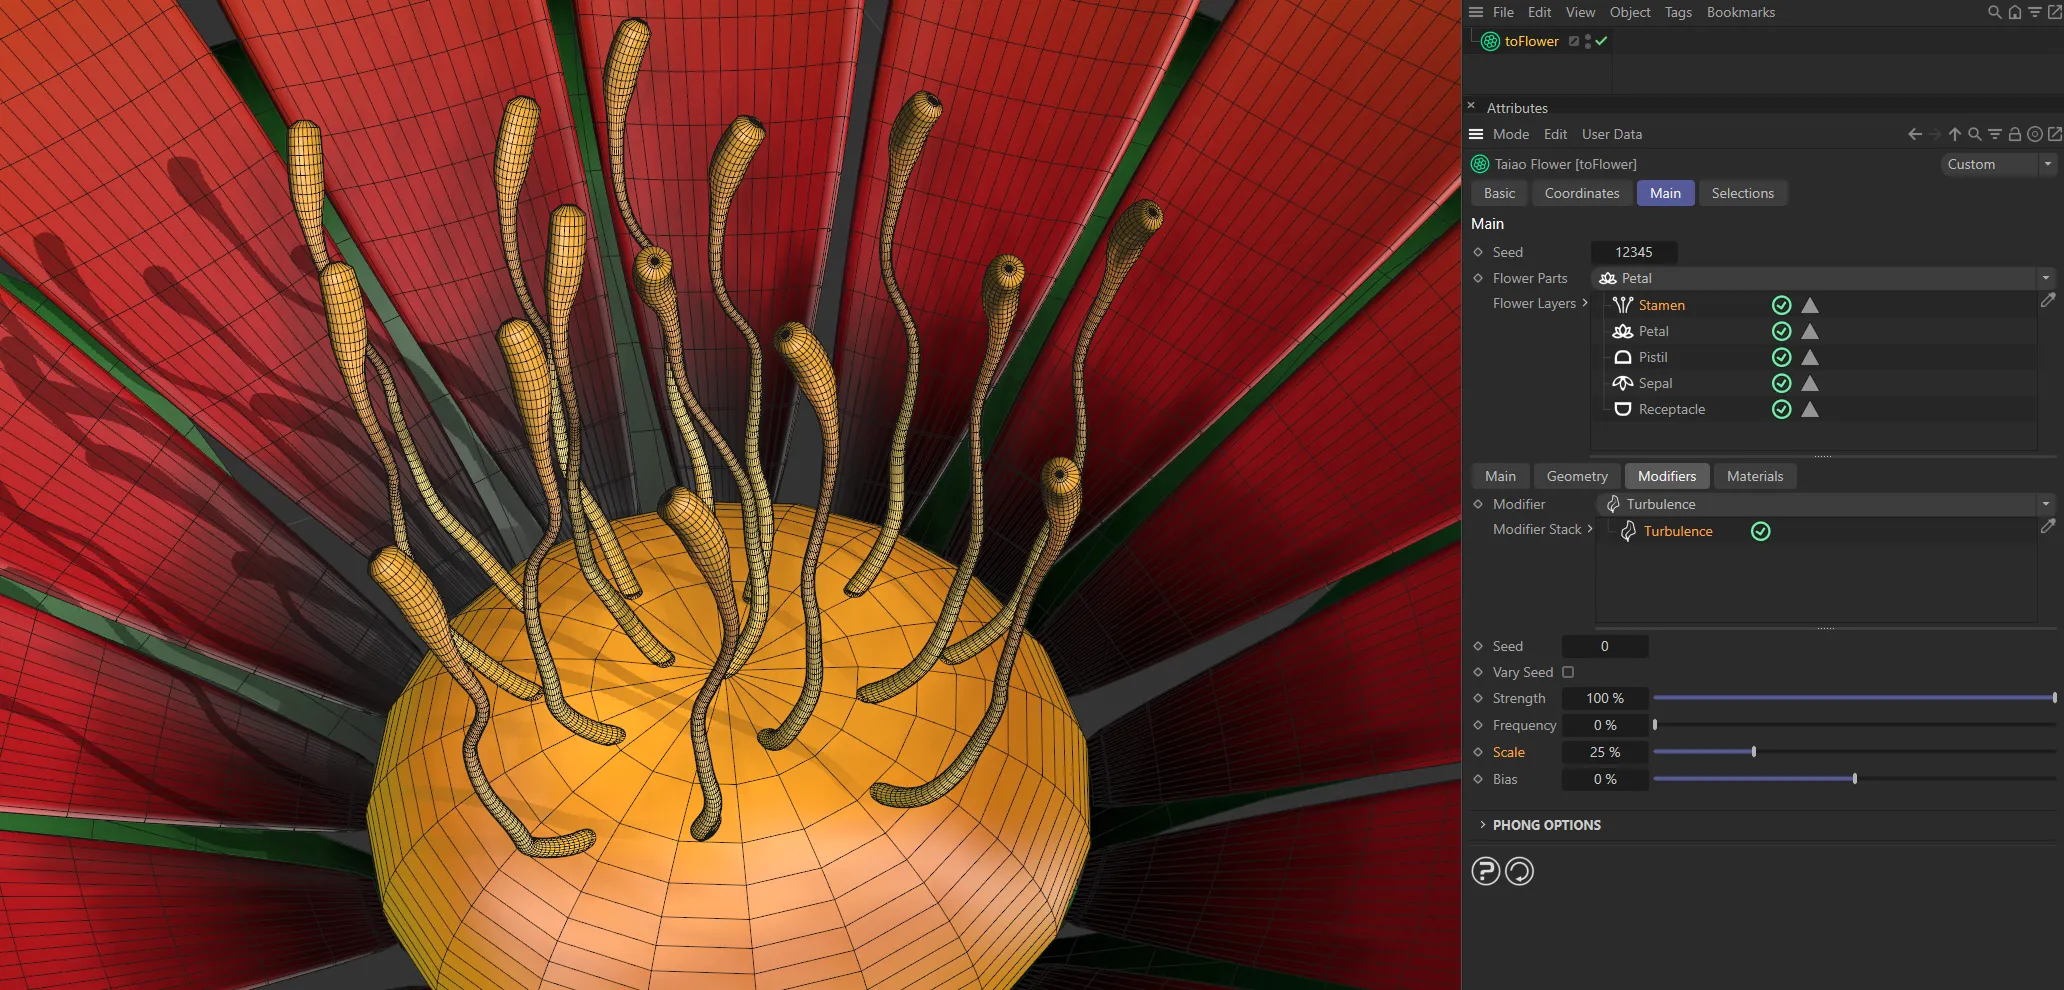
Scale lowered to 25%.
The Bias slider setting dictates where, along the stamen, the deformation begins.
At the default setting of 0 (zero) %, the entire layer is affected by the turbulence and at 100% there is no turbulence at all.
A negative bias value will isolate the deformation to affect the base of the layer, whereas a positive bias value will isolate the deformation to affect the tip(s) of the layer.
Displacer modifier
Section titled “Displacer modifier”This modifier lets you bring in a Shader or a Texture to shape the stamen.
Selecting this modifier will give you the usual additional options to be able to import your Shader or Texture into the scene, including parameters for Channel and Tolerance settings.
Strength
Section titled “Strength”You can increase this, to your taste, either by using the slider to 100% or manually inputting a higher value.
Texture Source
Section titled “Texture Source”Set as Shader, by default, this uses color value to define which areas are affected.
The alternative is Texture.
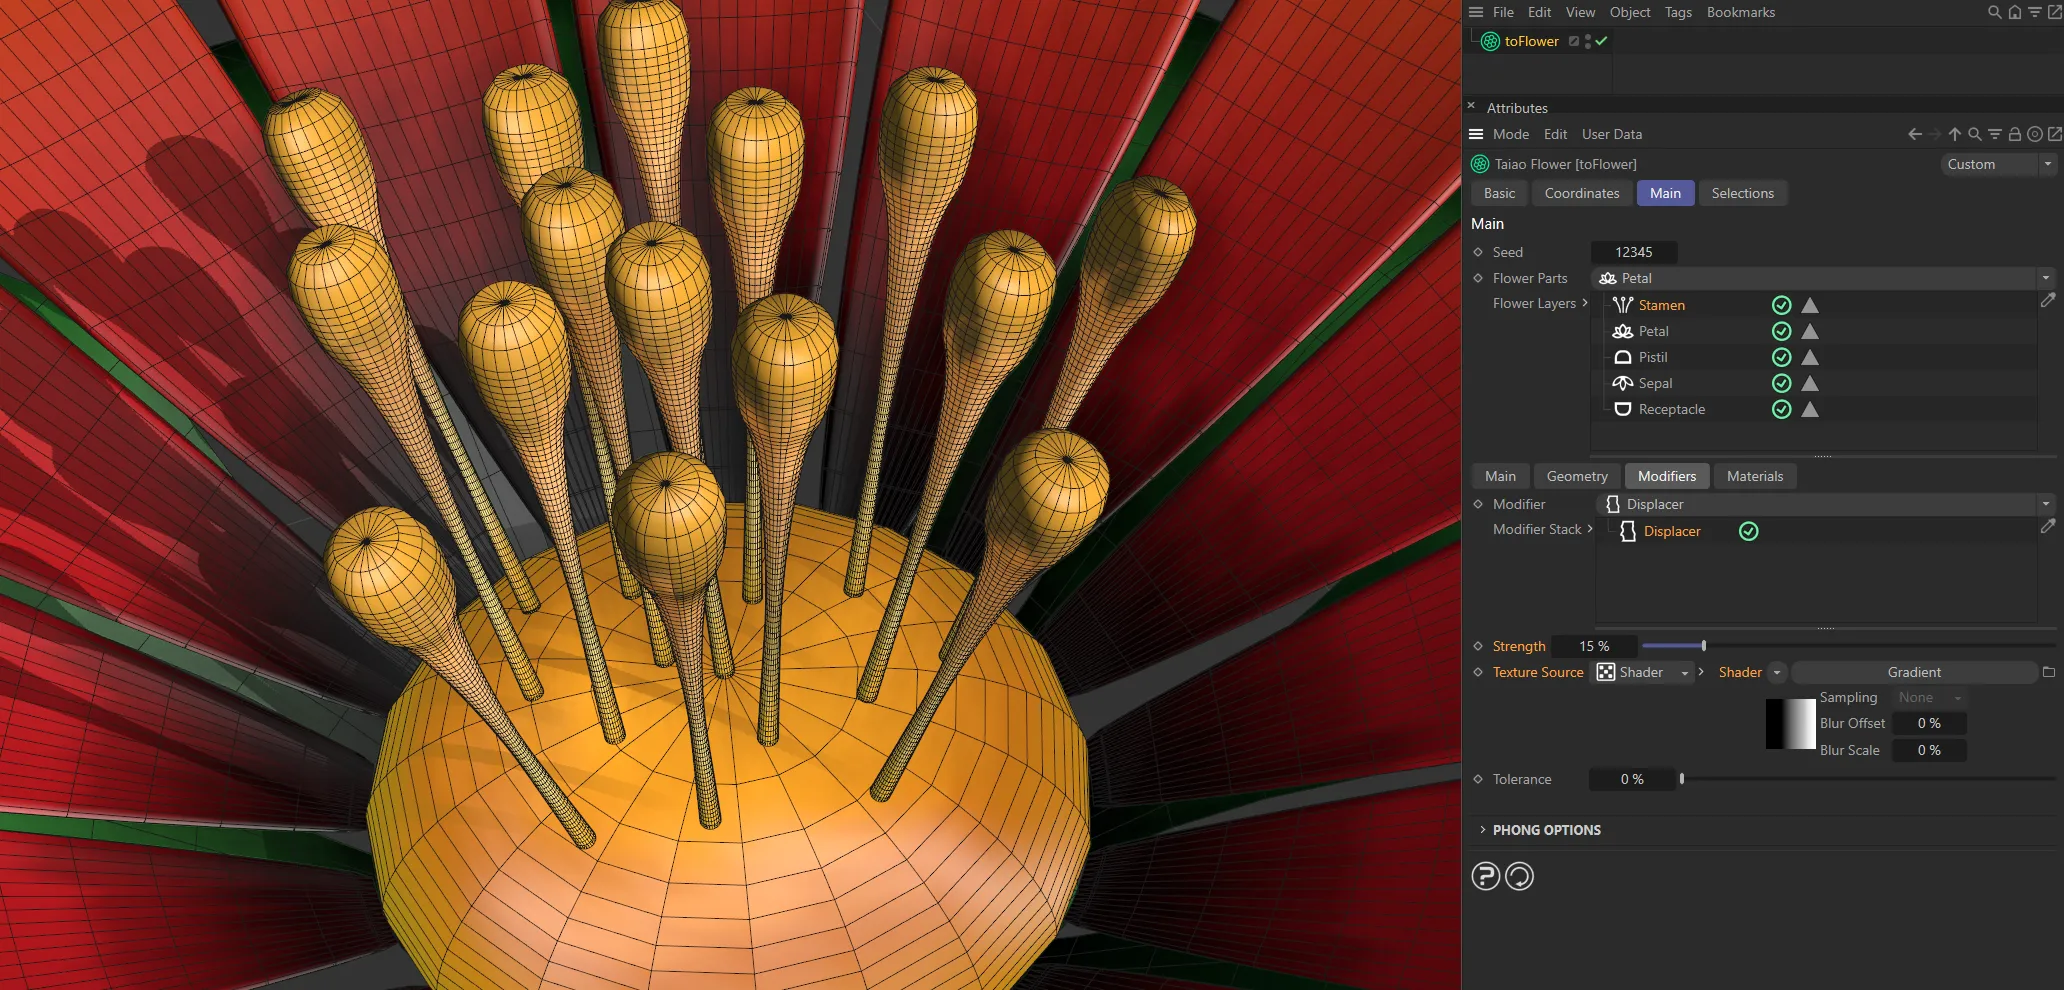
With the Displacer modifier applied, the Shader mode is selected and a Gradient shader is giving no displacement for black and full displacement for white.
Shader
Section titled “Shader”Shader
Section titled “Shader”Use this Shader drop-down to select an image, sequence or shader.
Tolerance
Section titled “Tolerance”Restricts the displacement, based on brightness values in the shader.
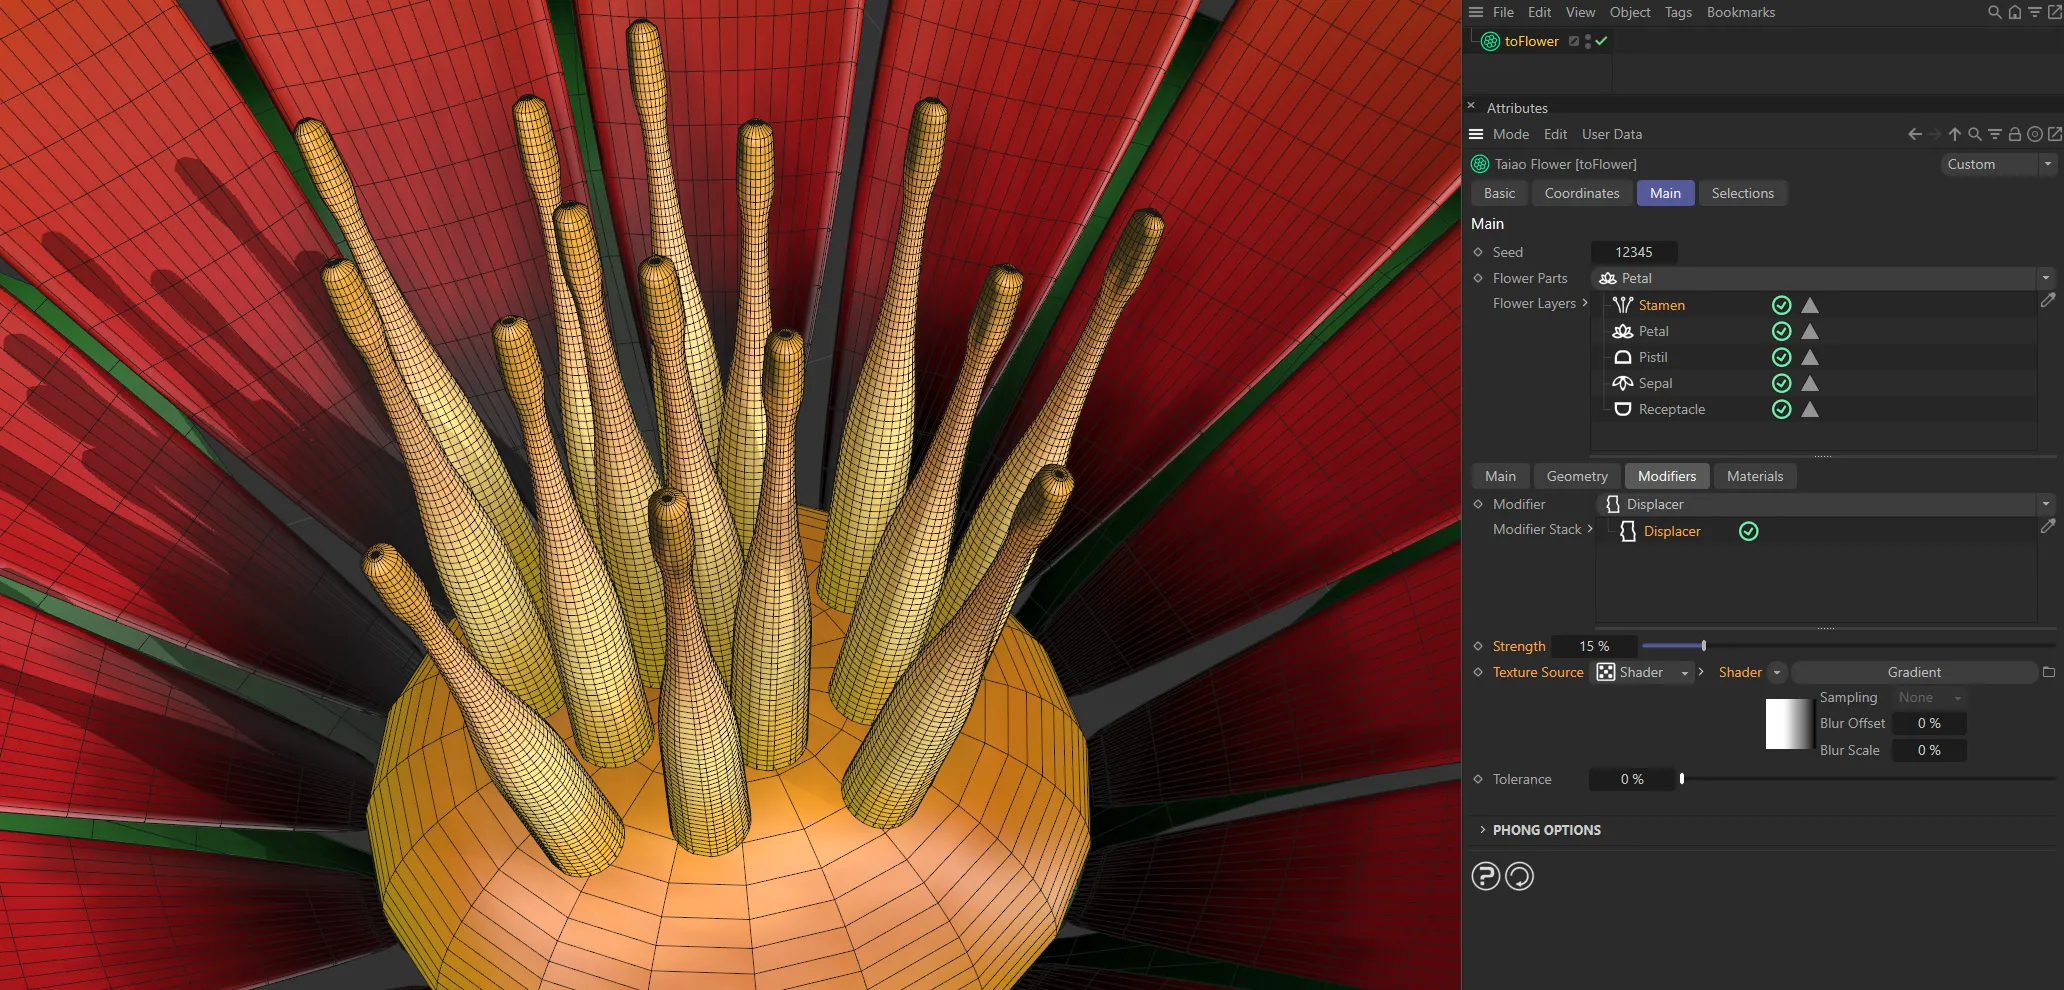
In this second image, the Gradient shader is inverted, giving the opposite result.
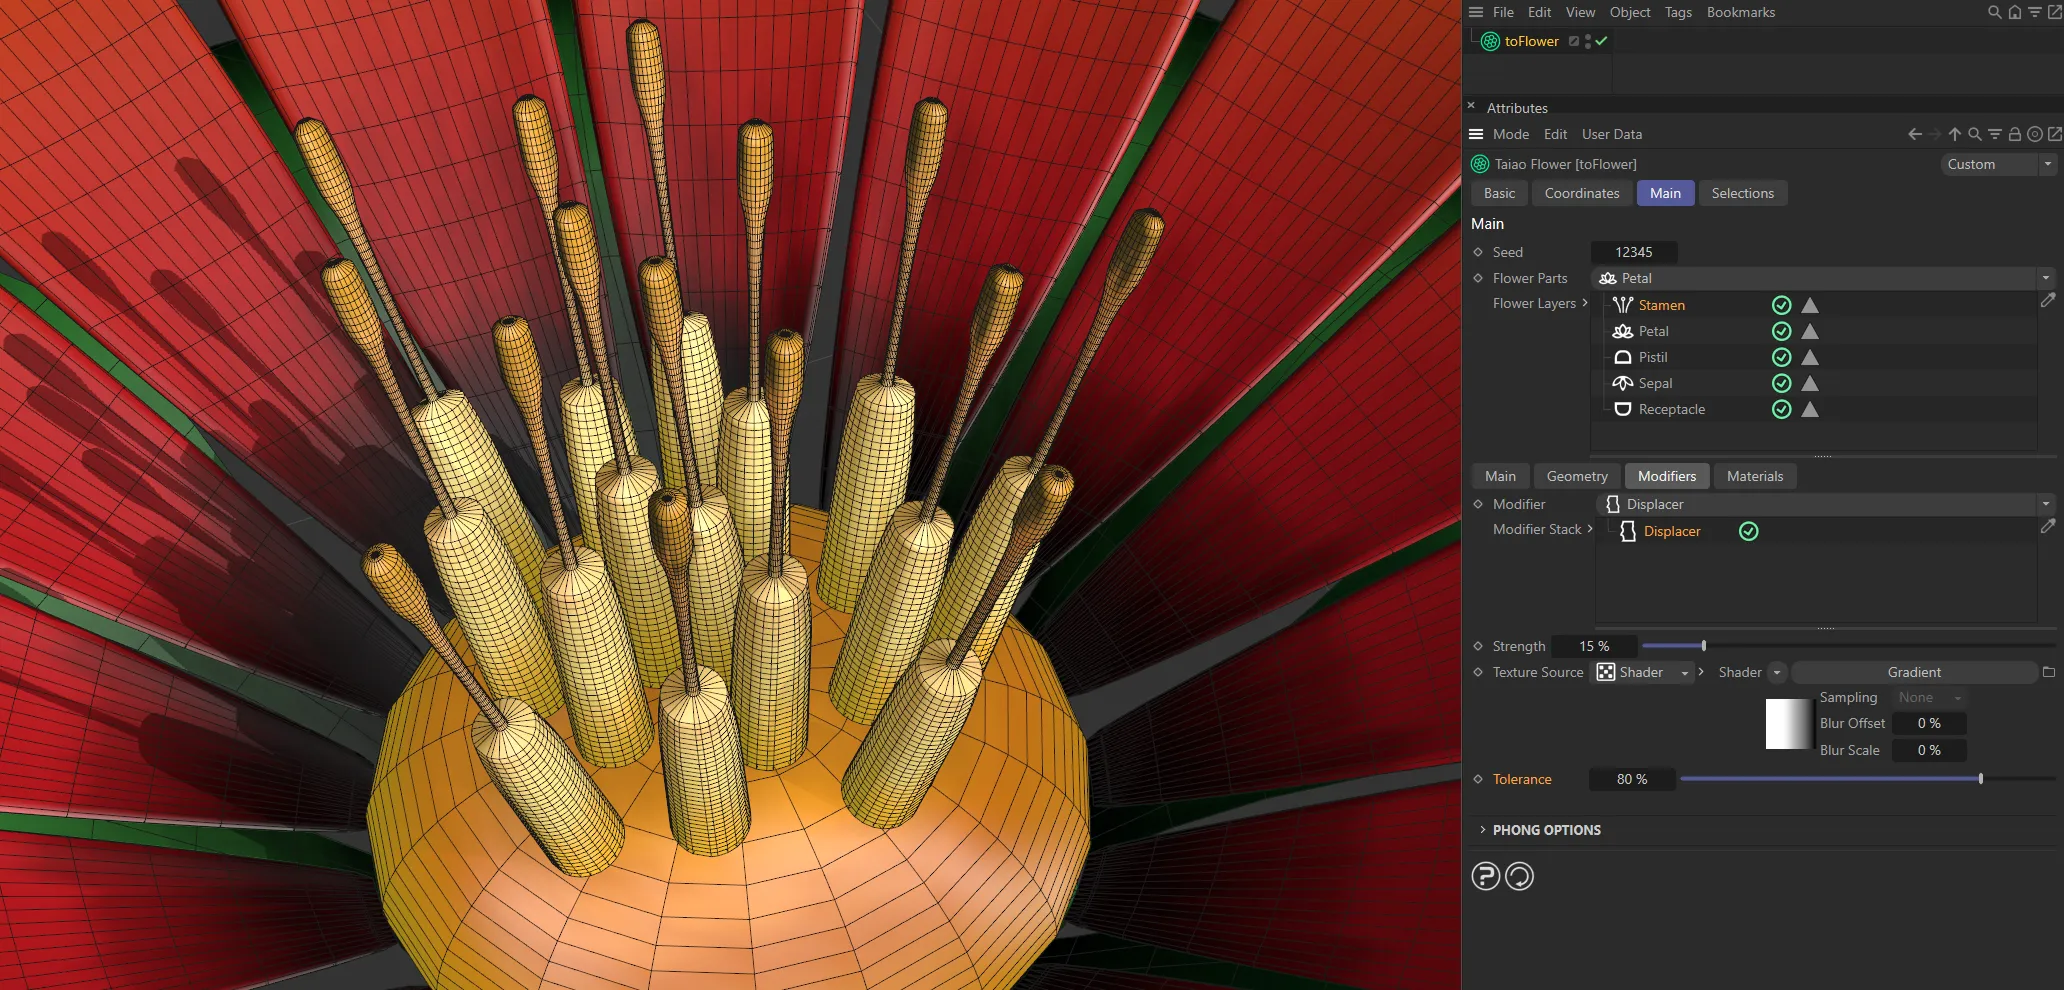
With the Tolerance at 80% here, only the lower half of the stamen receives the same displacement as shown in the second image above.
Texture
Section titled “Texture”This mode requires a Cinema 4D material.
Place the material on the layer and you will see a texture tag appear alongside it in the Objects Manager.
Drag this texture tag into the Texture link field.
Texture
Section titled “Texture”Drag and drop the texture tag, you wish to reference, into this field.
Channel
Section titled “Channel”Use the Channel pull-down to select which material channel you wish to reference.
This is set to Color, by default.
Tolerance
Section titled “Tolerance”Use the Tolerance slider to adjust..
Copyright © 2026 INSYDIUM LTD. All rights reserved.