Receptacle
Clicking on Receptacle in the Flower Parts drop-down menu will add it to the Flower Layers list.
When Receptacle is highlighted in this list, the following attributes will all be accessible.
Main tab
Section titled “Main tab”Position
Section titled “Position”The position can be offset, up or down, using the slider.
Subdivisions
Section titled “Subdivisions”This will add subdivisions to the geometry.
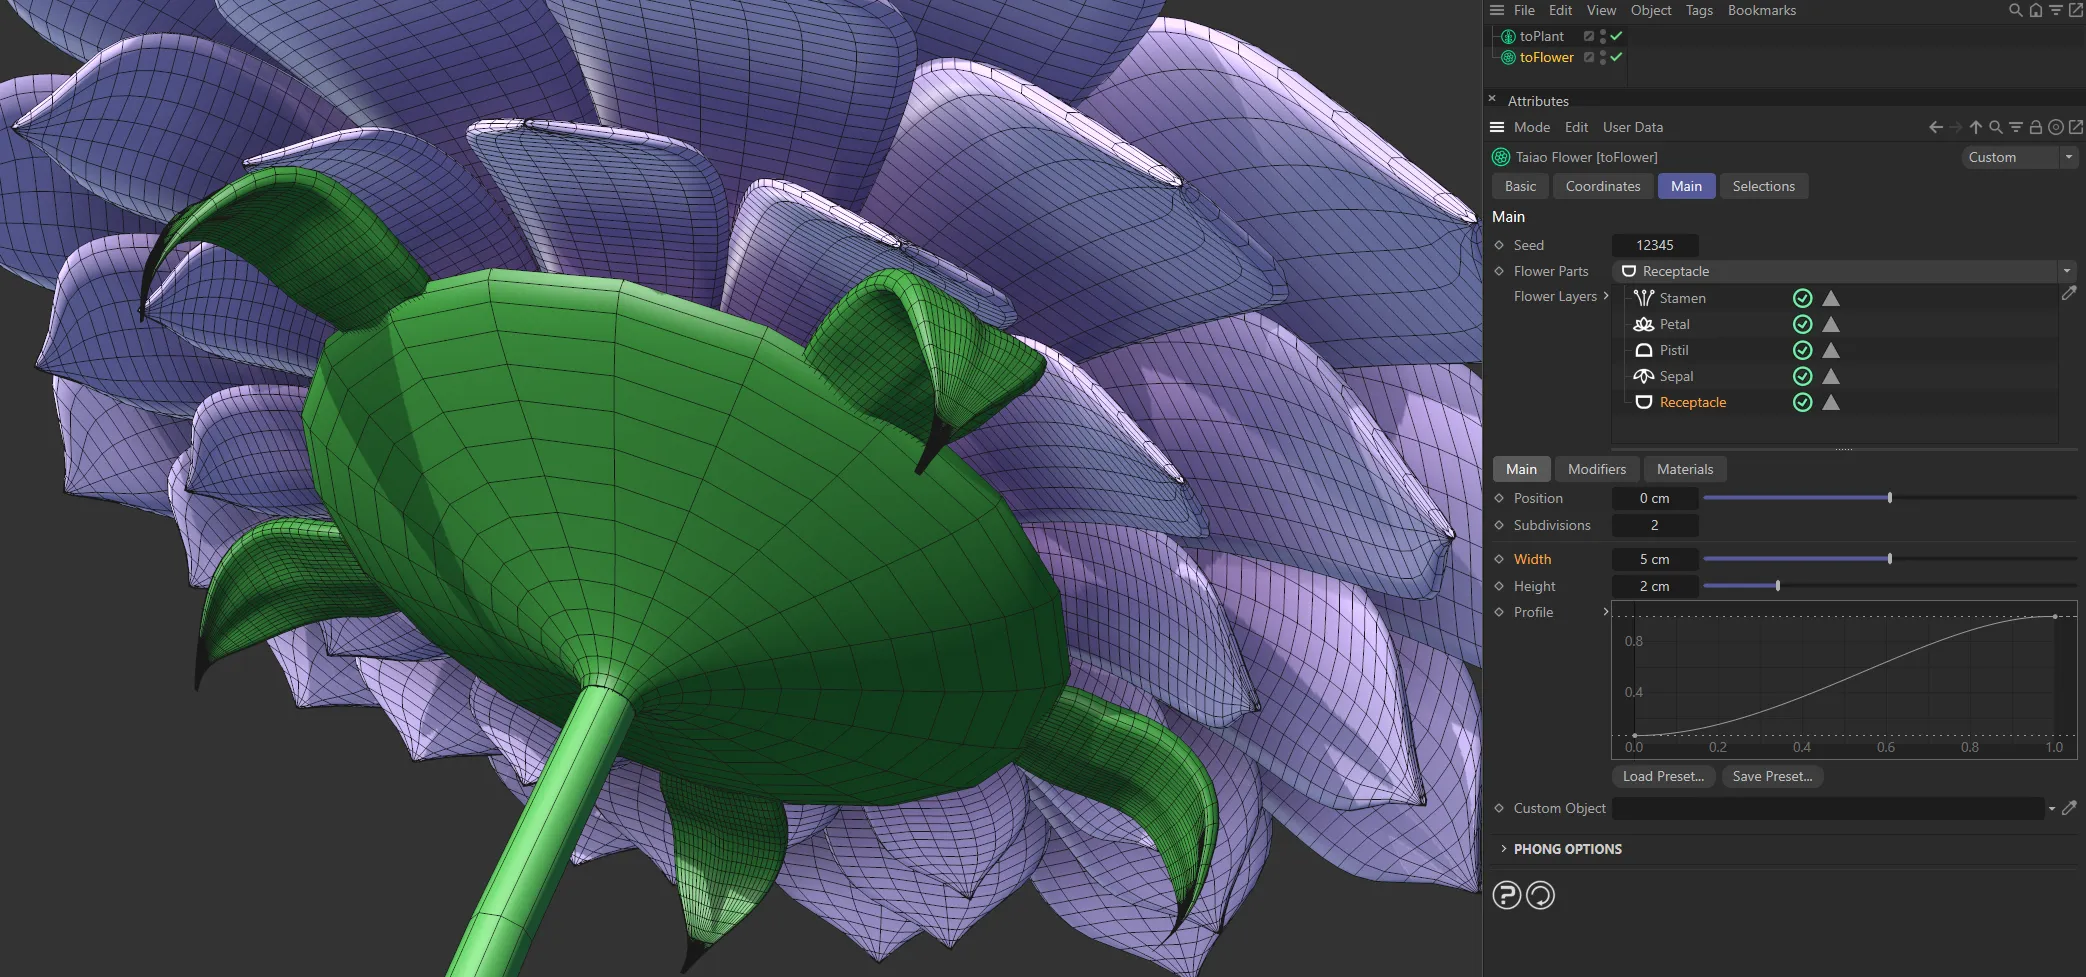
Increases the width of the receptacle.

Receptacle Width set at 2.4cm
Width raised to 5cm.
Height
Section titled “Height”Increases or decreases the height of the receptacle.
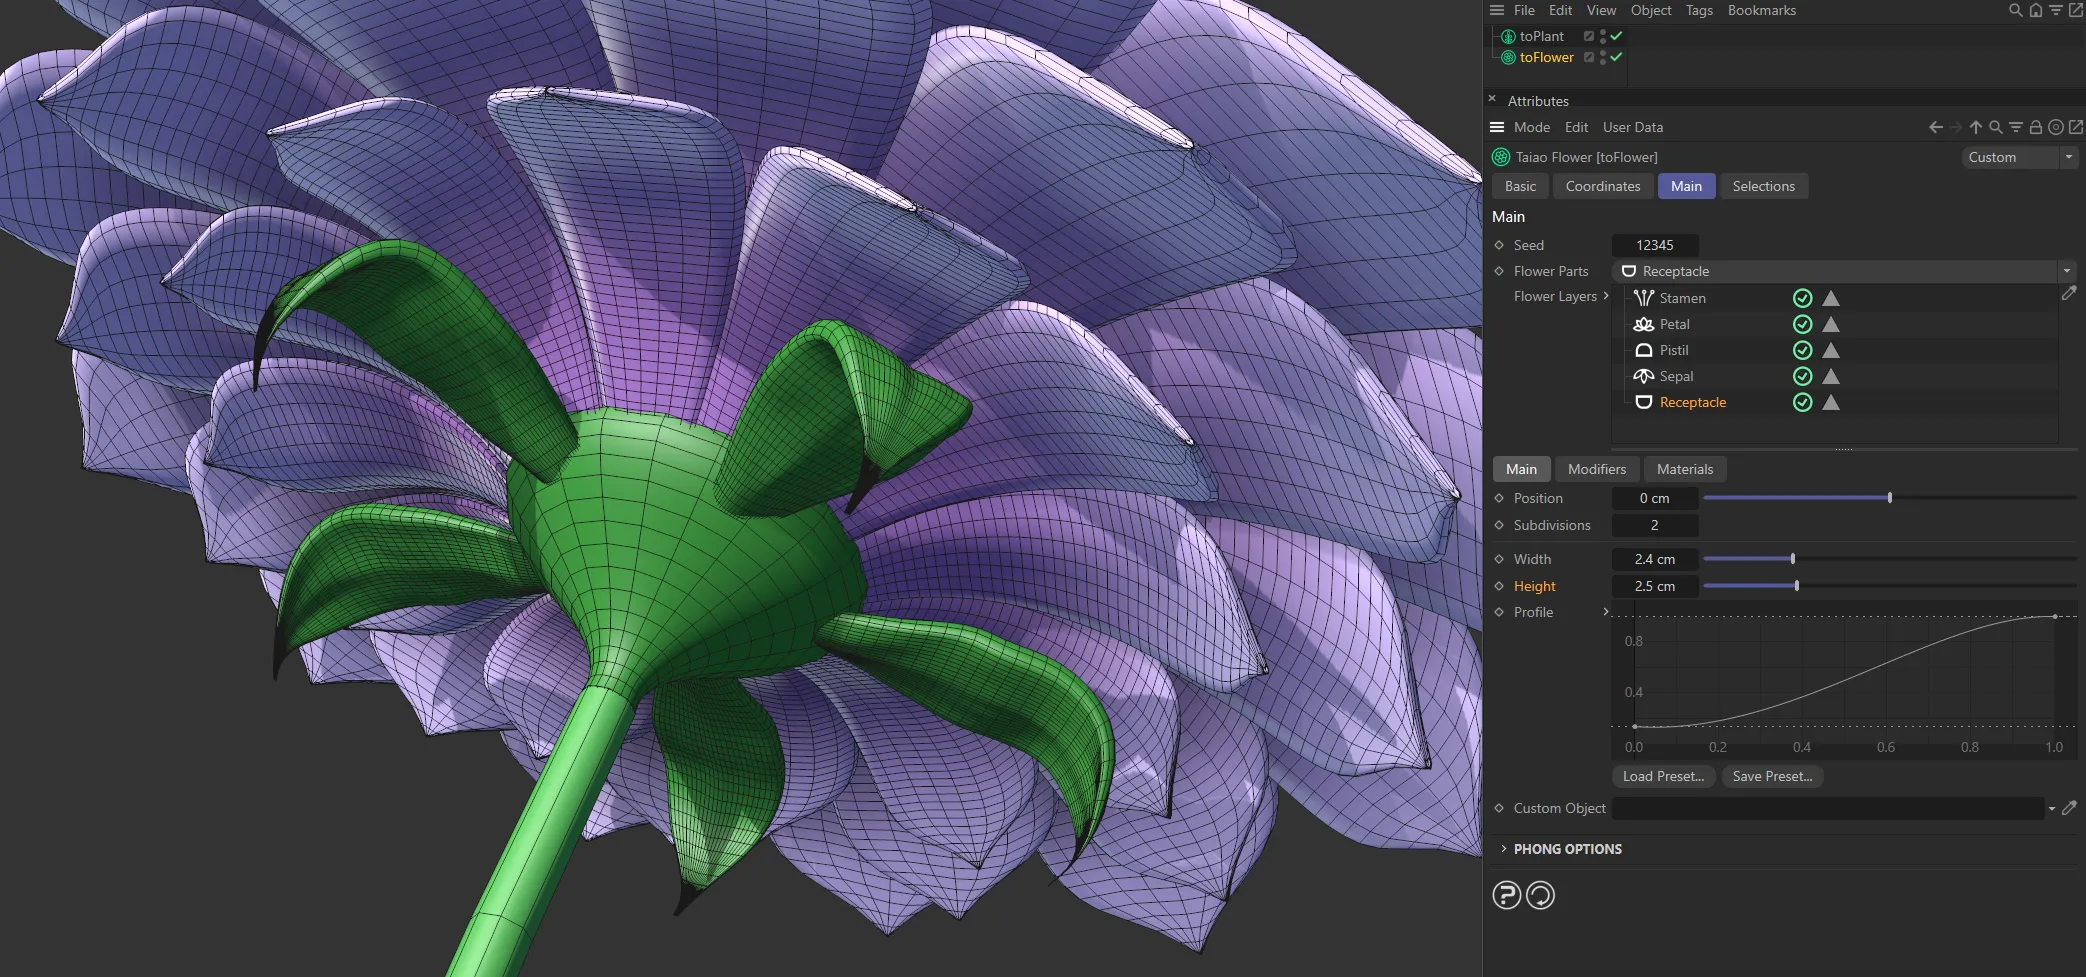
Height set at 2.5cm.
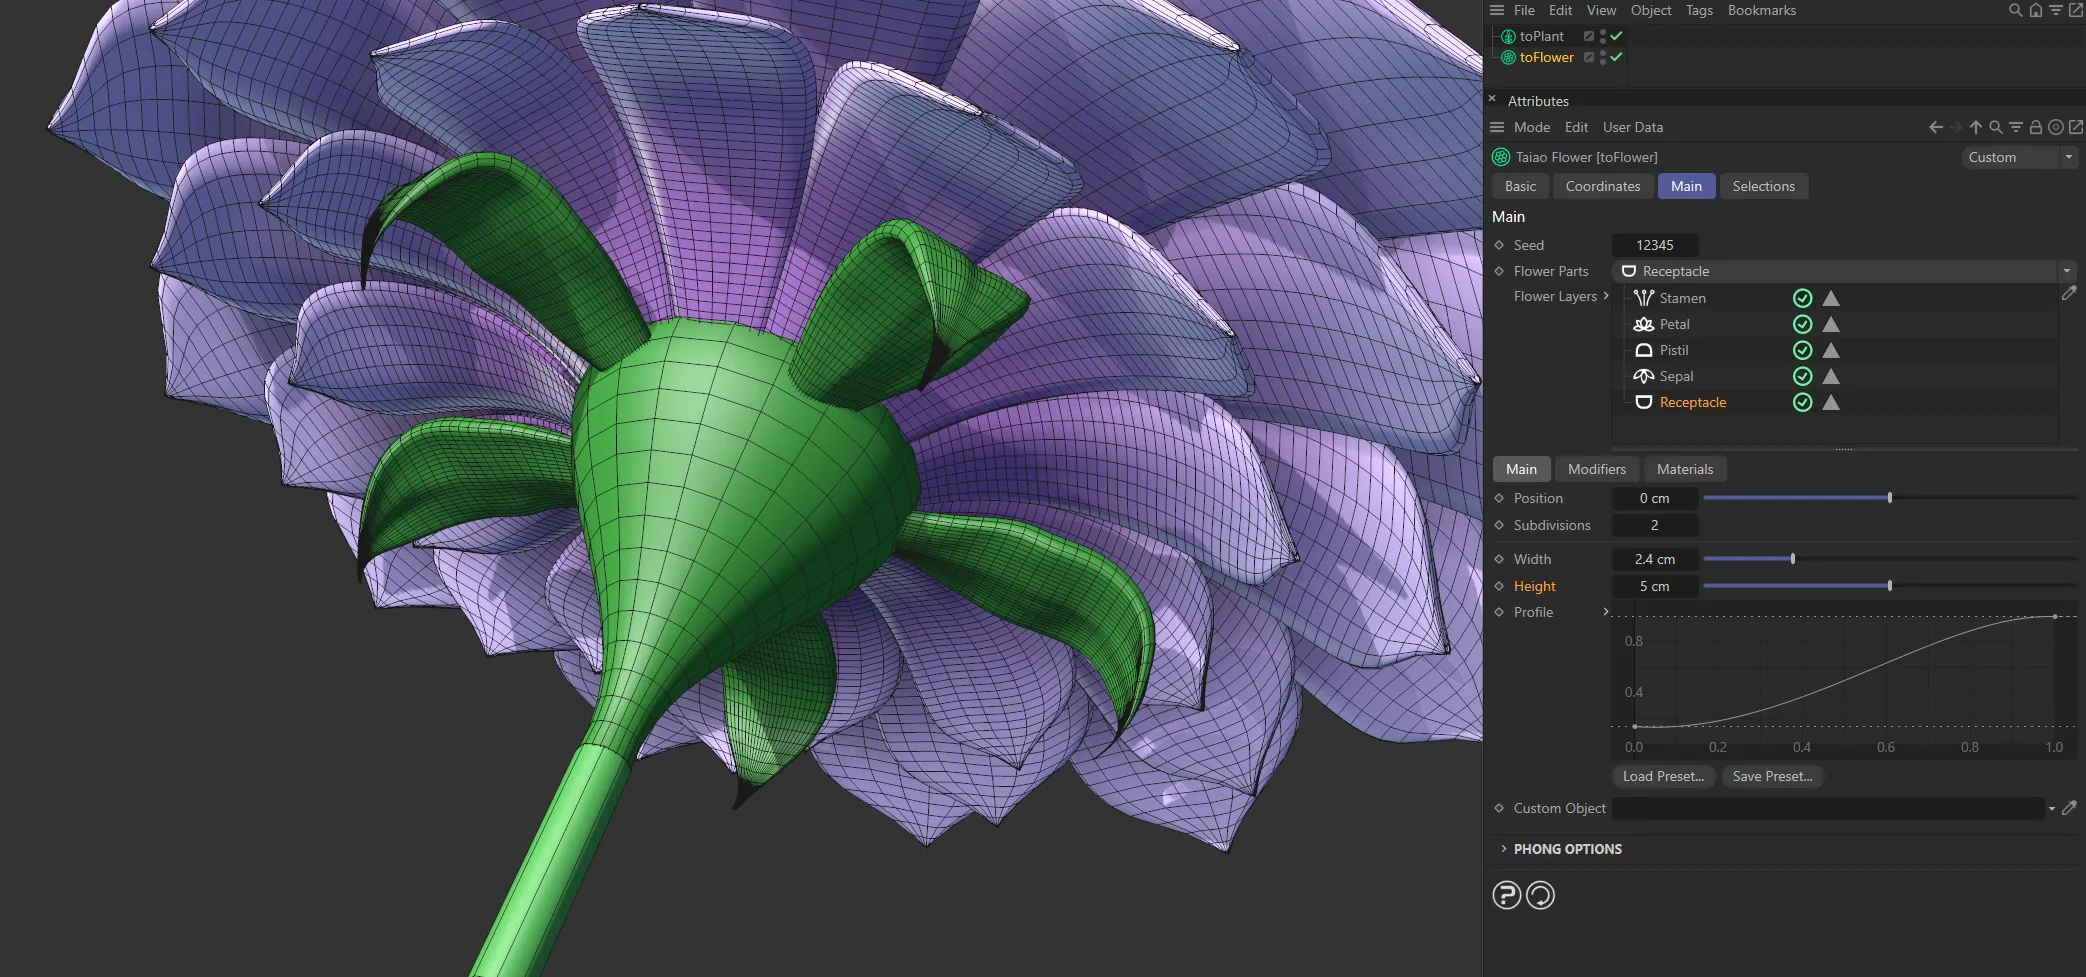
In this second image, the receptacle Height is raised to 5cm
Profile
Section titled “Profile”Adjusts the profile of the receptacle, to shape as you wish.
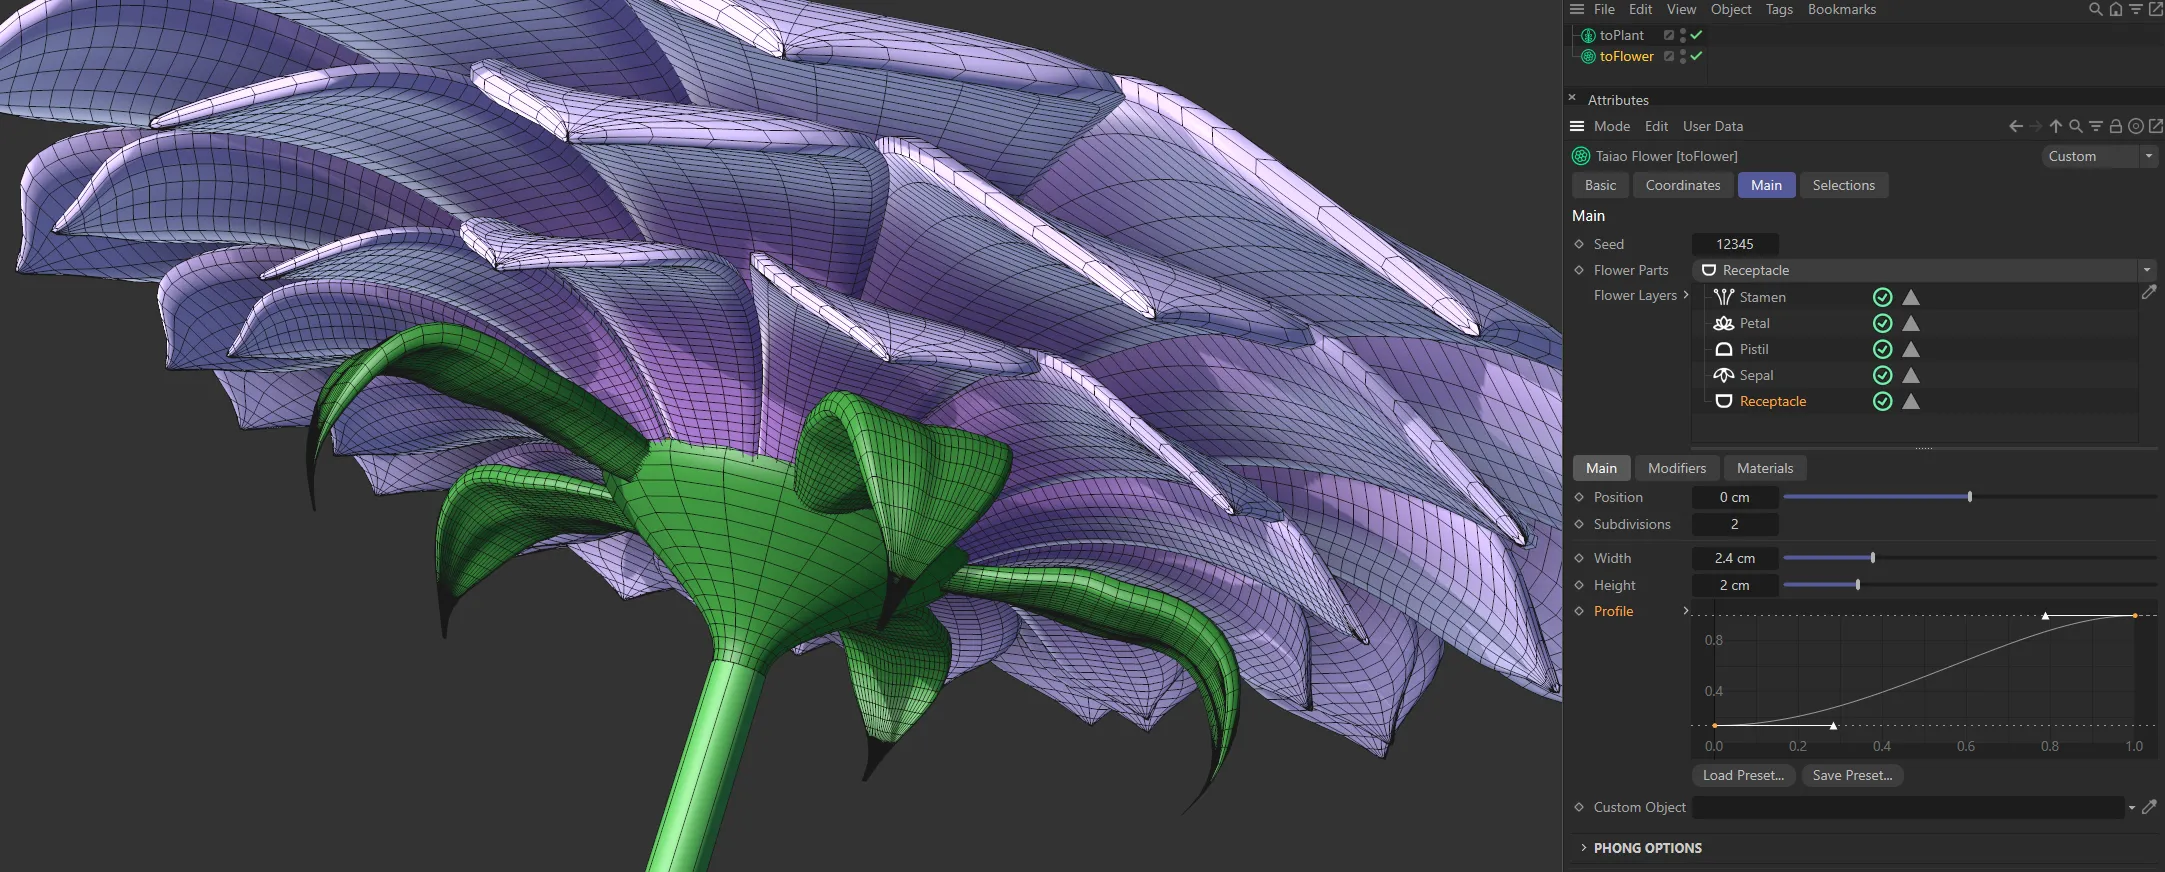
In this image, the shape of the receptacle is being driven by the rising Profile spline.
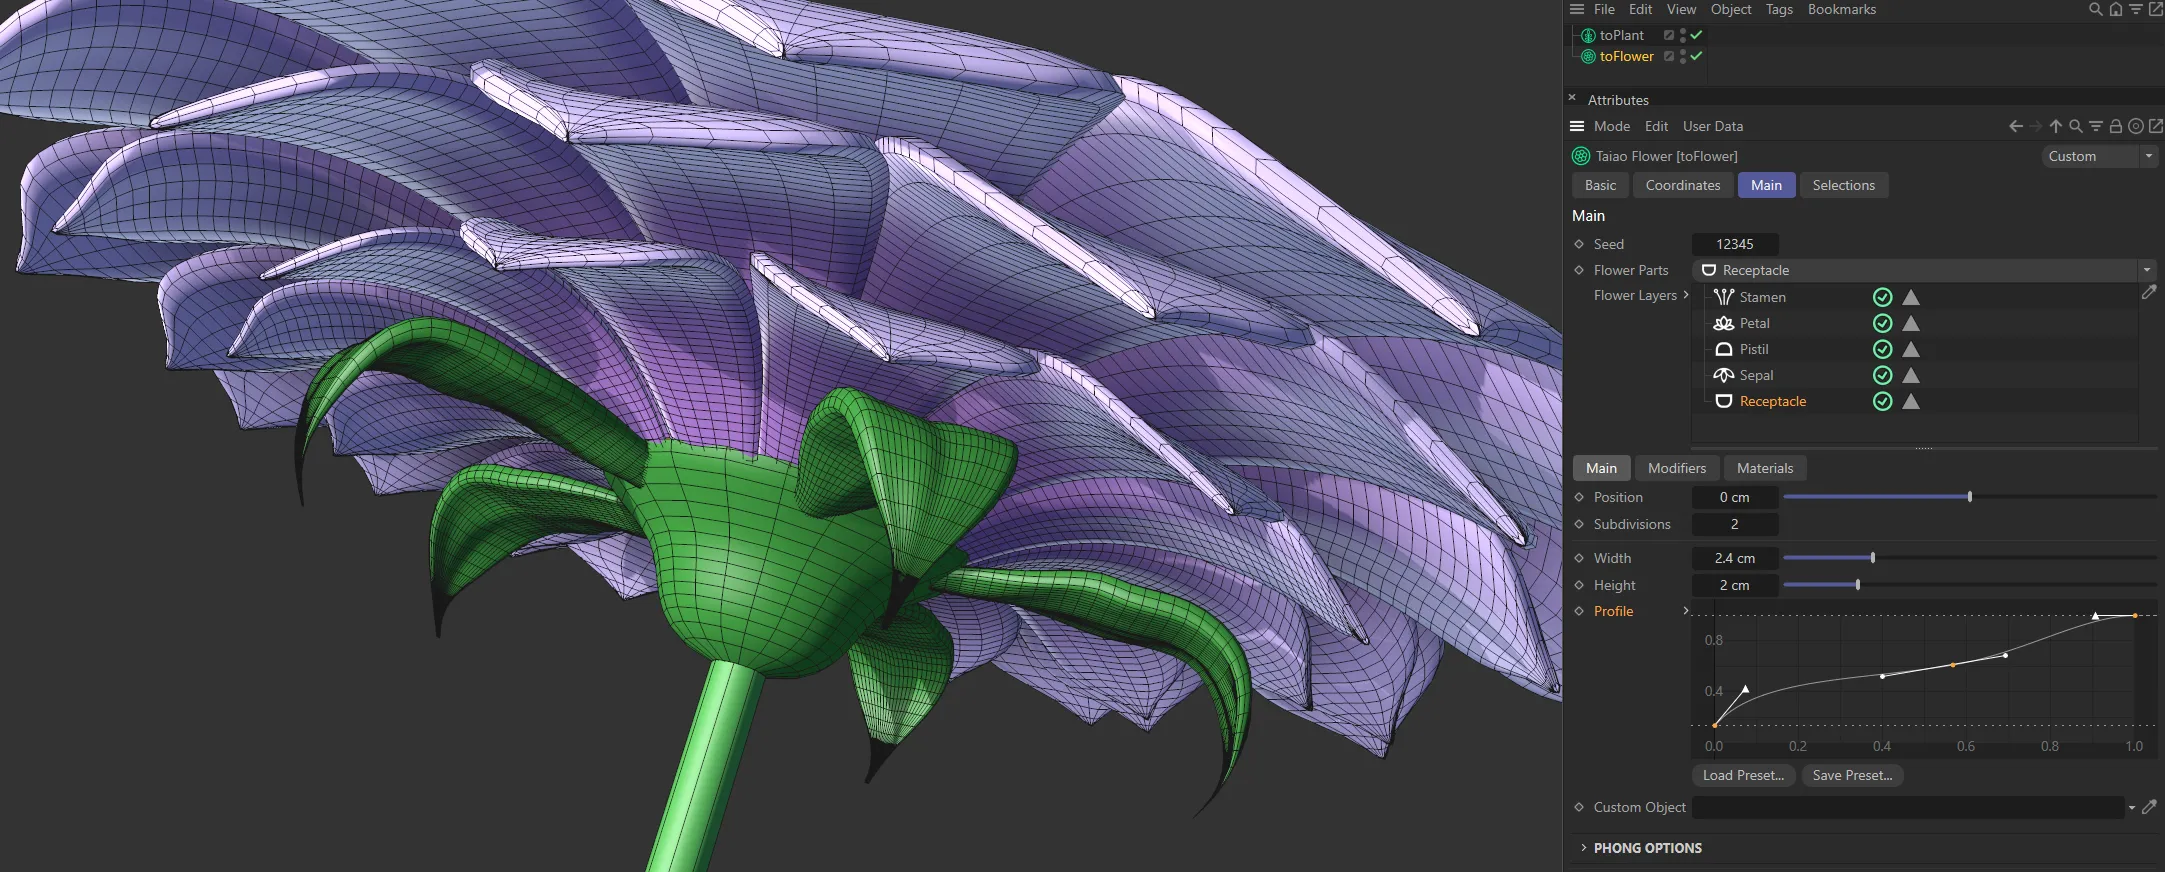
This Profile curve has a knot added, with a small plateau, on the way up, altering the receptacle’s shape.
Custom Object
Section titled “Custom Object”You can import custom objects, by simply dragging them into the Custom Object link field, then alter the different settings, as desired.

Here, a Capsule parametric object is being used, dropped into the Custom Object field, for the toFlower receptacle shape.
Phong Options
Section titled “Phong Options”These options allow you to adjust the smooth shading between neighboring polygons.
Smooth shading can be applied across all polygons, or it can be restricted using the Angle Limit and Phong Angle settings. **
Angle Limit
Section titled “Angle Limit”When activated, this will use the Phong Angle value to **restrict where smoothing occurs. **
Phong Angle
Section titled “Phong Angle”You can change this to set the angle limit, up until which the neighboring surfaces will be smoothed.
Modifiers tab
Section titled “Modifiers tab”These settings give you the ability to deform and twist your receptacle.
Modifier
Section titled “Modifier”The only available Modifier type available for the Receptacle layer is Displacer.
This comes with its own parameter settings.
Modifier Stack
Section titled “Modifier Stack”The hierarchical list of modifiers affecting your plant layer.
This is still available as more than one Displacer modifier can be added.
Displacer modifier
Section titled “Displacer modifier”This modifier lets you bring in a Shader or a Texture to shape the pistil.
Selecting this modifier will give you the usual additional options (explained more fully in the Stamen layer page) to be able to import your Shader or Texture into the scene, including parameters for Channel and Tolerance settings.
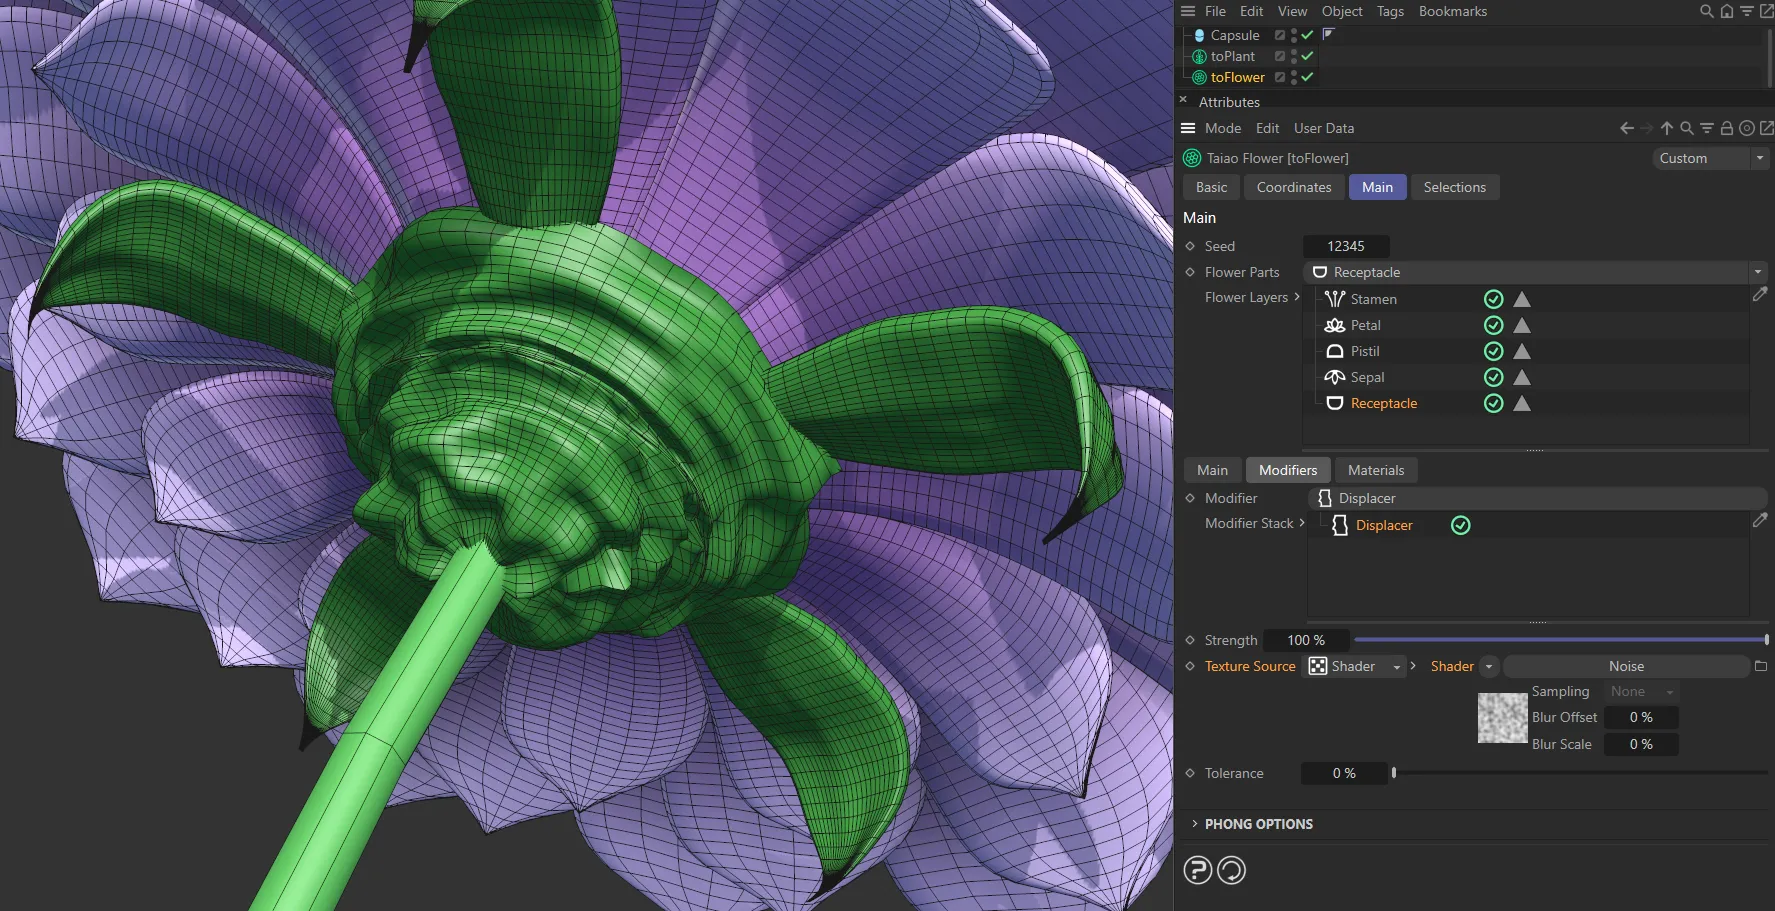
With the Texture Source set as Shader, a Noise shader is displacing the appearance of this pistil.
Copyright © 2026 INSYDIUM LTD. All rights reserved.