jdAniMate
jdAniMate is a tool for translating the PSR of a model and interpolating them between start and endpoints.
Overview Video
Section titled “Overview Video”jdAnimate translating a Cube between two points.
When used to animate an object with other objects inside it (the object hierarchy), jdAniMate provides an easy way to disperse the separate components and animate them together.
The components of object hierarchies will move and animate in world space, as if unaffected by the transformations of the parent.
In this animation, a Cloner in the Objects field is translating cloned Cubes.
The main function of jdAniMate is achieved by defining a start and end point.
First, an object is added to the Objects list.
Then the user sets the start and end positions using the buttons below.
When the timeline is played, the object will use the timing spline to interpolate from the start point to the end point.
Object tab
Section titled “Object tab”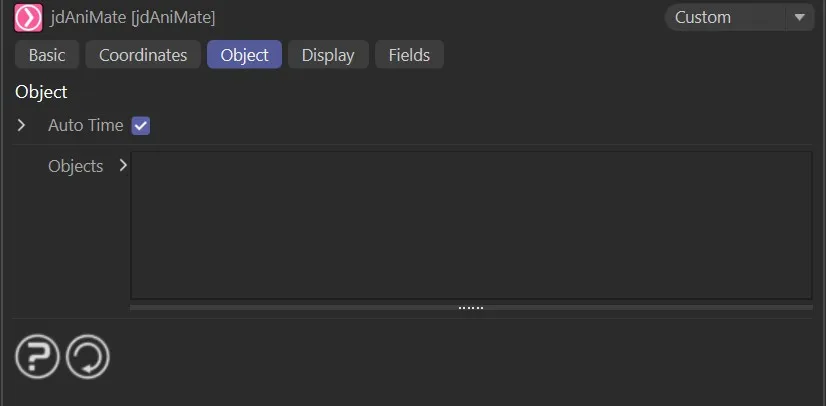
jdAniMate, Object tab start-up menu settings.
Auto Time
Section titled “Auto Time”When checked, jdAniMate will automatically use the entire timeline for the animation.
When disabled, by clicking the small black arrow, the user can access and use the Start Time and End Time parameters to manually set the timeline.
Start Time, End Time
Section titled “Start Time, End Time”Optionally set a start and end time for the animation to run.
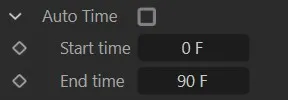
Auto Time and manual Start time and End time options.
Objects
Section titled “Objects”Drag objects into this list to add them to the animation.
Each object in the list will have its own start and end point that will need to be set.
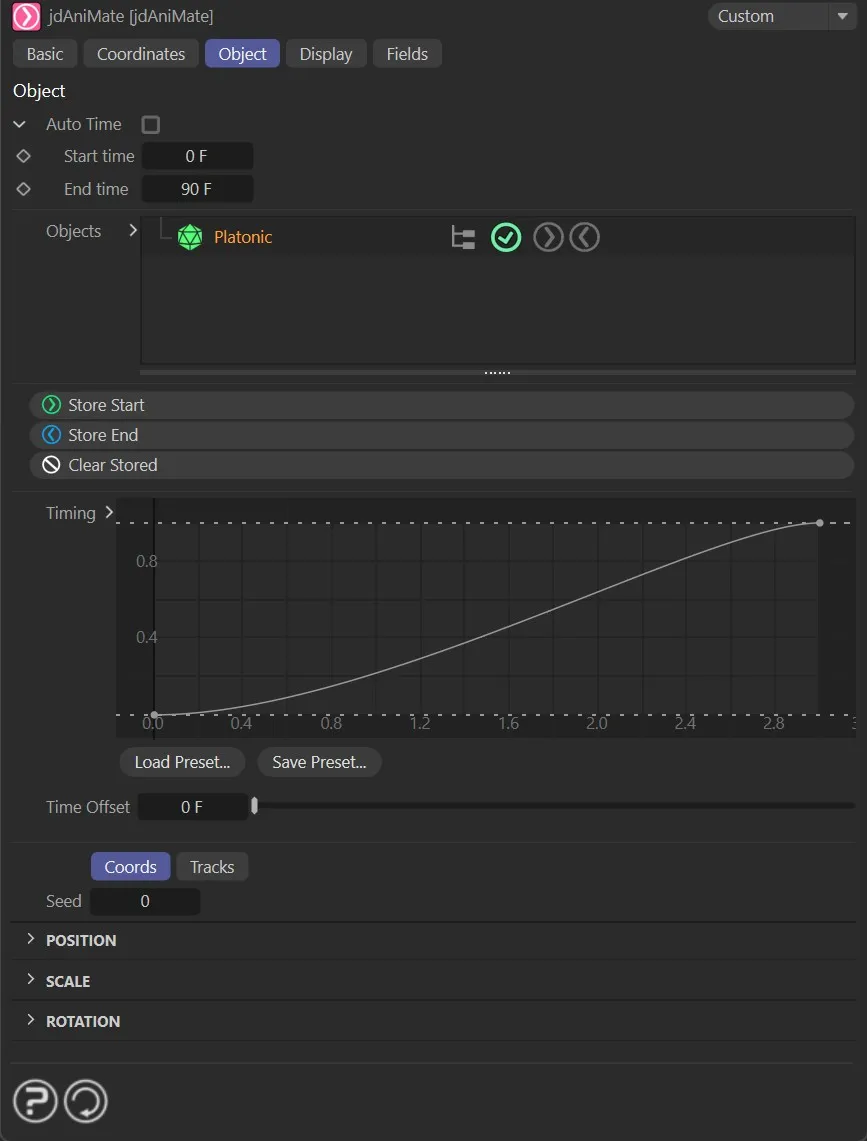
jdAniMate, Object tab with a Platonic dropped into the Objects list.
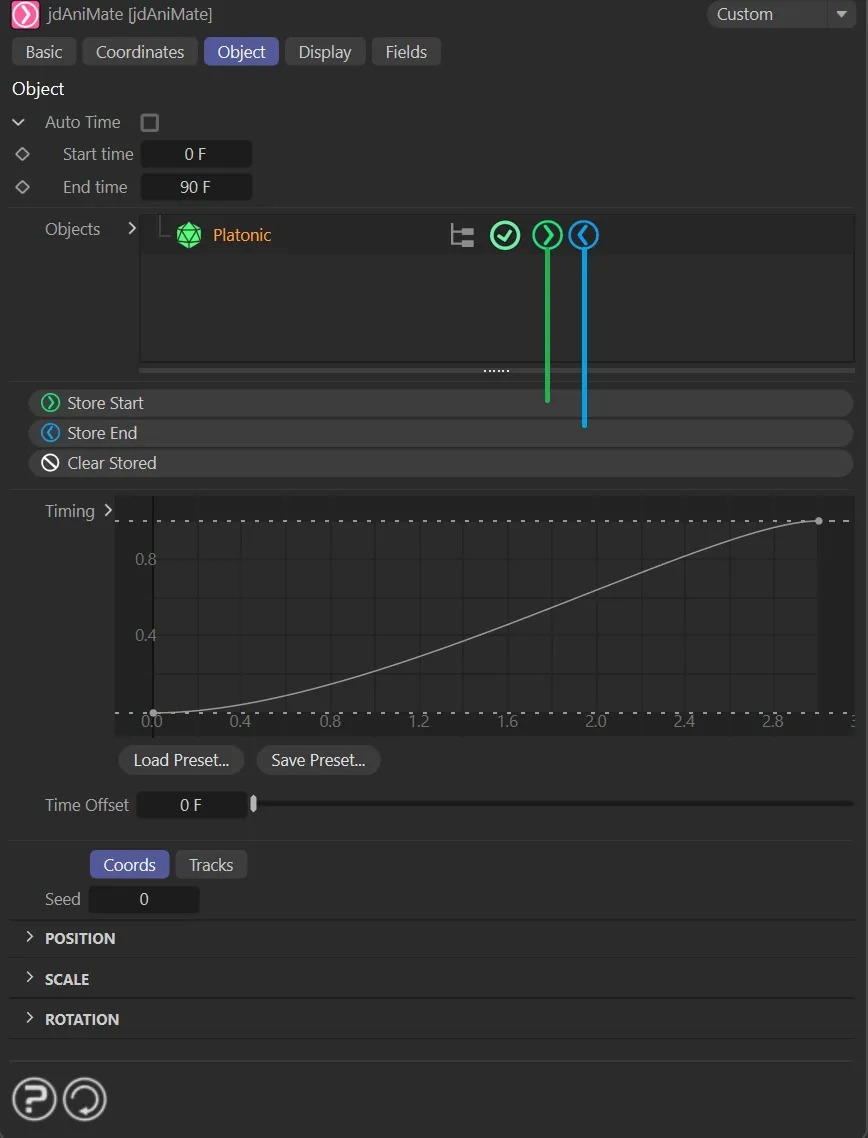
The Store Start and Store End icons are highlighted in this image.
Store Start
Section titled “Store Start”Stores the current position of the object as the starting point for the animation.
When this is activated, the green Store Start icon (above image) will light up.
Store End
Section titled “Store End”Stores the current position of the object as the ending point for the animation.
When this is activated, the blue Store End icon (above image) will light up.
Clear Stored
Section titled “Clear Stored”Clears the stored data and returns the object to the position it was in when it was added to the list.
The Store Start and Store End icons can be enabled and disabled by clicking on them directly, giving the ability to change the stored data at any time.
Timing
Section titled “Timing”Sets a spline to dictate how the object will move from start to end over time.
The X axis is the timeline (in seconds) and the Y axis is from start to end, where the start is 0 (zero) and the end is 1.
This animation demonstrates the translation set by the custom Timing spline.
Clicking on the small black arrow, next to the Timing parameter, will open up additional options.
Point X, Point Y, Lock X, Lock Y
Section titled “Point X, Point Y, Lock X, Lock Y”When a point on the spline is highlighted, these display the X and Y points on the spline.
Click either of the two lock options to lock the point in place on that axis.
Interpolation
Section titled “Interpolation”The interpolation spline allows adjustment of the timeline over the play.
X is the timeline (or specified time, if not on auto-time) and Y is the animation progress itself.
The selection is Spline, by default, but can be changed to either Cubic or Linear.
There are additional Cinema 4D spline settings that can also be accessed here.
Time Offset
Section titled “Time Offset”For object hierarchies, this can be used to delay each child object by the given amount, creating a staggered effect.
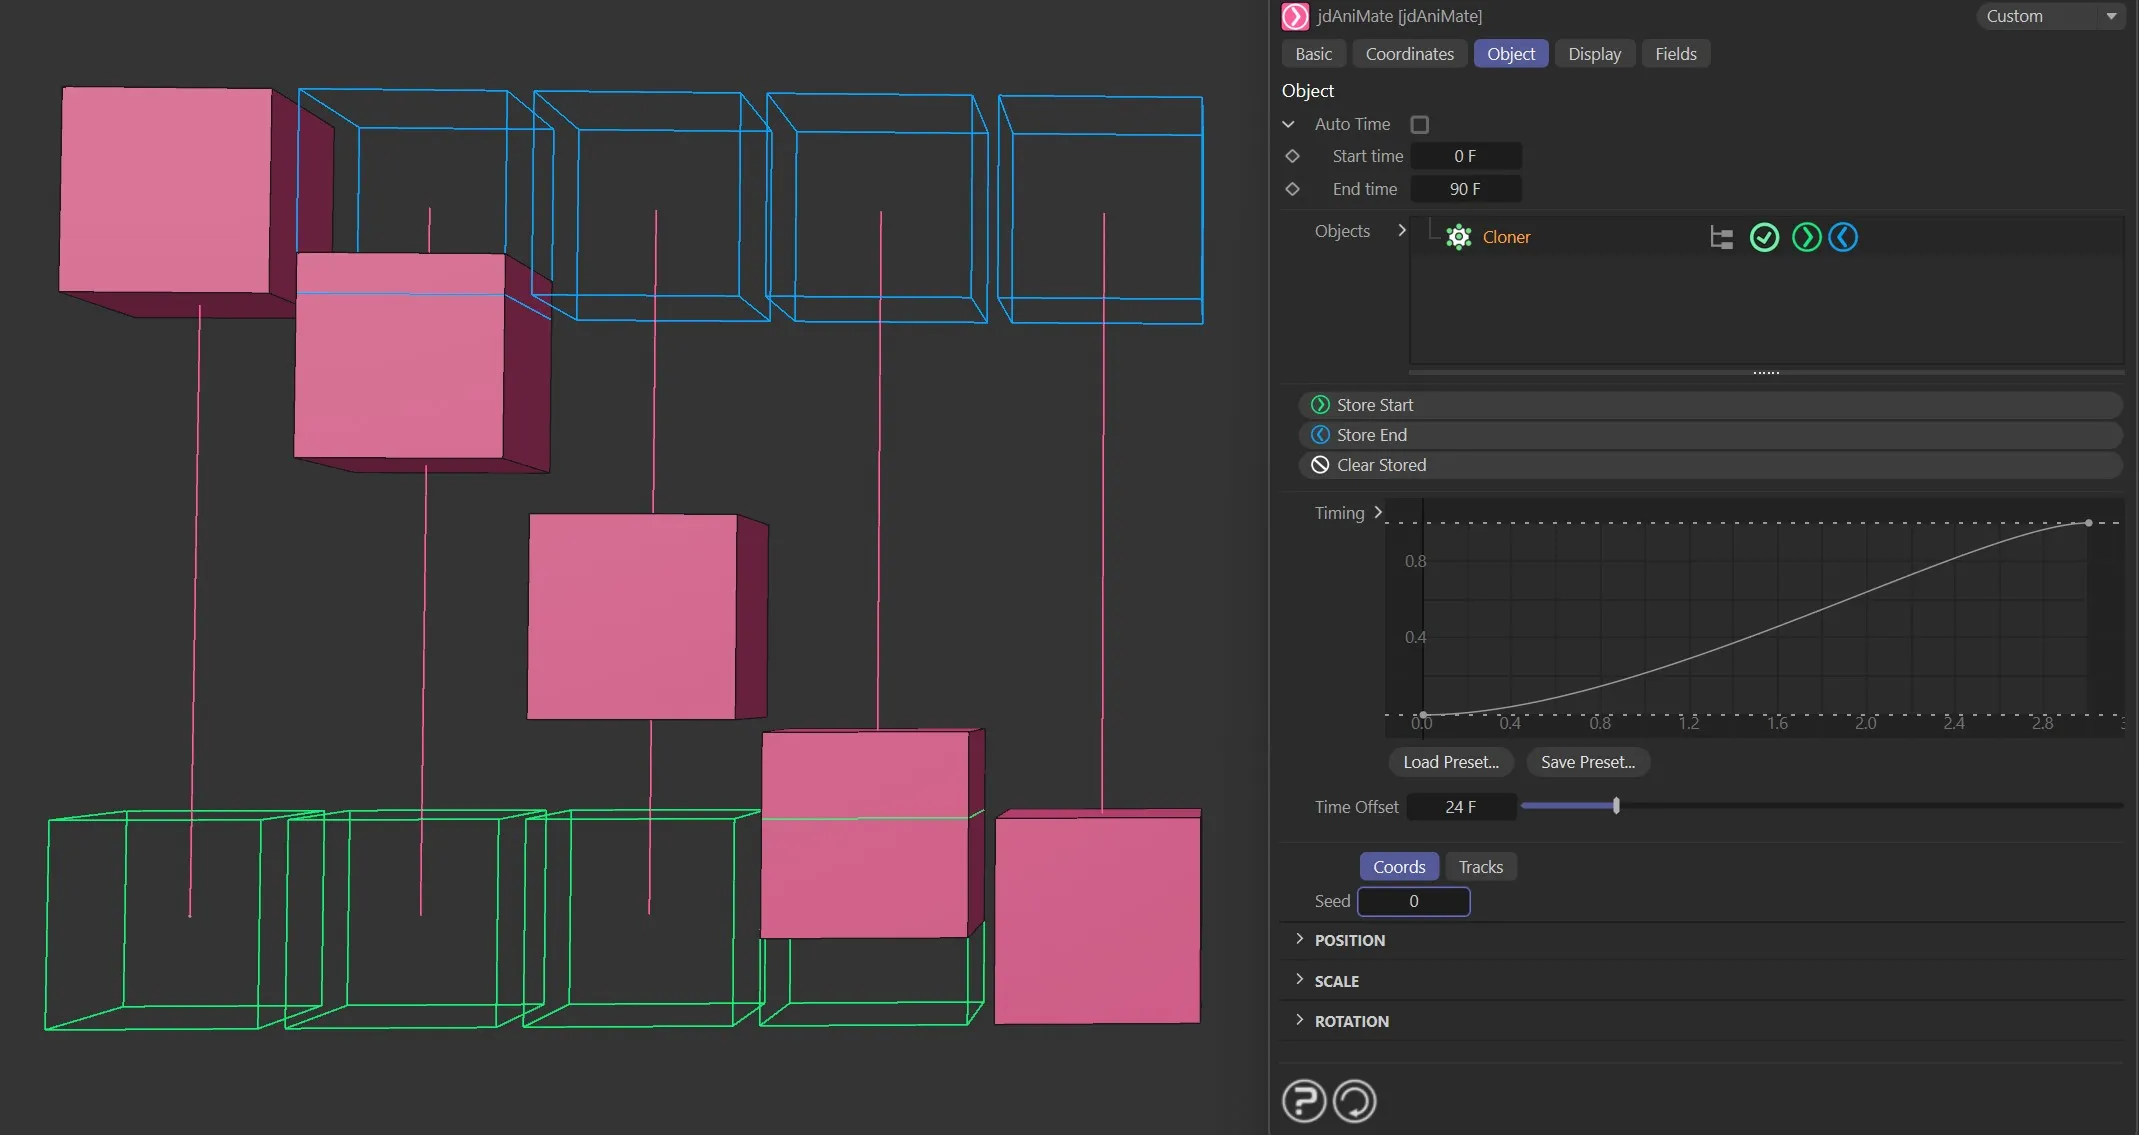
Here, a Time Offset of 0.5 seconds creates this transformation, in conjunction with the cloned Cubes.
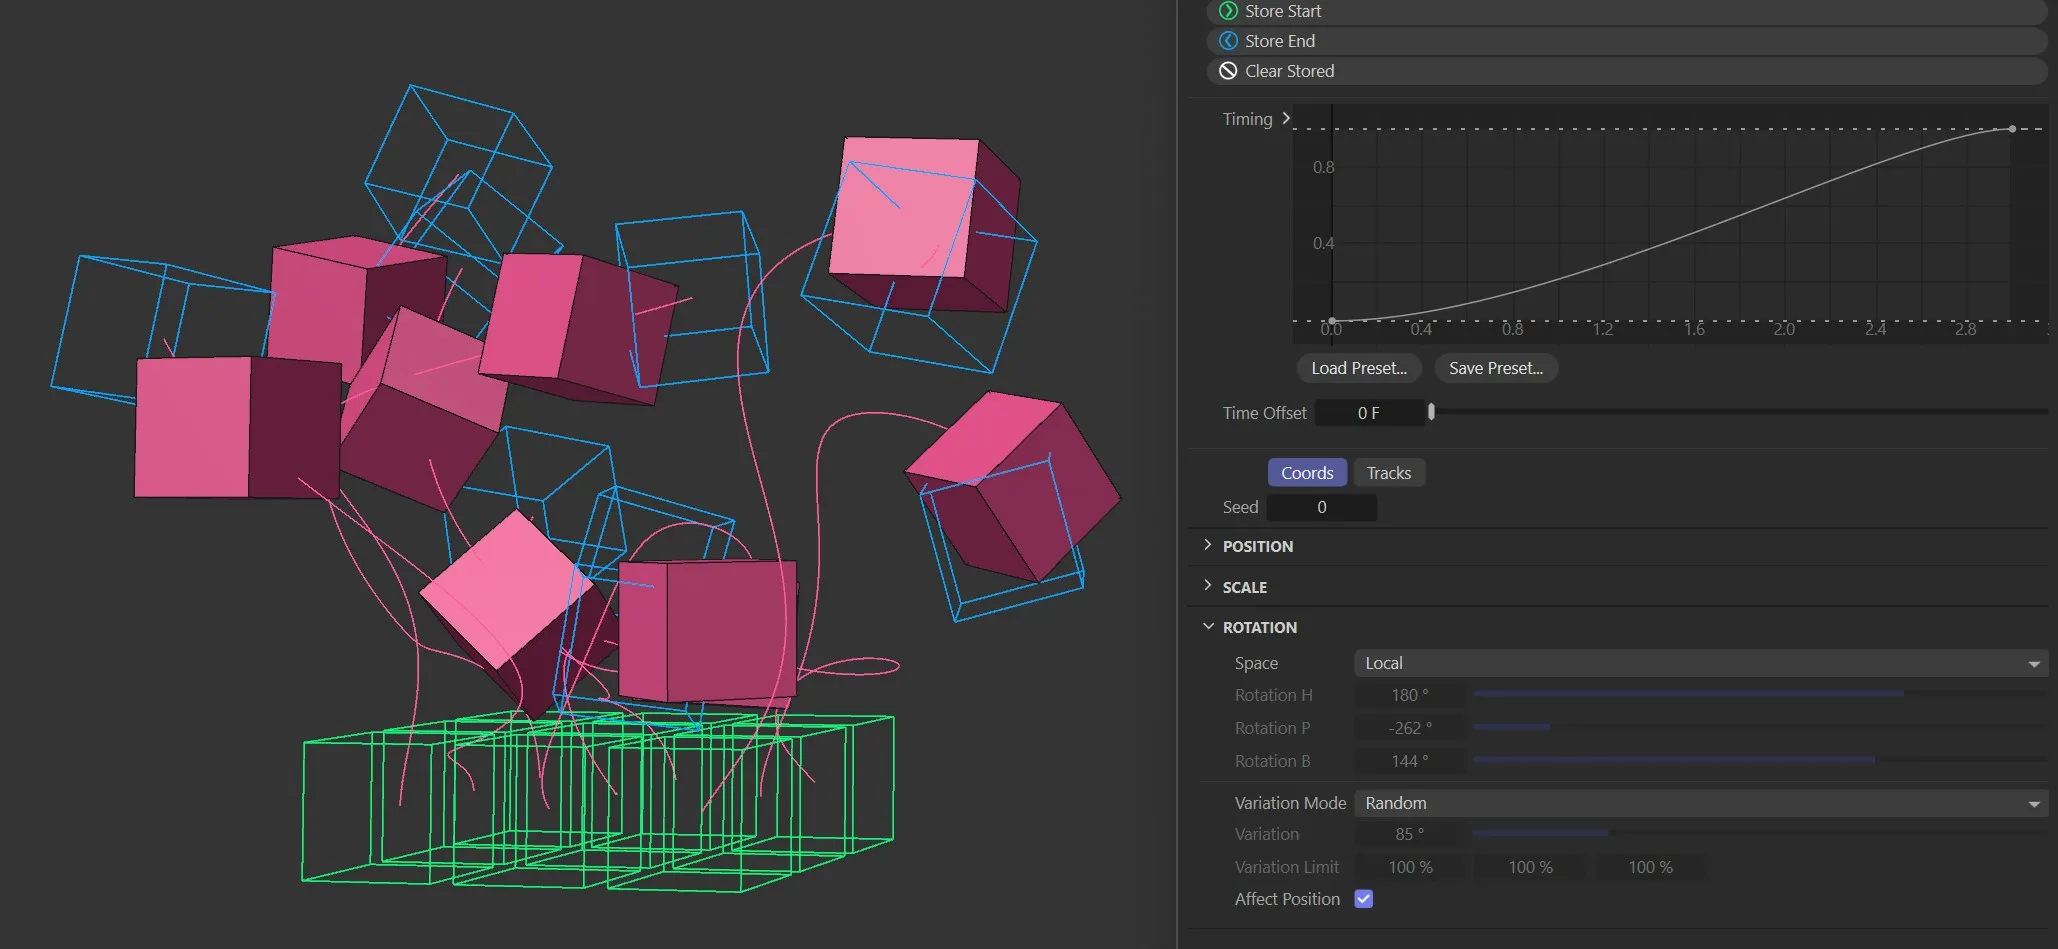
Coords tab
Section titled “Coords tab”The following controls allow the user to set specific values quickly and easily.
These can only be adjusted before the object’s start and end points are set and one of the Store Start or Store End buttons needs to be pressed in order to save these settings.
There is also the option to add variation to object hierarchies.
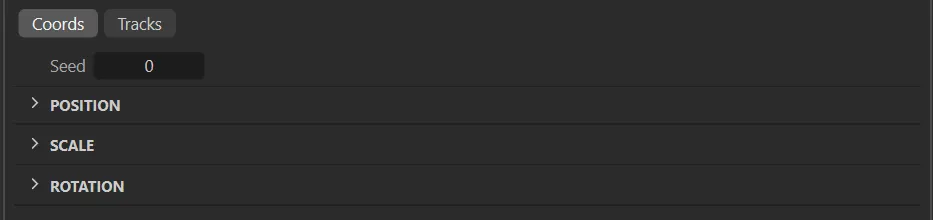
Coords tab options.
Each setting will give a different variation of the overall animation, based on the settings.
Position
Section titled “Position”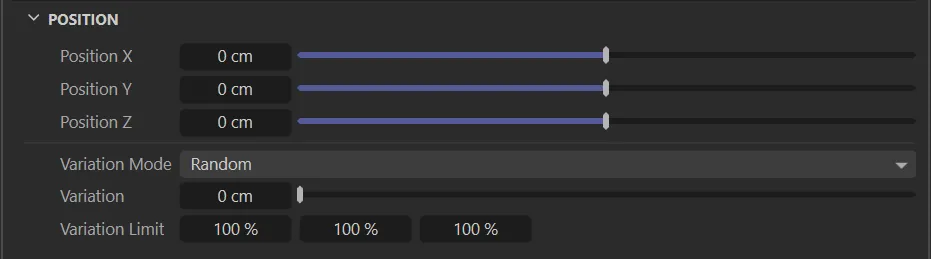
Position menu settings.
Position X/Y/Z
Section titled “Position X/Y/Z”These sliders set the position of the currently selected object from the list.
Variation Mode
Section titled “Variation Mode”Set as Random, by default, this will randomly select objects within a hierarchy or clones within a cloner.
The alternative option is Sequence.
Random
Section titled “Random”This will move the different items in the scene randomly between the start and end points saved.
Sequence
Section titled “Sequence”This setting adds some order, sequencing to the maximum variation level.
Variation
Section titled “Variation”For object hierarchies, each child object will be given a random offset from the parent’s position, based on this value.
Variation Limit
Section titled “Variation Limit”Limits the axes (in world space) in which the position variation can occur, e.g. setting Y to 0 (zero) % will disperse object hierarchies on the XZ plane.
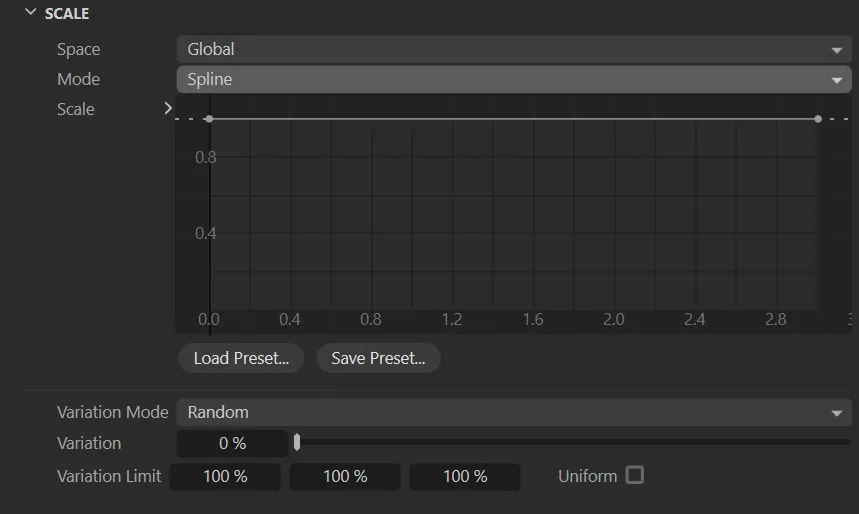
Scale menu settings.
This will let you choose between the objects Global (World) or Local (Object) space.
This allows you to choose how the scale is applied.
The options are Spline and Relative.
Spline
Section titled “Spline”All dimensions of the object are scaled equally along with this spline.
Relative
Section titled “Relative”Sets the scale for the start and end positions independently (the same as how Position and Rotation work).
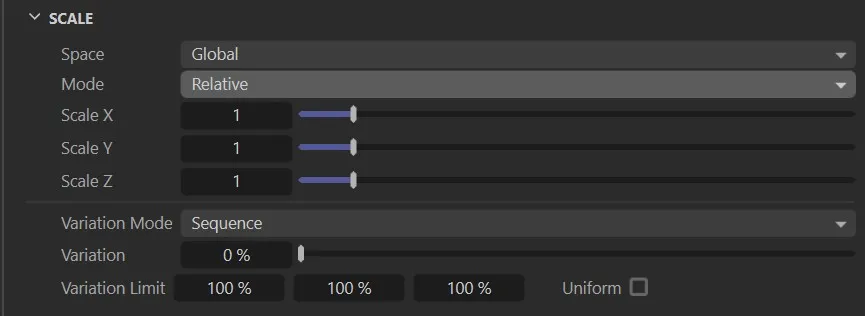
Menu settings with the Mode set to Relative.
Available when the Mode is set to Spline, this sets how the object should be scaled along the timeline.
The X-axis is the timeline in seconds, while the Y-axis is the scale.
Scale X, Scale Y, Scale Z
Section titled “Scale X, Scale Y, Scale Z”Available when the Mode is set to Relative, these sliders set the scale of the currently selected object from the list.
Variation Mode
Section titled “Variation Mode”Set as Random, by default, this will randomly select objects within a hierarchy or clones within a cloner.
The alternative option is Sequence.
Random
Section titled “Random”This will move the different items in the scene randomly between the start and end points saved.
Sequence
Section titled “Sequence”This setting adds some order, sequencing to the maximum variation level.
Variation
Section titled “Variation”For object hierarchies, each child object will be given a random variation from the parent’s scale, based on this value.
Variation Limit
Section titled “Variation Limit”Constrains the axes (in object space) in which the scale variation can occur.
Uniform
Section titled “Uniform”Enable this to apply the same variation on each axis.
When disabled, there can be three independent random numbers on three axes.
Rotation
Section titled “Rotation”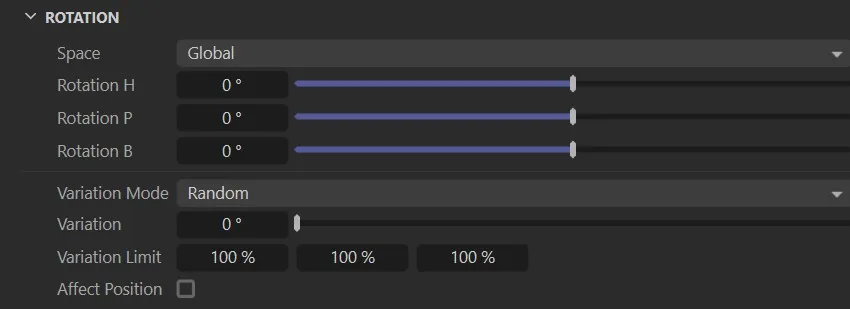
Rotation menu settings.
This will let you choose between the objects Global (World) or Local (Object) space.
Rotation H/P/B
Section titled “Rotation H/P/B”These sliders set the rotation of the currently selected object from the list.
Variation Mode
Section titled “Variation Mode”As with Position, Set as Random, by default, this will randomly select objects within a hierarchy or clones within a cloner
The alternative option, again, is Sequence.
Random
Section titled “Random”This will rotate the different items in the scene randomly between the start and end points saved.
Sequence
Section titled “Sequence”This setting adds some order, sequencing to the maximum variation level.
Variation
Section titled “Variation”For object hierarchies, each child object will be given a random offset from the parent’s rotation, based on this value.
Variation Limit
Section titled “Variation Limit”Limits the axes (in object space) in which the rotation variation can occur.
Affect Position
Section titled “Affect Position”This setting controls whether the root object’s animated rotation should influence the positions of child objects in the hierarchy.
When enabled, this relates movements of the individual items to the parent object, rather than to each other.
Affect Position Enabled.
Tracks tab
Section titled “Tracks tab”These three offset bars (Position, Scale and Rotation) allow separate timing for the stored Position, Rotation and Scale movements.
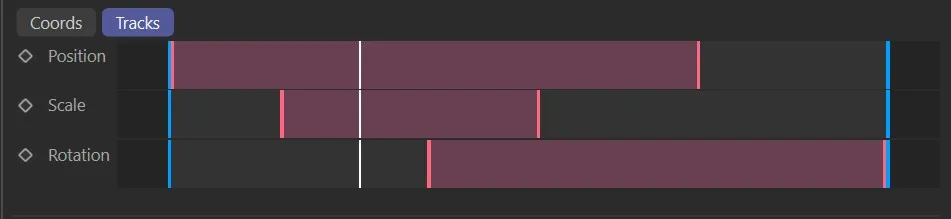
jdAniMate, Tracks tab settings.
Display tab
Section titled “Display tab”This tab allows the user to control the colors of the animation paths and start and end point highlights within the viewport, as well as turning them on or off.
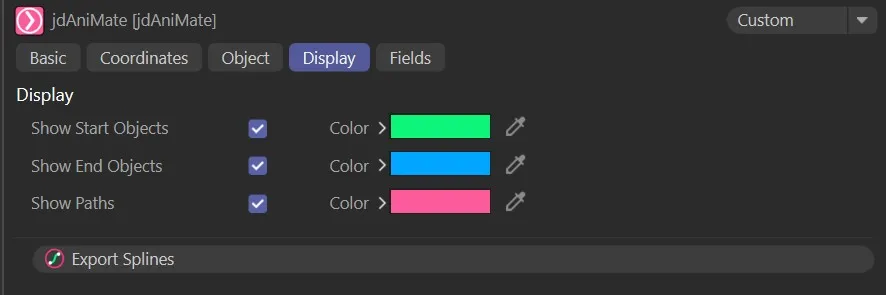
jdAniMate, Display tab menu settings.
Show Start Objects, Show End Objects, Color
Section titled “Show Start Objects, Show End Objects, Color”Enables the display of and colors for the start and end point objects.
Show Paths, Color
Section titled “Show Paths, Color”Enables display of the animation paths and sets the color.
Export Splines
Section titled “Export Splines”Clicking this button allows you to export the spline used for the pathway, for future use.
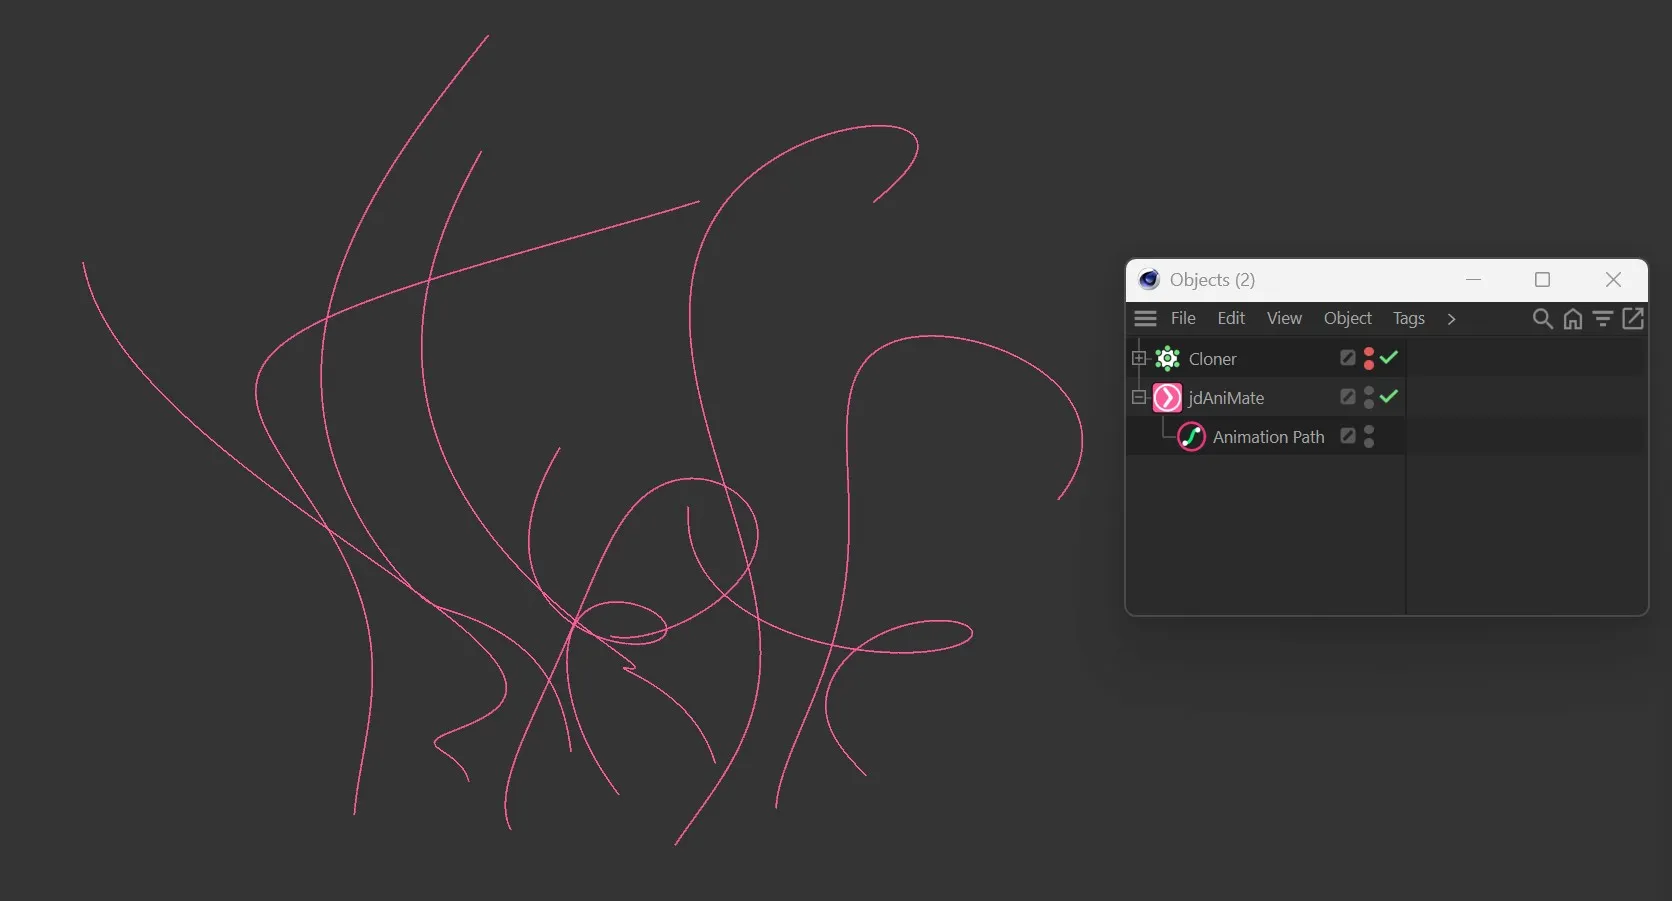
jdAniMate, Exported Animation Path.
Fields
Section titled “Fields”The standard fields options.
When a falloff is active, objects outside the falloff will remain at their start position.
Copyright © 2026 INSYDIUM LTD. All rights reserved.